
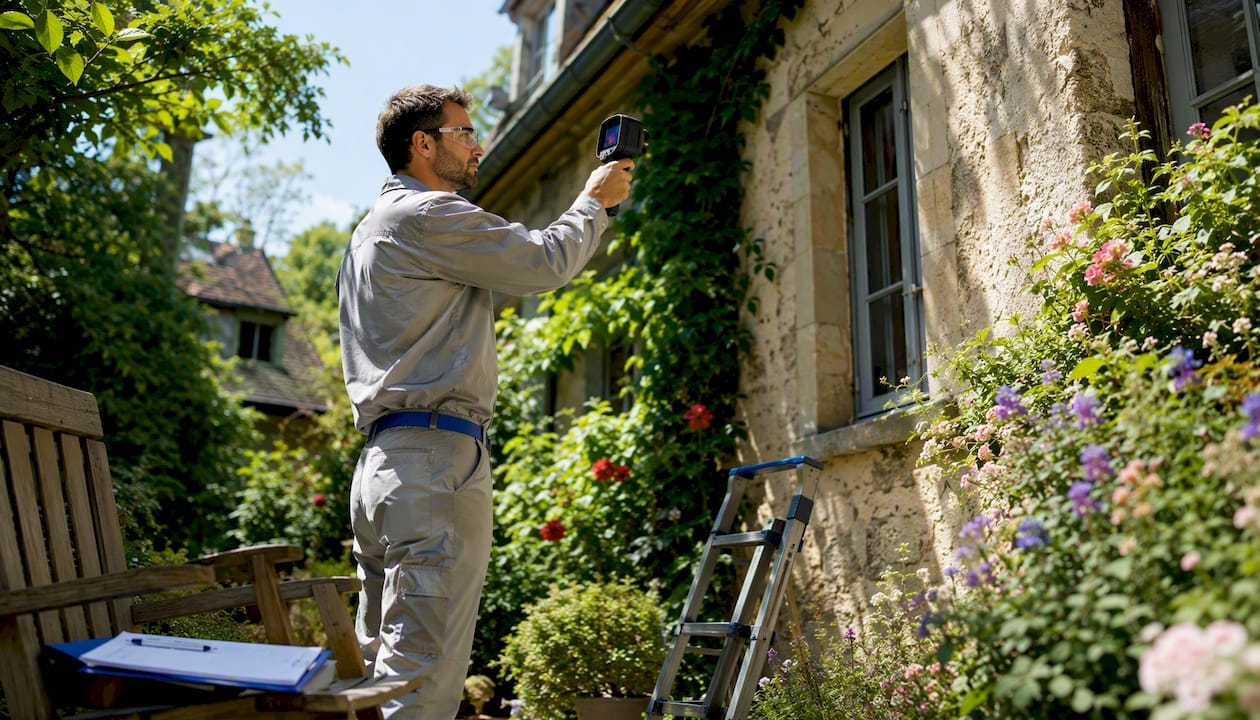
A thermal imaging inspection scans a building’s surfaces for temperature anomalies that may indicate hidden moisture, insulation gaps, electrical hot spots, or HVAC distribution problems — but it shows where a problem may exist, not what caused it. That distinction matters every time you read a report.
When is it worth scheduling one? Pre-purchase inspections on older homes, any property with a suspected leak or water event, energy audits, and electrical safety checks are the highest-value situations. It is a poor fit when there is no meaningful temperature difference between indoors and outdoors, when surfaces are highly reflective metal, or when results are presented without corroborating tests.
- Most useful for: purchase inspections, post-water-event evaluations, energy audits, electrical safety screening
- Poor fit when: indoor/outdoor delta-T is insufficient, surfaces are reflective, or thermal images are treated as stand-alone proof
- Named standards to know: InterNACHI Infrared Certified® and ASNT Level I/II thermography training are the two most recognized U.S. credentials for residential and commercial thermal inspectors
Upchurchinspection offers thermal imaging as part of full residential and commercial inspections across Tennessee, Arkansas, Mississippi, Missouri, and Kentucky, with annotated thermograms and corroborating moisture meter readings included in every thermal report.
Pro Tip: Before any scan, verify that the building has been under a stable heating or cooling load for at least two to four hours. That stabilization period lets surface temperature patterns settle, which cuts false positives significantly.
Table of Contents
- What a thermal imaging inspection is and how it differs from a standard visual check
- How thermal cameras and thermography work — the practical basics
- Common uses and benefits: what thermal imaging reliably helps find
- Types of equipment and the specs that matter for reliable results
- How to interpret thermograms: palettes, patterns, and what they don’t prove
- Key limitations and common misconceptions to be aware of
- What a professional thermal imaging inspection looks like: process, timeline, and cost
- How Upchurchinspection performs thermal imaging and what we include
- Key Takeaways
- A field inspector’s perspective on reading thermograms
- Thermal imaging inspections from Upchurchinspection: what to do next
- Useful sources and further reading
What a thermal imaging inspection is and how it differs from a standard visual check
Thermography, the formal industry term for what most people call a thermal imaging inspection, reads long-wave infrared radiation emitted from surfaces and converts those readings into a thermogram: a false-color heat map that shows temperature gradients across walls, ceilings, floors, and mechanical systems. The Department of Energy describes thermography as producing a two-dimensional thermal picture that reveals heat leakage and recommends it as part of energy audits and building diagnostics.
A standard visual inspection is limited to what an inspector can see, touch, and access. Thermography extends that reach by flagging surface temperature anomalies that suggest something is happening behind the surface. It does not replace the visual inspection; it screens for conditions that warrant a closer look.
The practical distinction is this: a visual inspection confirms what is present and accessible; a thermal scan highlights what may be hidden. Both are needed for a complete picture.
Common deliverables when thermal imaging is added to an inspection include:
- Annotated thermograms paired with visible-light photographs of the same area
- Written findings describing each anomaly and its likely significance
- Moisture meter readings or other corroborating test results where anomalies are flagged
- Recommended follow-up actions (contractor evaluation, specialist referral, or monitoring)
Thermography is non-invasive. No walls are opened, no materials disturbed. The camera reads surface temperature only, which is why corroboration matters: a cool blotch on a wall is a signal, not a diagnosis.
How thermal cameras and thermography work — the practical basics
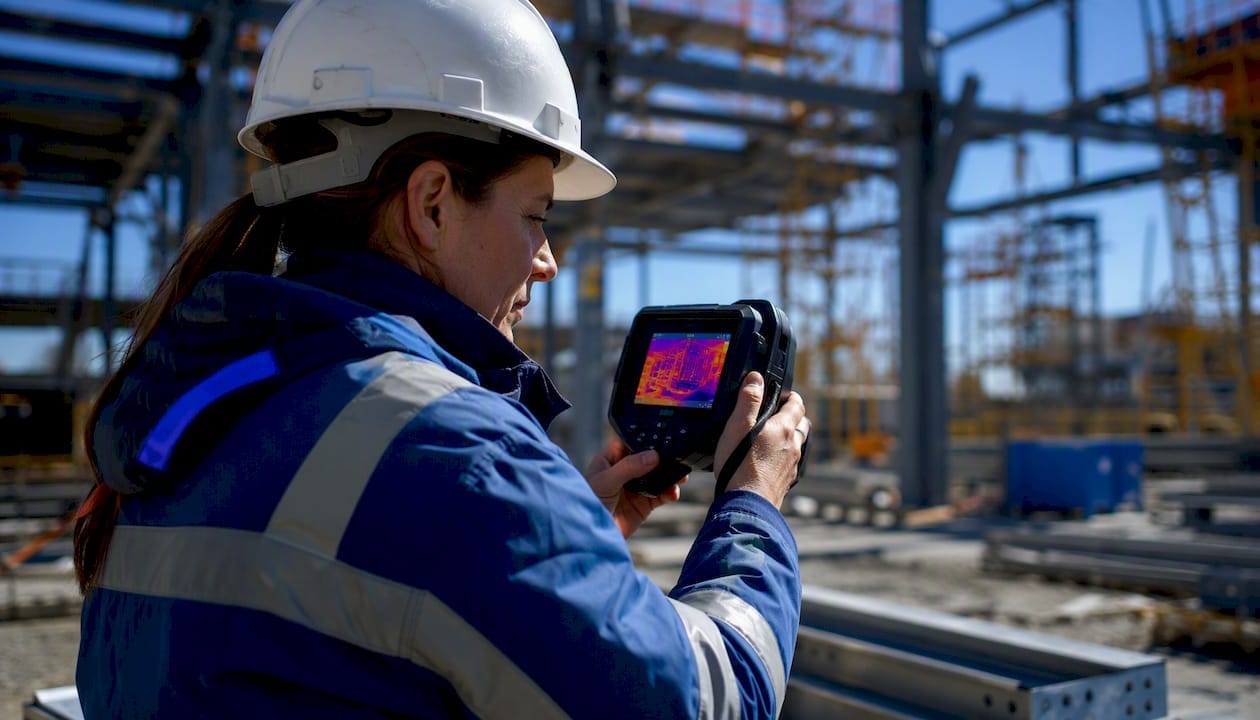
Thermal cameras capture long-wave infrared radiation in the approximately 8–14 micrometer spectral band and map the resulting surface temperature gradients into a thermogram. Warmer surfaces appear in one color range, cooler surfaces in another, depending on the palette selected. The image does not show moisture, air, or structural damage directly; it shows temperature variation, and experienced inspectors interpret those patterns against the inspection context.
Several terms come up in every thermal report. Understanding them helps you evaluate what you are reading:
| Term | Practical meaning for buyers and inspectors |
|---|---|
| Thermogram | The false-color thermal image; shows surface temperature variation, not material composition |
| Emissivity | A surface’s efficiency at emitting infrared; metals have low emissivity and can produce misleading readings |
| Reflected temperature | Infrared energy bouncing off a surface from surrounding objects; must be accounted for to avoid errors |
| Delta-T | The temperature difference between inside and outside; a larger differential produces clearer, more reliable patterns |
| NETD | Noise Equivalent Temperature Difference; lower values (e.g., ≤50 mK) mean the camera detects smaller temperature changes |
| Resolution | Detector pixel count; affects spatial detail but does not substitute for sensitivity |
A thermogram is an indicator, not proof. Wet building materials change surface temperature, which is why a cool, amorphous patch on a ceiling looks different from a dry thermal bridge — but a moisture meter or probe is still required to confirm active moisture. Professional practice requires corroborating evidence such as moisture meter readings for suspected leaks and electrical checks for panel anomalies.
Pro Tip: Document ambient conditions before and during the scan: outdoor temperature, wind, recent precipitation, HVAC state, and time since the system last cycled. These notes are what allow a reviewer to assess whether the thermal patterns are reliable or potentially compromised.
Common uses and benefits: what thermal imaging reliably helps find
The Department of Energy recommends thermography as a diagnostic tool for energy audits and building envelope assessments, and field experience confirms that several categories of problems show up consistently and reliably. Here is what each looks like in a thermogram and what the next step is:
- HVAC distribution and duct leakage: Thermal imaging helps distinguish dirty coils from low refrigerant and reveals supply registers delivering uneven temperatures. Pair with standard HVAC testing for confirmation.
- Energy audits: — Thermal imaging maps the full building envelope in one pass, identifying the highest-priority areas for air sealing or insulation upgrades.
Practitioner guidance consistently places the minimum effective delta-T at a level sufficient to reveal thermal patterns between indoors and outdoors, with the building under a stable heating or cooling load for several hours before scanning. Below that threshold, subtle patterns wash out and false negatives become common.
Older homes, properties with recent water events, pre-listing checks, and commercial preventive maintenance programs are the situations where the cost of a thermal add-on is most clearly justified.
Types of equipment and the specs that matter for reliable results
Not every thermal camera is appropriate for every inspection task. The taxonomy breaks down into four practical categories:
Handheld thermal cameras are the standard tool for residential and commercial building inspections. Entry-level units have low detector resolution; professional-grade detectors have higher resolution suitable for more detailed inspections. Resolution affects spatial detail, but sensitivity and optics shape real-world performance more than pixel count alone.
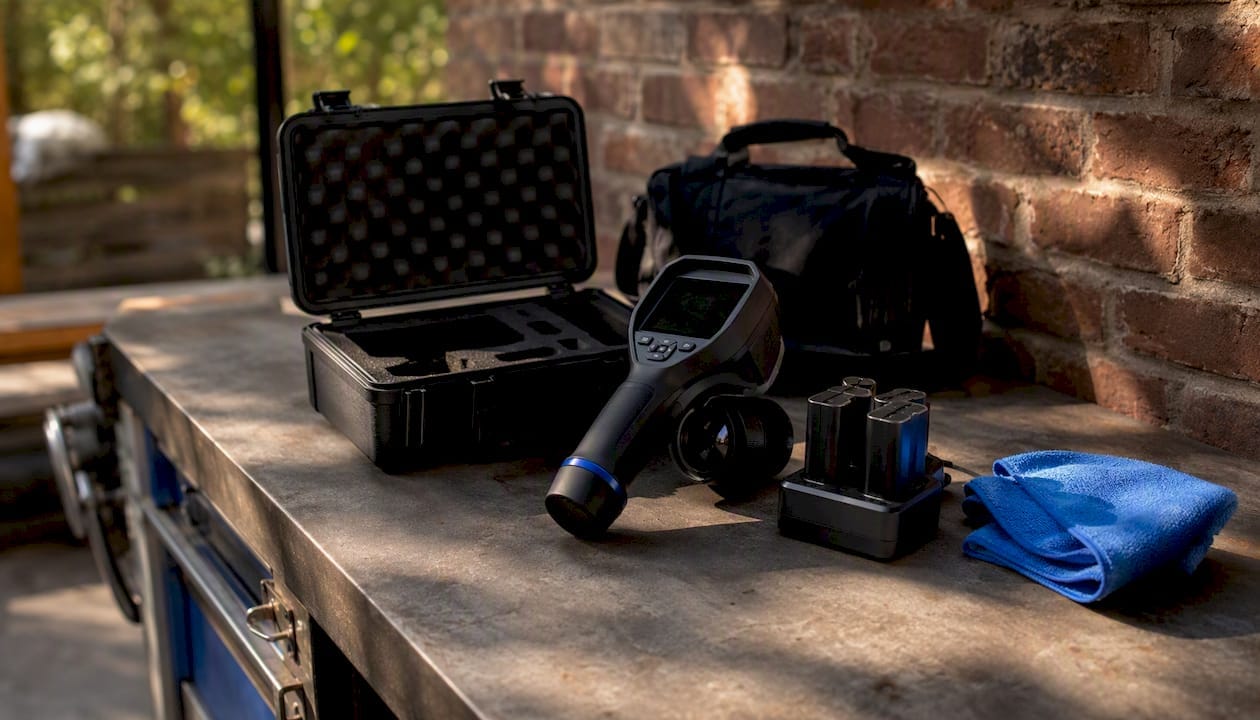
Smartphone attachments clip onto a phone and use its screen as a display. They are convenient for quick checks but typically carry lower sensitivity and smaller detectors, making them less reliable for subtle moisture or insulation patterns.
Spot radiometers measure a single-point surface temperature rather than producing a full image. They are useful for confirming a temperature reading at a flagged location but cannot map patterns across a surface.
Line-scan and roof-scanner rigs are used for large commercial flat roofs and industrial applications. They are not standard residential tools.
| Spec | What it means in the field |
|---|---|
| NETD / sensitivity | Lower is better; typical values for detecting subtle temperature differences in building diagnostics are ≤50 mK |
| Detector resolution | More pixels = finer spatial detail; entry-level detector resolution for building inspection starts around 160×120 pixels; professional-grade detectors reach 640×480 or higher |
| Field of view / lens options | Wider lens covers more area per frame; narrower lens resolves detail at distance |
| Frame rate | Matters for scanning moving targets; less critical for static building surfaces |
Camera sensitivity expressed as NETD is the specification that most directly affects whether a camera can detect a subtle moisture pattern or a marginal insulation gap. A camera with a low NETD and modest resolution will often outperform a high-resolution unit with poor sensitivity in real building conditions.
Pro Tip: When reviewing a thermal report, ask the inspector what camera model and NETD specification was used. A camera with NETD ≤50 mK is generally appropriate for residential building diagnostics; anything significantly higher may miss subtle patterns in low-delta-T conditions.
Evaluating camera specs requires looking at detector type, NETD, pixel pitch, field of view, and environmental suitability together — no single number tells the full story.
How to interpret thermograms: palettes, patterns, and what they don’t prove
The color in a thermogram means nothing without the temperature scale. Inspectors use several palettes — iron, rainbow, grayscale, arctic — and the same physical condition will look completely different depending on which one is active. Always check the temperature legend on the side of the image before drawing any conclusion about what is warm or cool.
Common patterns and their likely causes:
- Amorphous cool blotches: Irregular, soft-edged cool areas on ceilings or upper walls often suggest moisture. The shape follows the water, not the framing.
- Crisp linear strips: Repeating vertical or horizontal bands aligned with stud or joist spacing point to missing or compressed insulation. The pattern is too regular to be moisture.
- Streaks around openings: Gradients bleeding around window frames, door jambs, or penetrations indicate air leakage, particularly pronounced when the building is under pressure differential.
- Localized hot spots: A single concentrated warm area at a breaker, connection, or junction box is a classic electrical anomaly. Multiple adjacent breakers running warm together is a different pattern and may indicate load issues.
Inspectors use differential temperature patterns rather than single-point spot readings to identify anomalies. One warm pixel is noise; a consistent warm zone across a breaker compared to its neighbors is a finding.
Thermographic reports should include thermograms, visible-light comparisons, temperature annotations, analysis, and recommendations. Reading them well means looking at patterns in context, not just colors. A thermal anomaly without a corroborating moisture meter reading, visual staining, or electrical load test is a flag for further investigation, not a confirmed defect. Presenting thermal images alone as definitive is a red flag in any professional report.
Two questions come up often when buyers review thermograms for the first time:
Can a thermal camera see through walls? No. It reads surface temperature only. What appears to be a “through-wall” view is actually the surface temperature of the wall being influenced by conditions behind it — a wet cavity cools the drywall face; a missing insulation bay allows the wall surface to track outdoor temperature more closely.
Why do colors mean different things in different images? Because the palette and temperature scale are set by the inspector or camera software. A red area in one image may represent 75°F; in another, 120°F. The legend is the only reliable reference.
Key limitations and common misconceptions to be aware of
Thermal imaging is a screening tool with real constraints. Knowing them prevents over-interpretation and helps you ask better questions.
- No through-wall vision: The camera reads surface temperature. Hidden conditions influence the surface, but the camera never sees the cavity directly.
- Delta-T requirement: Without a sufficient indoor/outdoor temperature differential, subtle patterns disappear. Scanning a well-insulated home on a mild day produces unreliable results.
- Reflective surfaces mislead: Metals, glass, and polished surfaces have low emissivity and reflect infrared from surrounding objects. An inspector who does not account for this will misread the surface temperature.
- Solar loading and recent rain: A wall that has been in direct sun for several hours retains heat that masks or mimics anomalies. Recent rain can cool surfaces in ways that look like moisture intrusion.
- Emissivity calibration errors: Emissivity and reflected temperature significantly affect readings; inspectors must adjust interpretation for different surface types — painted drywall, metal ductwork, and glass all behave differently.
Common misconceptions worth correcting: a thermal image does not prove moisture or structural failure on its own. A higher-resolution camera does not automatically produce better field diagnostics if sensitivity and optics are not matched to the task. And a thermal scan performed without adequate delta-T is not a reliable baseline for any finding.
Pro Tip: Before accepting a thermal report, check whether the inspector documented ambient temperature, wind speed, recent precipitation, sun exposure on scanned surfaces, and HVAC operating state at the time of the scan. Missing this context makes the findings difficult to evaluate.
Seasonal timing matters. In the Mid-South, the most reliable windows for building envelope scans are late fall through early spring, when heating loads create a consistent indoor/outdoor differential. Summer scans can work for electrical and HVAC diagnostics but are often unreliable for insulation and moisture work unless the building is heavily air-conditioned and outdoor temperatures are extreme.
What a professional thermal imaging inspection looks like: process, timeline, and cost
A credible thermographic inspection follows a consistent process. Here is what to expect:
- Pre-inspection prep: The inspector provides instructions to run heating or cooling for several hours before the scan and to close windows and exterior doors. You document the property type, known issues, and any recent water events.
- On-site scan: The inspector moves systematically through the building, scanning walls, ceilings, floors, the electrical panel, HVAC equipment, and any areas of concern. Annotated thermograms are captured alongside visible-light photographs.
- Corroborating tests: Thermal anomalies are followed up with a moisture meter, electrical load verification, or visual confirmation before being written up as findings.
- Report delivery: The report includes annotated image pairs, written findings, and recommended next steps. Turnaround is typically within 24–48 hours for residential inspections; complex commercial reports may take longer.
| Deliverable | Purpose in the report |
|---|---|
| Annotated thermograms | Show the location and temperature pattern of each anomaly |
| Visible-light / IR image pairs | Allow the reader to correlate the thermal finding with the physical surface |
| Moisture meter readings | Corroborate or rule out active moisture at flagged locations |
| Repair / follow-up recommendations | Guide the client on next steps and specialist referrals |
| Inspector credentials | Confirm the thermographer’s training level (InterNACHI Infrared Certified®, ASNT Level I/II) |
Cost varies by scope. Thermal imaging added to a full home inspection typically costs less than ordering it as a standalone service. Home size, the number of systems scanned, and local market rates all influence the final figure more than the camera model used. For home inspections tied to mortgage transactions, buyers should confirm with their lender whether thermal findings affect the loan process.
Always ask whether thermal imaging is offered as a certified ancillary service. InterNACHI Infrared Certified® and ASNT Level I/II are the two most recognized U.S. credentials; an inspector who cannot name their thermography training should be asked to clarify.
How Upchurchinspection performs thermal imaging and what we include
At Upchurchinspection, thermal imaging is integrated into full residential and commercial inspections rather than treated as a separate product bolted on at the end. Here is what every thermal scan includes:
- Annotated thermograms paired with visible-light photographs of the same surface or component
- Moisture meter confirmation at every flagged thermal anomaly where moisture is a plausible cause
- Documentation of environmental conditions at the time of the scan (ambient temperature, HVAC state, recent weather)
- Written findings that distinguish confirmed anomalies from conditions requiring further investigation
- Recommended next steps, including specialist referrals when electrical, structural, or roofing concerns are identified
Our inspectors carry thermography training consistent with InterNACHI Infrared Certified® standards and bring field experience across Tennessee, Arkansas, Mississippi, Missouri, and Kentucky. We do not present thermal images as definitive proof of any condition without corroborating evidence. A thermal hit is the beginning of the diagnostic process, not the end.
We also understand the regional context. Older construction in Memphis and West Tennessee often shows predictable thermal patterns — brick veneer with inconsistent cavity insulation, aging duct systems running through unconditioned spaces, and electrical panels that have been modified over decades. Knowing what is typical for the region helps us separate routine findings from conditions that genuinely need a specialist.
Key Takeaways
Thermal imaging finds temperature anomalies that point to hidden moisture, insulation gaps, electrical hot spots, and HVAC problems, but every finding requires corroborating evidence before it becomes a confirmed defect.
| Point | Details |
|---|---|
| Thermography finds anomalies, not causes | A thermal hit is a flag for further investigation, not a diagnosis; always require corroboration. |
| Delta-T determines scan reliability | A minimum indoor/outdoor differential of roughly 10°F–15°F is needed for building envelope work. |
| NETD matters more than pixel count | Camera sensitivity (≤50 mK NETD is typical for building diagnostics) drives detection of subtle moisture and insulation patterns. |
| Credentials confirm competence | Ask for InterNACHI Infrared Certified® or ASNT Level I/II training before accepting a thermal report. |
| Upchurchinspection pairs thermal with corroboration | Every thermal scan includes moisture meter readings, annotated image pairs, and written next steps. |
A field inspector’s perspective on reading thermograms
The most common mistake buyers make when reviewing a thermal report is treating every colored anomaly as a crisis. A thermogram is a map of surface temperature variation, and not every variation is a defect. Thermal bridging through metal fasteners, temperature gradients near exterior corners, and the residual warmth of a recently used appliance all show up in thermograms and mean nothing structurally.
What actually warrants attention is pattern and context. An amorphous cool blotch on a ceiling directly below a bathroom is a different finding than the same pattern on an interior wall with no plumbing above it. The first demands a moisture meter reading immediately; the second may be insulation or simply a cold-air return nearby. An experienced inspector reads both the image and the building.
In Memphis and the surrounding Mid-South region, the most reliable scanning window runs from late October through March. The heating season creates the indoor/outdoor differential that makes insulation and air-leakage patterns visible. Summer scans are useful for electrical panels and HVAC equipment but often miss subtle envelope issues because the delta-T is driven by air conditioning rather than a strong outdoor cold load, and solar gain on west and south walls complicates the picture.
When a thermal scan turns up something that looks like an electrical anomaly at the panel, the right call is a licensed electrician before any repair work. Roof anomalies on flat or low-slope commercial roofs warrant a roofing contractor with membrane experience, not just a general contractor. Structural concerns flagged during a scan — unusual temperature patterns at load-bearing walls or foundation areas — go to a structural engineer. Thermal imaging tells you where to look; the specialist tells you what it means.
Thermal imaging inspections from Upchurchinspection: what to do next
Upchurchinspection offers thermal imaging as part of full residential and commercial property inspections, or as an add-on to a standard inspection when a specific concern has already been identified. The difference from ordering a standalone thermal scan elsewhere is that every finding is corroborated on-site, documented with annotated image pairs, and written up with clear next steps rather than a list of colored images and no context.
For homebuyers, the thermal add-on is most valuable on older properties, homes with any history of water intrusion, or any building where the electrical system has not been recently evaluated. For property managers and commercial investors, periodic thermal scans of electrical panels and roof membranes are among the most cost-effective forms of preventive maintenance available. Learn more about the benefits of regular inspections for ongoing property protection, or review guidance on choosing the right specialized inspection when you are deciding whether thermal imaging fits your situation.
To schedule a thermal imaging inspection or add thermal to an existing booking, contact Upchurchinspection with the property address, type (residential or commercial), any known concerns, and your preferred timing. Having that information ready speeds the scheduling process and helps us confirm whether conditions will support a reliable scan on your preferred date.
This article provides general educational information about thermal imaging inspections and is not a substitute for a professional inspection or advice from a licensed inspector, engineer, or contractor. Verify current standards and requirements with the relevant certifying bodies or a qualified professional.
Useful sources and further reading
- Thermographic Inspections — Department of Energy: Primary U.S. government guidance on using thermography for energy audits and building diagnostics; supports delta-T and application guidance throughout this article.
- Infrared Thermography Overview for Home Inspectors — InterNACHI®: The leading U.S. home inspector association’s overview of thermography standards, certification (InterNACHI Infrared Certified®), and field practice.
- How to Read Thermal Camera Specifications — LightPath Technologies: Practical guide to reading NETD, resolution, spectral band, and range specs; supports the equipment section.
- NETD and Thermal Camera Fundamentals — Infrared Training Center: Supports the explanation of NETD sensitivity and why it matters more than resolution for building diagnostics.
- How to Read an Infrared Thermal Imaging Specification Sheet — IRmodules: Guidance on evaluating camera datasheets holistically rather than by single specs.
- How Does Thermal Imaging Work: A Homeowner’s Guide — Pacific Mold Pros: Supports delta-T requirements and the role of moisture meter verification in residential thermography.
- Thermal Camera Specs You Should Know Before Buying — FLIR: Supports emissivity, reflected temperature, and the multi-spec evaluation approach for camera selection.
- Thermal Imaging with a Home Inspection — Upchurchinspection: Upchurchinspection’s service page describing how thermal imaging is integrated into full residential inspections.


