
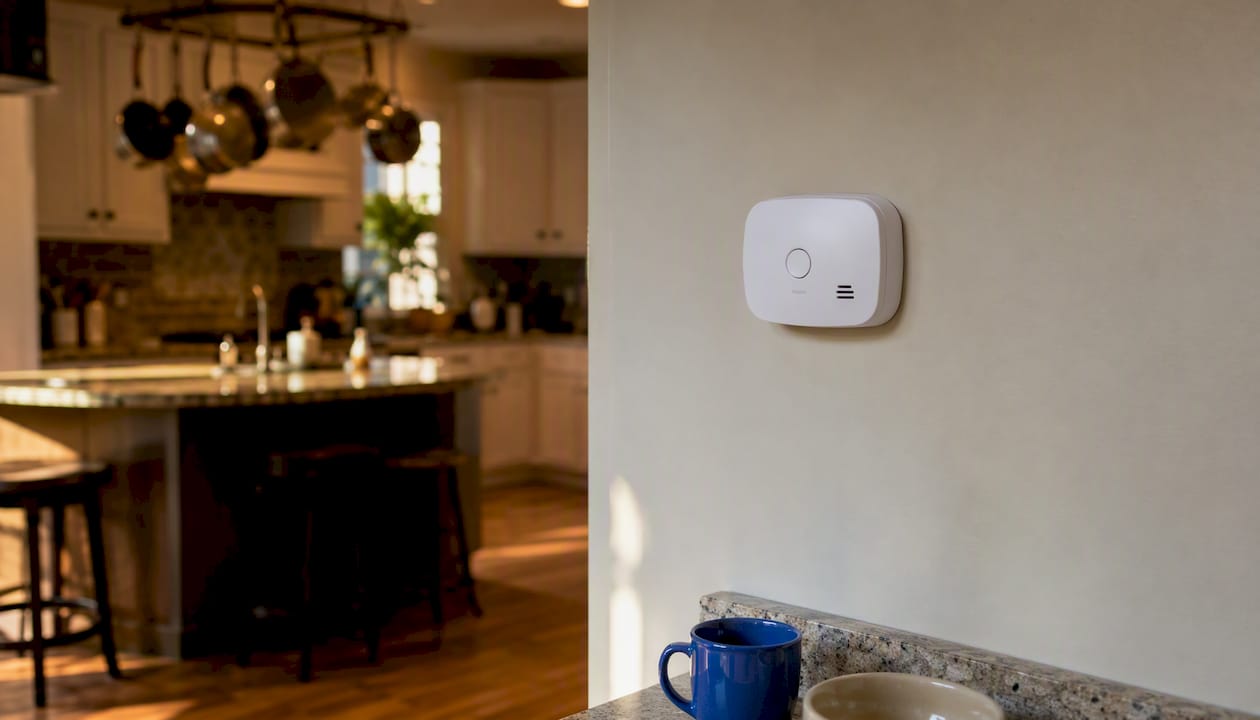
Put a CO alarm on every habitable level and outside every sleeping area — that’s your baseline, and everything else builds from there. The EPA recommends placing alarms in the hallway near every separate sleeping area, and NFPA guidance adds that every level of the home needs coverage, with alarms interconnected for best protection. CO alarms are a backup to proper appliance maintenance, not a substitute for it.
Three things to do right now:
- Count your levels, including finished basements, and confirm you have at least one alarm per level.
- Walk each sleeping area and check that a detector sits within roughly 10 feet of the bedroom door, in the hallway or adjacent space.
- Add a detector near any known CO source, such as a gas furnace, water heater, or attached garage entry.
Pro Tip: Interconnect your alarms so that when one triggers, every unit in the house sounds. In existing homes, wireless interconnect kits let you do this without running new wiring — one of the highest-value upgrades you can make for under $100.
Key Takeaways
Proper carbon monoxide alarm placement requires at least one alarm per habitable level, one outside every sleeping area, and detectors near combustion sources — with interconnection and regular maintenance completing the system.
| Point | Details |
|---|---|
| One alarm per level | Every habitable level, including finished basements, needs its own CO detector. |
| Outside sleeping areas | Place a detector within 10 feet of each bedroom door, in the hallway or adjacent space. |
| Keep distance from appliances | Maintain at least 15 feet of clearance from combustion appliance flues to avoid nuisance alarms. |
| Interconnect all units | When one alarm triggers, all units should sound; wireless kits make this practical in existing homes. |
| Upchurchinspection | A professional inspection identifies combustion-safety risks — cracked heat exchangers, backdrafting flues — before an alarm event occurs. |
Table of Contents
- Where to place CO detectors in a typical U.S. home
- How high should a CO alarm be mounted?
- Where not to install a CO alarm
- How many CO alarms does your home need?
- What codes and standards back these placement rules?
- Testing, battery replacement, and knowing when to replace the unit
- What to do the moment a CO alarm sounds
- When to call a professional: an inspector’s read on CO risk
- An inspector’s view on why most homes are still underprotected
- Upchurch Inspection can identify the CO risks your alarms can’t
- Sources
Where to place CO detectors in a typical U.S. home
The minimum placement rule is straightforward: one alarm per habitable level and one outside each sleeping area. In practice, that means a hallway detector covering bedrooms on each floor, plus a unit in the finished basement if you have one. The 10-foot guideline for bedroom coverage refers to the distance from the sleeping area door — a detector at the end of a long hallway may not respond quickly enough if a bedroom door is closed.
High-priority locations beyond the minimum:
- Outside each bedroom or in the hallway serving a cluster of bedrooms
- Near the furnace or boiler room (but not directly next to the appliance — see Section 4)
- Near the gas water heater, especially if it shares a utility room with the furnace
- At the entry from an attached garage into the living space
- In any room with a gas fireplace, wood stove, or other combustion appliance
- On every finished level, including a finished basement with a bedroom or family room
Placement checklist for mapping your floor plan:
- Mark every sleeping area on your floor plan and draw a 10-foot radius from each door.
- Identify every combustion appliance location.
- Note every finished level, including basement and bonus rooms above garages.
- Place a detector symbol at each hallway serving sleeping areas.
- Add a detector near each combustion source room, at a measured distance from the appliance itself.
Apartments and multi-family units present a specific challenge. Shared ventilation systems can carry CO from one unit into adjacent spaces, so placement near HVAC supply and return registers matters more than in a single-family home. Tenants should confirm with their landlord or property manager that detectors are present on every level and outside sleeping areas — in most states, landlord responsibility for CO alarm installation is codified in statute. Building owners managing multiple units should review the apartment building inspection considerations that apply to shared-ventilation scenarios.
How high should a CO alarm be mounted?
CO is slightly lighter than air at room temperature, but the more relevant factor is that mechanical ventilation and normal convection mix indoor air quickly. That means ceiling placement and high-wall placement (within 12 inches of the ceiling) are both acceptable and often preferred. The commonly cited wall height of about 5 feet above the floor comes from EPA placement guidance and reflects a practical nose-level position for occupied spaces.
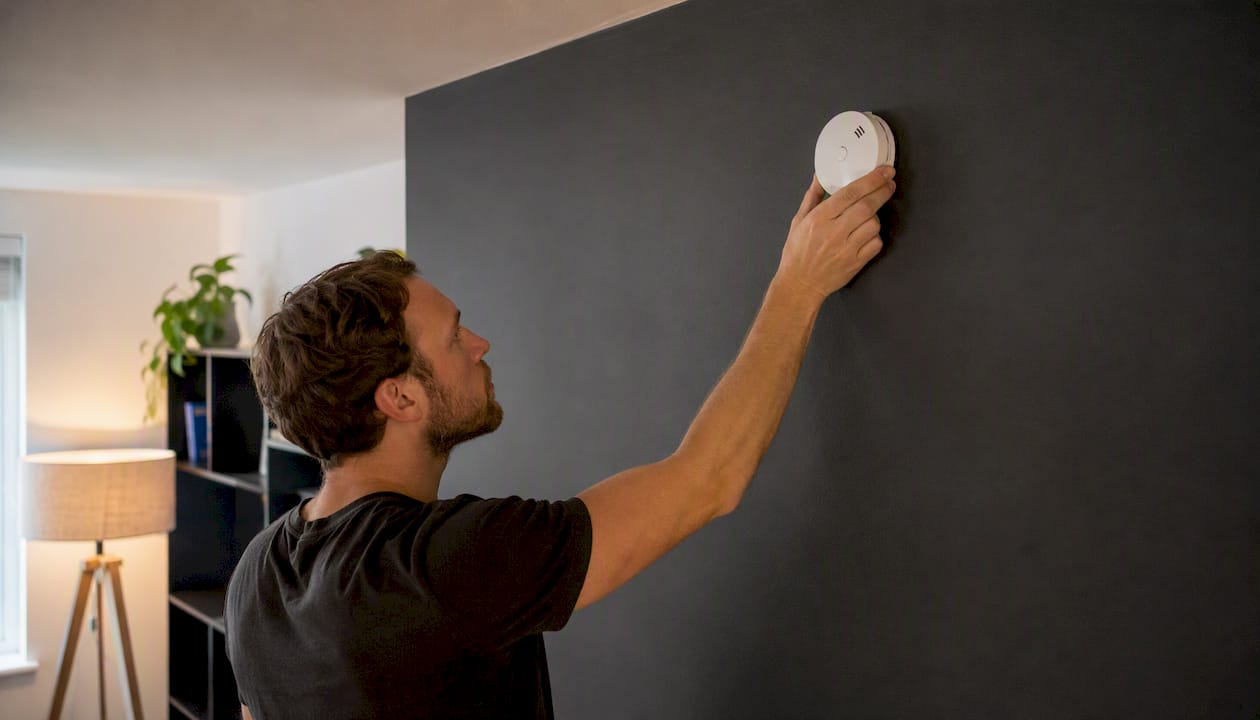
A technical siting review draws a useful distinction: in a room with a combustion source, place the detector high because buoyant plumes and convection lift CO toward the ceiling first. In occupied living areas, a nose-level or ceiling placement works because mechanical ventilation typically mixes the air. The real risk isn’t height — it’s closed doors and HVAC off-cycles, which can isolate a room and delay CO migration.
Mounting guidance summary:
- Ceiling or high wall (within 12 inches of ceiling): acceptable and often preferred
- Wall at approximately 5 feet above floor: standard for occupied areas per EPA guidance
- Source rooms (furnace room, utility room): mount high, near the ceiling
- Always follow the manufacturer’s installation instructions — UL listing requirements and IRC code reference the manufacturer’s listed placement
Pro Tip: Combination smoke/CO units need to satisfy both placement rules. Smoke detectors belong on the ceiling or within 12 inches of it. If you mount a combo unit at 5 feet on a wall, the smoke sensor may underperform. Ceiling mounting resolves the conflict — check the smoke alarm placement guidance for combination unit specifics.
Where not to install a CO alarm
Placement mistakes cause two distinct problems: nuisance alarms that train you to ignore the device, and missed detections when the alarm is shielded from the gas it’s meant to detect.
Locations to avoid:
- Within 15 feet of a combustion appliance flue or burner — normal start-up emissions trigger false alarms, per IAFC guidance
- Inside a garage — CO levels in a garage during normal vehicle use are high enough to trigger constant alarms; the detector belongs at the entry door into the living space, not inside the garage itself
- Kitchens — cooking combustion and steam cause nuisance alarms
- Bathrooms and very humid areas — humidity interferes with electrochemical sensors
- Dead-air corners, enclosed cabinets, or behind drapes — air circulation is too restricted for reliable sampling
- Directly over or beside windows, exterior doors, or HVAC supply vents — drafts dilute CO concentration at the sensor and can delay detection
- Near a fireplace or directly above a wood stove — proximity to the combustion source causes the same nuisance-alarm problem as appliance flues
The 15-foot clearance from appliances is a practical minimum. If your utility room is too small to maintain that clearance, the solution is a dedicated combustion-source detector placed high in that room — separate from the occupant-area IAQ detector in the adjacent hallway. These serve different functions: one monitors the source room for early leakage, the other protects sleeping occupants. Treating them as interchangeable is a common installation error we see on inspection reports.
Field note: Common CO and gas leak issues found during inspections consistently include alarms installed directly beside furnace flues or tucked behind water heater cabinets — positions that guarantee either chronic false alarms or no alarm at all when it counts.
How many CO alarms does your home need?
The minimum is one per habitable level plus one outside each sleeping area. For most homes, those two rules overlap and produce a count higher than one. Here are practical examples:
Single-story, three-bedroom home:
- One detector in the hallway outside the three bedrooms
- One detector on the main level (may be the same unit if the hallway is central)
- One near the furnace/water heater room, if separated from the main living area
- Minimum units required per code, with additional units recommended for enhanced coverage.
Two-story home with finished basement:
- One in the basement hallway or near the stairs
- One on the main level
- One in the upstairs hallway outside sleeping areas
- Minimum units required per code; additional units are recommended if the basement contains a bedroom or a combustion appliance.
Apartment or condo:
- One per level of the unit
- One outside each sleeping area
- Confirm building-wide coverage with your property manager
Special cases that change the count:
- Closed doors isolate rooms from CO migration, per NIST dispersion research — a bedroom with a habitually closed door needs its own detector inside, not just in the hallway
- Finished basements with sleeping areas require a detector inside the room, not just at the stair landing
- Attached garages: the detector belongs at the door into the house, on the living-space side
- Standalone detached garages: no CO alarm required, but good practice if the garage is used for extended idling
- HVAC zones: UL guidance recommends a centrally located IAQ detector in each separately zoned area, since closed dampers can prevent CO from reaching a detector in another zone
What codes and standards back these placement rules?
The placement rules above aren’t arbitrary — they trace directly to national standards and federal guidance.
Key standards and what they require:
- NFPA 720 (the dedicated CO alarm installation standard): requires a CO alarm in a central location outside each sleeping area and on every occupiable level; interconnection is required in new construction
- IRC (International Residential Code): adopts NFPA 720 requirements for new construction and requires hardwired alarms with battery backup in new dwellings; existing homes are typically governed by state statute
- UL 2034: the listing standard every CO alarm sold in the U.S. must meet; CPSC recommends that every home have at least one alarm meeting this standard
- EPA guidance recommends hallway placement near sleeping areas and emphasizes that alarms are a backup to appliance maintenance, not a replacement
- State statutes: most states require alarms on every level and outside sleeping areas; new construction typically requires hardwiring and interconnection; existing homes may have different retrofit timelines
State laws vary more than most homeowners realize. Tennessee, Arkansas, Mississippi, Missouri, and Kentucky each have their own statutes, and the minimum legal requirement is not always the same as best practice. Kidde publishes a state-by-state requirement summary worth checking before a sale or renovation. Whatever your state requires, treat it as a floor, not a ceiling.
The 2026 interconnection standards have tightened requirements for new construction in several jurisdictions — worth reviewing if you’re building or doing a major renovation.
Testing, battery replacement, and knowing when to replace the unit
A CO alarm that hasn’t been tested in two years may as well not be there. Monthly test-button checks take about 10 seconds and confirm the alarm circuit and sounder are functional. They do not confirm the electrochemical sensor is still accurate — that’s a function of age.
Maintenance schedule:
- Monthly: Press the test button; confirm audible alarm sounds
- Annually: Replace batteries in battery-only units, even if the low-battery chirp hasn’t started; for hardwired units with battery backup, replace the backup battery on the same schedule
- Every 7–10 years: Replace the entire unit; most manufacturers print the manufacture date on the back and specify end-of-life in the manual; First Alert and other major brands typically rate sensors at 7 years, some at 10
- When prompted: A chirping pattern different from the low-battery chirp usually signals sensor end-of-life — consult the manual for your specific unit
Inspectors frequently find alarms with manufacture dates 12 or 15 years old. The unit may still chirp when you press the test button, but the electrochemical sensor has degraded past reliable detection thresholds. That’s a false sense of security.
Pro Tip: Log your test dates on a sticky note inside the battery compartment or in a home maintenance app. When you replace the battery, note the date. When you replace the unit, photograph the old manufacturing date, so you have a record for future reference.
What to do the moment a CO alarm sounds
The steps in order:
- Get everyone out — all people and pets, immediately, without stopping to investigate.
- Move to fresh air — outside and away from the building, not into a garage or enclosed porch.
- Call 911 from outside — tell the dispatcher a CO alarm has activated.
- Report symptoms — if anyone has a headache, dizziness, nausea, or confusion, tell the responders immediately. These are classic symptoms of CO exposure, even at moderate concentrations.
- Do not re-enter until the fire department or emergency responders have checked CO levels and declared the building safe.
- After clearance: turn off fuel-burning appliances if responders advise it, open windows for ventilation, and contact a licensed HVAC technician or combustion-appliance specialist before operating the appliance again.
- Schedule a professional inspection — a recurring or unexplained alarm trigger is a red flag that warrants a full combustion-safety evaluation, not just a reset.
The CPSC guidance on CO alarms is consistent on this point: professional inspection of fuel-burning appliances is the proactive prevention step, and an alarm event is the clearest possible signal that something needs professional attention.
When to call a professional: an inspector’s read on CO risk
Most homeowners install alarms and consider the job done. What we see on inspections tells a different story. The alarm is the last line of defense — the conditions that produce CO are what need attention.
Red flags that warrant a professional inspection:
- A cracked furnace heat exchanger (a common source of CO entering living spaces through the air distribution system)
- A fireplace with a seized or damaged damper that prevents proper venting
- Backdrafting on any combustion appliance — visible soot staining around the flue collar is a telling sign
- Recurring nuisance alarms that don’t follow an obvious pattern (cooking, appliance start-up)
- Unexplained headaches, fatigue, or nausea that improve when occupants leave the home
- Any fuel-burning appliance that has been recently serviced, modified, or is approaching the end of its service life
What we examine during a combustion-safety inspection:
- Flue and chimney condition, including liner integrity and clearances
- Combustion appliance venting paths and draft performance
- Gas connections and supply line condition
- Exhaust pathways and termination points
- Ventilation balance and makeup air provisions
- CO alarm placement, age, and interconnection status
The inspection report will document each finding with a condition description, a risk classification, and a recommended action — whether that’s a simple maintenance item, a specialist referral, or an immediate safety concern. When the report flags a cracked heat exchanger or a backdrafting flue, the next step is a licensed HVAC technician or chimney professional, not a DIY fix.
Pro Tip: If you’re buying a home with a gas furnace, wood-burning fireplace, or attached garage, ask your inspector specifically about combustion-safety findings. These items don’t always make the headline summary — but they’re the ones that matter most for CO risk.
An inspector’s view on why most homes are still underprotected
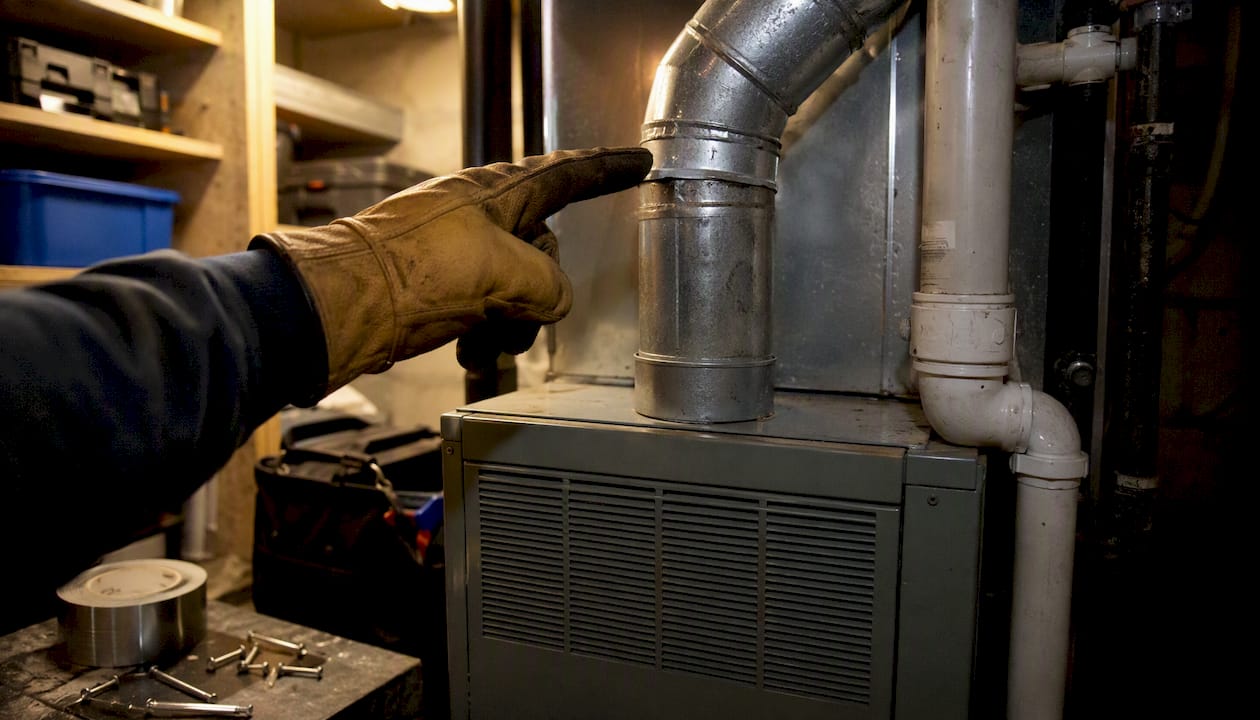
The code minimum and the practical minimum are not the same thing. We inspect homes across Tennessee, Arkansas, Mississippi, Missouri, and Kentucky, and the pattern is consistent: one alarm on the main level, nothing in the basement, nothing near the furnace room, and no interconnection. That setup meets the minimum in some older existing-home statutes, but it leaves real gaps.
The most common shortcut is relying on a single alarm. A two-story home with a basement and an attached garage has at least three distinct CO risk zones — a single detector in the living room covers none of them reliably. The fix isn’t expensive: a two- or three-pack of wireless interconnected units covers the whole house and costs less than a service call.
In the Mid-South, the combination of gas forced-air furnaces, older homes with minimal weatherization, and attached garages creates a specific risk profile. Furnaces here run hard from November through March, and deferred maintenance on heat exchangers is common. Attached garages are nearly universal in suburban Memphis and surrounding counties, and the entry door into the living space is exactly where a detector needs to be — not somewhere in the kitchen 30 feet away.
The practical fixes are straightforward: add targeted units near combustion sources, use wireless interconnect kits to tie existing alarms together, and prioritize sleeping-area coverage above everything else. None of that requires an electrician or a major project.
Upchurch Inspection can identify the CO risks your alarms can’t
CO alarms notify you when gas is already present. A professional inspection finds the conditions that produce it before an alarm ever sounds. Upchurch Inspection’s residential inspections cover combustion appliance operation, flue and chimney condition, gas connections, venting paths, and exhaust systems — the exact components that generate CO risk. We document findings with clear condition descriptions and recommended actions, so you know what needs attention and how urgent it is.
The highest-value times to book are when you’re buying a home with gas appliances or an attached garage, after a CO alarm triggers without an obvious cause, or when your furnace or boiler is approaching the end of its service life. Upchurch Inspection serves homeowners, buyers, sellers, and property managers across Tennessee, Arkansas, Mississippi, Missouri, and Kentucky. Learn more about what a thorough inspection covers and the benefits of regular property inspections, then schedule your evaluation directly through the site.
Sources
These are the primary standards and public-safety resources referenced throughout this article. Each one is worth bookmarking before a home purchase, renovation, or alarm replacement.


