
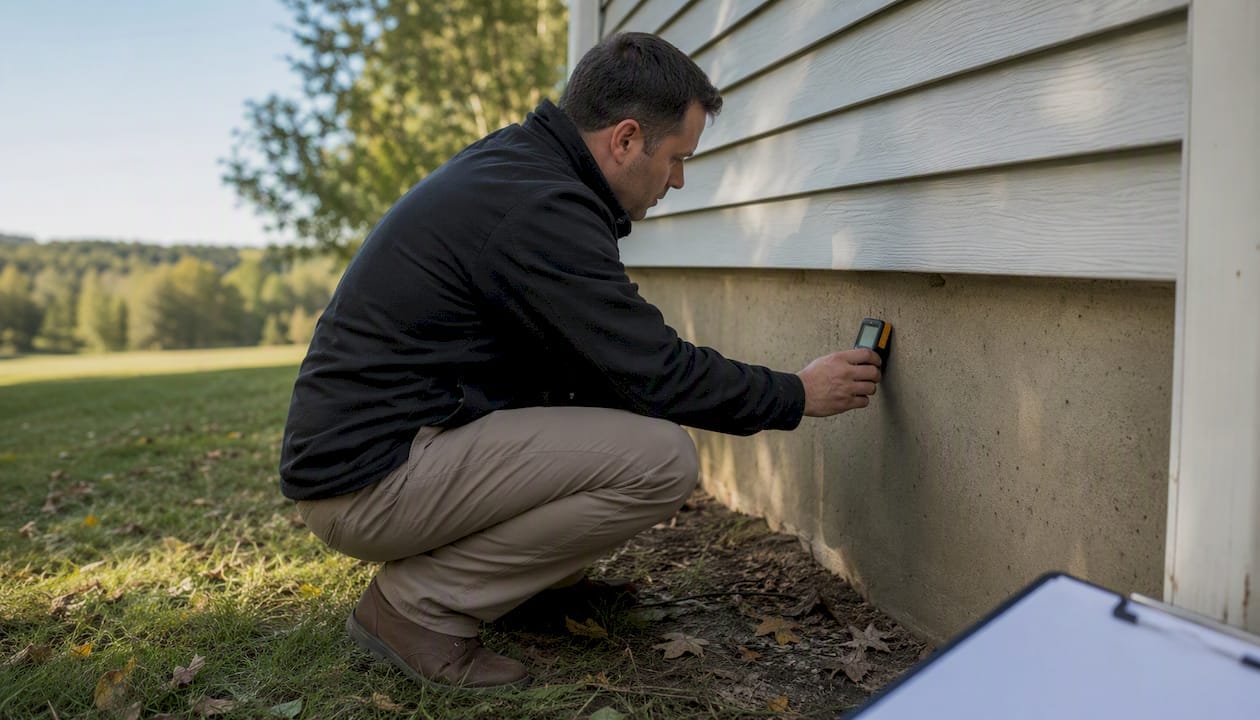
A solid property inspection workflow for agents runs eight steps: order the inspection, prepare the site, attend the walkthrough, triage the report, negotiate repairs or credits, verify contractor work, re-inspect when warranted, and close with documentation in hand. Most deals that fall apart during the inspection period do so because of two failures: agents miss contingency deadlines, or they hand clients a 60-page report without any triage. InterNACHI, ASHI, and NAR all publish guidance that points to the same root cause.
Here is what each step demands from you:
- Order: Secure a licensed, credentialed inspector within 24–48 hours of contract execution.
- Prepare: Confirm utilities on, access clear, specialty tests scheduled inside the contingency window.
- Attend: Be present. Your presence protects the client and documents what the inspector could and could not access.
- Triage: Sort findings into Safety, Major Systems, and Routine Maintenance before briefing your client.
- Negotiate: Lead with safety and major-system items; attach estimates where possible.
- Verify: Collect invoices, licenses, and permits before removing contingencies.
- Re-inspect: Order a focused re-inspection when repairs are material.
- Close: File all inspection documents with the transaction record.
Most deals that fail during the inspection period are preventable with disciplined coordination. The real estate inspection process is not complicated, but it is unforgiving of sloppy timing.
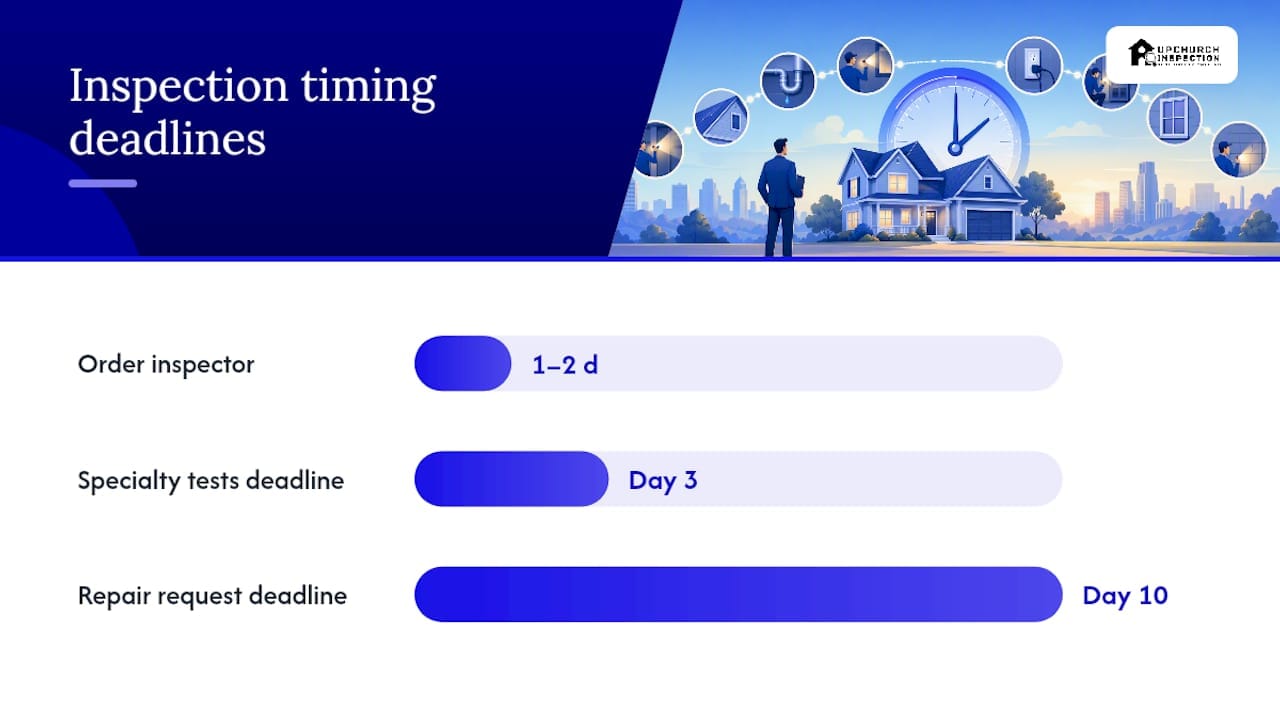
Pro Tip: Set a calendar alert for Day 3 and Day 10 of the contingency window. Day 3 is your last safe day to schedule specialty tests. Day 10 is your last safe day to submit a repair request with contractor quotes attached.
Key Takeaways
A disciplined property inspection workflow for agents protects the client, keeps the deal moving, and reduces the agent’s professional liability at every stage from contract to close.
| Point | Details |
|---|---|
| Set the contingency window in the offer | Typical windows run 7–14 days; request longer for complex or older properties. |
| Vet the inspector before booking | Confirm state license, E&O insurance, and InterNACHI or ASHI membership. |
| Attend the inspection | Presence documents limitations, protects the client, and reduces liability disputes. |
| Triage before briefing | Sort findings into Safety, Major Systems, and Maintenance before sending the report. |
| Upchurch Inspection for Mid-South deals | Covers residential and commercial inspections across TN, AR, MS, MO, and KY with detailed, photo-documented reports. |
Table of Contents
- Your one-page agent inspection cheat sheet
- How to set the contract timeline before the inspection starts
- How to choose and vet the right inspector
- What to do before inspection day
- What agents should do and not do during the walkthrough
- How to read and triage the inspection report
- How to handle repair requests, credits, and documentation
- When to order specialty inspections
- How to verify repairs and document final acceptance
- How commercial inspections differ from residential
- How to limit your liability while advocating for your client
- Templates and tools agents can use right now
- Field notes from a Mid-South inspector
- Upchurch Inspection serves agents across the Mid-South
- Sources
Your one-page agent inspection cheat sheet
Keep this at your desk or text it to your client the morning of contract execution.
| Point | Details |
|---|---|
| Order inspector within 48 hours | Delay costs you scheduling options and specialty-test time inside the window. |
| Confirm credentials before booking | Verify state license, E&O insurance, and InterNACHI or ASHI membership. |
| Schedule specialty tests by Day 3 | Radon, sewer scope, and mold tests need lead time; book them the same day as the general inspection. |
| Attend the walkthrough | Your presence documents inspection limits and reduces liability disputes. |
| Triage before briefing the client | Sort Safety, Major Systems, and Maintenance before you send the report. |
How to set the contract timeline before the inspection starts
The inspection contingency belongs in the offer, not as an afterthought. Typical contingency windows run about one to two weeks, and that clock starts at contract execution, not at the inspection date. Agents who treat Day 1 as a planning day rather than an action day routinely run out of time for specialist follow-ups.
Write the contingency window to reflect the property’s complexity. A 1960s ranch with original plumbing warrants 14 days. A new build with a clean disclosure might be fine at 10. If the property has a private well, septic system, or a flat commercial roof, request 14–21 days in the offer and be prepared to justify it to the listing agent.
- Set the window in the offer. Specify the number of calendar days and confirm whether the contract counts weekends.
- Identify specialty tests at offer time. Flag radon, sewer scope, or structural concerns before the offer is accepted so you can schedule them immediately.
- Build in a buffer for contractor quotes. Repair estimates take 2–5 business days; you need them before submitting a repair request.
- Know your extension language. Most contracts allow a mutual extension; ask for it early, not on Day 13.
Sellers must disclose known defects, but undisclosed issues found during inspection typically open a formal negotiation window. Structure the contingency to give yourself room to act on what you find.
Pro Tip: When writing an offer in a competitive market, keep the contingency window tight but add language permitting specialist follow-ups within the same window. This preserves your client’s rights without signaling weakness to the seller.
How to choose and vet the right inspector
Insist on a state-licensed inspector with active E&O insurance and membership in InterNACHI or ASHI. Both associations require continuing education and hold members to published standards of practice, which matters if a dispute arises later.
- State license: Required in most states; verify it on the state licensing board’s website.
- E&O insurance: Protects both the inspector and, indirectly, you if a missed defect becomes a claim.
- Sample report: Ask for one before booking. A good report uses photos, clear severity language, and separates safety items from maintenance.
- Specialty capabilities: Confirm whether the inspector carries thermal imaging equipment or can coordinate sewer scope and radon testing.
- Conflict of interest: Never refer an inspector who pays referral fees or who is affiliated with a repair contractor. That arrangement creates liability under NAR’s Code of Ethics and state broker regulations.
A general home inspection typically costs $300–$500 for a single-family home. Specialty tests are priced separately and should be planned inside the contingency window from Day 1.
What to do before inspection day
Confirm these items with the listing agent or your seller client at least 48 hours before the inspection:
| Item | Seller/Listing Agent Action | Buyer Agent Action |
|---|---|---|
| Utilities | Gas, electric, water on | Confirm with listing agent |
| Access | Keys, lockbox code, gate codes ready | Provide inspector with access details |
| Attic/crawlspace | Clear of stored items, hatch accessible | Note on inspector order form |
| HVAC filters | Accessible for inspection | Flag if seller has not confirmed |
| Specialty systems | Well pump, septic, pool equipment on | Schedule specialist same day |
Tell your buyer client to prepare for the inspection by arriving in the last hour, wearing comfortable shoes, and bringing a notepad. They should listen, not lead. Pre-listing inspections serve sellers equally well: they surface issues before the property hits the market, reducing the risk of a sale collapsing mid-transaction.
What agents should do and not do during the walkthrough
Brokers should attend inspections when practicable. Your presence lets you see what the inspector could not access, helps you contextualize the report for your client, and creates a contemporaneous record if a dispute arises later.
Do:
- Observe the inspector’s path and note any areas flagged as inaccessible.
- Take your own photos of obstructed areas, deferred maintenance, or anything the inspector verbally flags as significant.
- Encourage your client to attend the last 30–45 minutes and ask the inspector direct questions. A short list of questions to ask the home inspector keeps that conversation productive.
- Note the inspector’s verbal summary; it often contains context that does not make it into the written report.
Do not:
- Diagnose defects or estimate repair costs on the spot.
- Coach the inspector on what to flag or downplay.
- Recommend specific contractors during the walkthrough. That recommendation, made in the moment, can look like a kickback arrangement.
Pro Tip: If the inspector cannot access the crawlspace because of stored items or standing water, document that limitation in writing the same day. A limitation note in your file is your protection if the buyer later claims you concealed a defect.
How to read and triage the inspection report
Inspection reports commonly run many pages, often several dozen, and most of that length is routine maintenance., and most of that length is routine maintenance. Your job is to sort findings before you brief your client, not hand them the raw document and watch them panic.
Use three buckets:
| Bucket | What Goes Here | Agent’s Next Step |
|---|---|---|
| Safety / Immediate Risk | Electrical hazards, gas leaks, missing smoke detectors, structural instability | Request repair or credit; do not waive without resolution |
| Major Systems | HVAC age/condition, roof remaining life, plumbing supply/drain issues, foundation movement | Get contractor quotes; consider specialist evaluation |
| Routine Maintenance | Caulking, minor grading, worn weatherstripping, cosmetic damage | Note for client; typically not negotiated |
A property evaluation checklist helps you move through this triage consistently across transactions. Understanding inspection report terminology before you brief the client prevents misreading severity language.
Pro Tip: When the report flags suspected foundation movement, active roof leaks, or an HVAC system beyond its service life, stop negotiating on that item and order a specialist. A structural engineer’s letter or an HVAC contractor’s written assessment gives you a real number to negotiate with, not a guess.
- Suspected foundation movement: structural engineer or geotechnical consultant.
- HVAC at or past service life: licensed HVAC contractor for a written assessment.
- Sewer odors or slow drains: sewer scope.
- Visible mold or moisture staining: mold testing and moisture mapping.
- Radon: order a radon test for any property in a moderate-to-high radon zone.
How to handle repair requests, credits, and documentation
Present prioritized asks in writing, safety and major-system items first, with contractor estimates attached where you have them. Vague repair requests (“fix the HVAC”) invite vague responses. Specific requests (“replace the failed capacitor on the second-floor air handler per the attached HVAC contractor quote”) are harder to deflect.
- Draft the repair request within 48 hours of receiving the report.
- Attach the triage summary and any specialist reports.
- Specify: repair by a licensed contractor, with permit where required, and documentation provided at closing.
- Propose a credit as an alternative when the seller’s timeline or capacity makes repairs unlikely to be completed properly before closing.
Repair verification checklist:
- Paid invoice from a licensed contractor (license number on the invoice).
- Permit number and final inspection sign-off when the repair required a permit.
- Manufacturer warranty or labor warranty documentation.
- Photographs of completed work.
The inspection contingency permits your buyer to request repairs, ask for a credit, accept the property as-is, or terminate and recover earnest money, provided the request is made within the contingency window. Documentation of every step is what makes that protection enforceable.
When to order specialty inspections
Order specialty tests when the general inspector flags a suspected defect, or when the property type or age makes a specific risk likely regardless of what the general inspection finds.
- Sewer scope: Any home over 20 years old, or when the inspector notes slow drains or odors. A sewer inspection can reveal root intrusion, collapsed lines, or offset joints that a general inspection cannot detect.
- Radon: Properties in EPA Zone 1 or 2, or any property with a basement or crawlspace in a moderate-risk area.
- Mold: Visible staining, musty odors, or any history of water intrusion. In the Mid-South, humidity makes this a routine consideration.
- Structural engineer: Foundation cracks with displacement, bowing walls, or significant roof sag. A structural evaluation is not the same as a general inspection; it produces a professional opinion with engineering weight.
- HVAC: Systems at or past their expected service life (typically 15–20 years for a central system).
- Lead-based paint: Pre-1978 construction, especially with visible paint deterioration.
- Well and septic: Any property on private systems; test water quality and have the septic pumped and inspected.
Schedule all specialty tests within the first three days of the contingency window. Waiting until Day 8 to order a sewer scope leaves no time for contractor quotes or re-inspection.
How to verify repairs and document final acceptance
Verify repairs with invoices, licensed contractor statements, permits, and a focused re-inspection when the work is material. A seller’s verbal assurance that something was “fixed” is not documentation.
| Point | Details |
|---|---|
| Collect invoices before closing | Every agreed repair needs a paid invoice with the contractor’s license number. |
| Confirm permits are closed | Open permits can cloud title; verify final inspection sign-off with the local building department. |
| Re-inspect material repairs | Roof replacement, foundation work, and HVAC replacement warrant a focused re-inspection. |
| Photograph completed work | Add photos to the transaction file alongside invoices. |
Re-inspections in commercial real estate follow the same logic: confirm what was agreed, document what was done, and note any remaining limitations.
How commercial inspections differ from residential
Commercial property inspections are broader in scope, typically require multiple specialists, and run on longer due-diligence timelines, often 30–60 days rather than 7–14. Treating a commercial deal like a residential transaction is one of the more expensive mistakes an agent can make.
- Structural engineer: Required for most commercial buildings; load-path analysis goes well beyond what a general inspector evaluates.
- Environmental consultant: Phase I Environmental Site Assessment is standard for commercial acquisitions; Phase II if contamination is suspected.
- Roofing consultant: Commercial flat roofs require specialist evaluation; a general inspector’s visual assessment is not sufficient for a membrane or built-up roof.
- Mechanical systems specialist: HVAC, elevators, fire suppression, and specialized electrical systems each may require a licensed trade contractor’s assessment.
- Longer scheduling: Plan for 2–4 weeks to complete all specialist reports and receive contractor quotes.
Commercial inspection tips for agents cover the due-diligence sequence in more detail, including how to coordinate multiple specialists without losing track of the contingency timeline.
How to limit your liability while advocating for your client
Attending inspections, recommending qualified inspectors without financial conflicts, documenting disclosures, and advising on specialist follow-up are the four behaviors that most reduce an agent’s liability exposure. Broker guidelines from NCREC and NAR’s Code of Ethics both point to the same standard.
- Attend the inspection. Your presence is documented; your absence is a gap in the record.
- Recommend inspectors on merit, not referral arrangements. A kickback arrangement, even informal, creates negligent-referral exposure.
- Document every disclosure and recommendation in writing. Email is sufficient; a text message is better than nothing.
- Advise specialist follow-up in writing when the report warrants it. If your client declines, document that too.
- Carry E&O insurance and review its coverage for inspection-related claims. Not all E&O policies cover negligent-referral claims.
Pro Tip: When a client wants to waive the inspection contingency in a competitive market, put your recommendation to obtain an inspection in writing and have the client acknowledge it in writing. Your job is to advise; their job is to decide. Document both.
Field notes from a Mid-South inspector
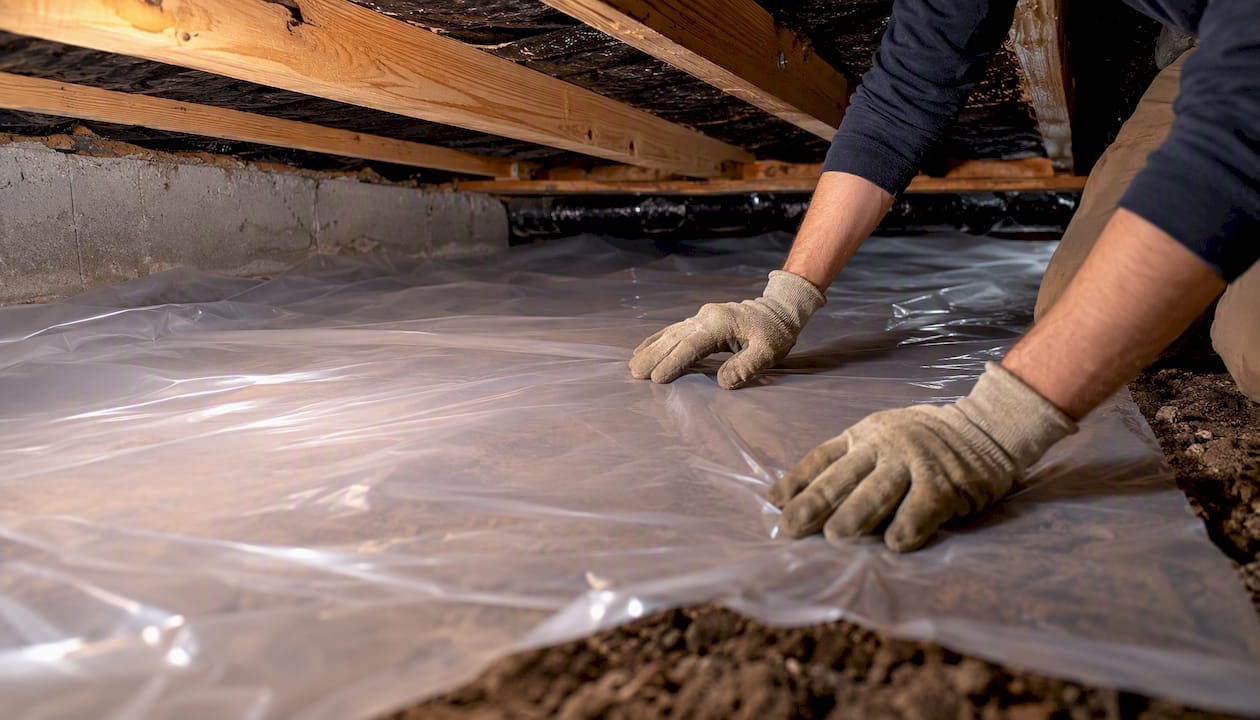
The Mid-South has its own inspection patterns, and agents who work here regularly see the same issues cycle through transactions. Moisture is the dominant theme: crawlspace vapor barriers that have failed or were never installed, HVAC condensate lines draining against the foundation, and bathroom exhaust fans vented into the attic rather than outside. None of these are catastrophic on their own, but together they create conditions for mold growth and wood deterioration that show up in the report and unsettle buyers who are not prepared for them.
Older HVAC systems are the second recurring issue. Much of the housing stock in Memphis and West Tennessee was built in the 1970s and 1980s, and a significant portion of those original systems have been replaced with units that are now themselves approaching end of service life. An agent who knows to ask about HVAC age before the inspection can set the client’s expectations before the report arrives, rather than managing a reaction to it.
Roof wear is the third. Architectural shingles in this climate typically last 20–25 years with reasonable maintenance. A roof installed in 2000 or 2001 is worth flagging to your client before the inspection, not after. Agents who work with inspectors who communicate clearly and produce detailed, photo-documented reports can use that information to keep negotiations grounded in facts rather than anxiety.
What we find in Memphis and West Tennessee inspections reflects these patterns consistently. Agents who understand the local failure modes negotiate better and close more deals.
Upchurch Inspection serves agents across the Mid-South
Agents working transactions in Tennessee, Arkansas, Mississippi, Missouri, and Kentucky need an inspector who produces reports detailed enough to support real negotiations, not a checklist that leaves everyone guessing. Upchurch Inspection covers residential and commercial properties, including pre-purchase, pre-listing, thermal imaging, mold testing, sewer scope, warranty, and specialty system evaluations. Reports document major systems with photographs and clear severity language, so your triage work starts from a solid foundation rather than vague notes.
For commercial deals, Upchurch Inspection’s commercial inspection services include due-diligence inspections structured for the longer timelines and specialist coordination that commercial transactions require. The benefits of scheduling regular inspections extend beyond the transaction itself for clients who own investment property. Book an inspection or request a quote directly at Upchurch Inspection.


