
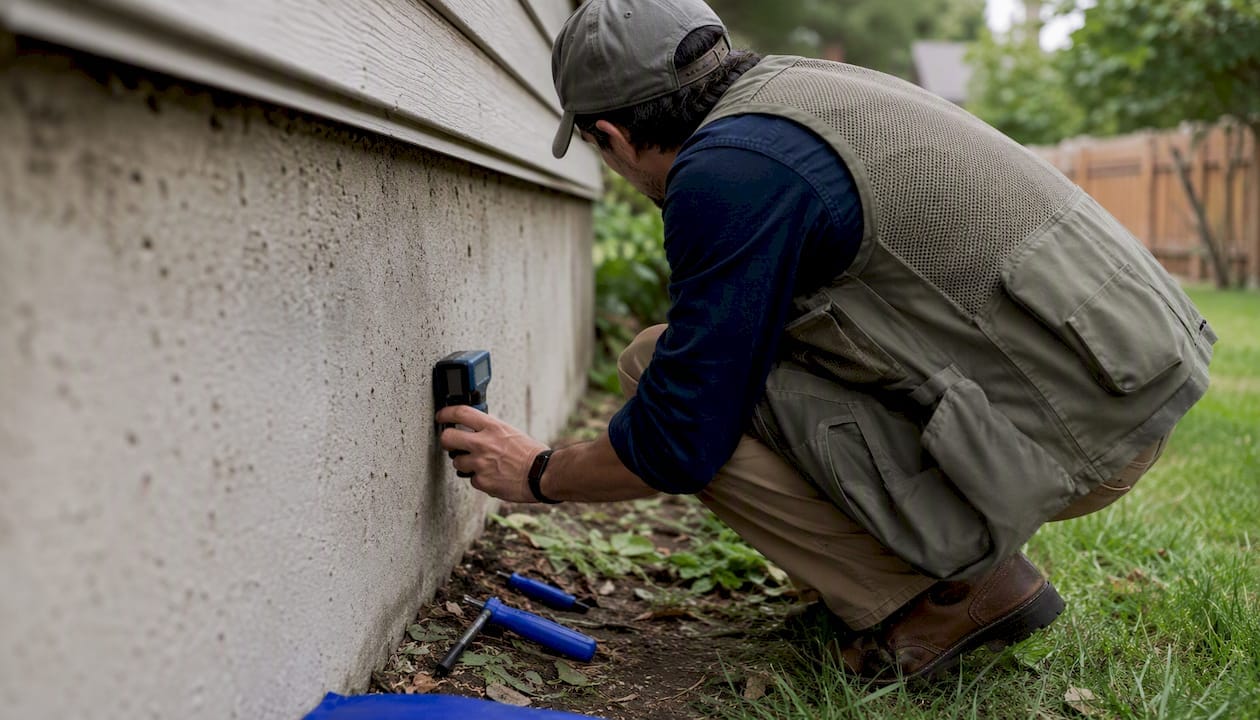
Schedule your inspection the day your offer gets accepted, not the day before your contingency expires. That’s the single biggest mistake I see buyers and property managers make, and it costs them leverage every single time. The CFPB recommends scheduling an independent inspection as soon as the offer is accepted, and that’s not bureaucratic caution. It’s the difference between having room to negotiate repairs and getting stuck closing on a house with a cracked foundation slab you found out about three days before your keys.
Here’s the immediate playbook. Call two or three vetted inspectors within 24 hours of accepted offer. Ask about availability, confirm how fast you’ll get the written report, and if you already suspect you’ll want radon testing or a sewer scope, book those add-ons in the same call. Don’t wait to see what the general inspection turns up before you think about specialty tests, because that second phone call can push you past your contingency deadline.
Why does the timing matter this much? Most residential purchase contracts give you a fixed window to complete due diligence and either accept the property, negotiate, or walk. Every day you wait to schedule is a day you lose from that window. I’ve watched buyers lose negotiating position simply because they didn’t have the inspection report in hand until two days before their contingency expired, leaving no time to get a second opinion on a questionable HVAC unit or request a specialist look at foundation movement.
Key Takeaways
Scheduling a property inspection immediately after offer acceptance, verifying inspector credentials, and bundling specialty tests at booking protects your negotiating power within the contract’s contingency deadline.
| Point | Details |
|---|---|
| Book within 24 hours | Contact two to three vetted inspectors the same day your offer is accepted. |
| Bundle specialty tests upfront | Add radon, sewer scope, or mold testing to the same booking call to avoid delays. |
| Confirm access and utilities | Verify power, water, attic/crawlspace access, and tenant notice before the visit. |
| Request a sample report | Compare detail, photos, and severity ratings before you commit to an inspector. |
| Prioritize findings by severity | Address safety hazards and major defects before negotiating cosmetic items. |
| Work with a credentialed team | Upchurch Inspection offers priority booking, bundled testing, and sample reports across the Mid-South. |
Table of Contents
- How to Schedule Property Inspections the Right Way
- How Do You Find and Vet a Qualified Inspector?
- When Should You Schedule and What Logistics Matter?
- What Does a Property Inspection Actually Cover?
- Should You Attend the Home Inspection in Person?
- What Should You Do After the Inspection Report Arrives?
- What Mistakes Cost Buyers Their Negotiating Leverage?
- Your Property Inspection Booking Checklist and Call Script
- An Inspector’s Take on Scheduling Failures
- Let Upchurch Inspection Handle Your Scheduling Pressure
- Where to Verify Standards and Find Qualified Inspectors
- Frequently Asked Questions
- Sources
How to Schedule Property Inspections the Right Way
Scheduling a property inspection correctly comes down to three things happening in the right order: you contact qualified inspectors immediately, you confirm scope and timing before you commit, and you bundle any specialty testing into that same booking call. Buyers typically handle this themselves, often coordinating through their real estate agent, because the contingency exists to protect the buyer’s interests, not the seller’s. Don’t assume your agent or the seller will line this up for you automatically. Some agents are proactive about it. Plenty aren’t, and the clock doesn’t stop running while everyone waits for someone else to make the call.
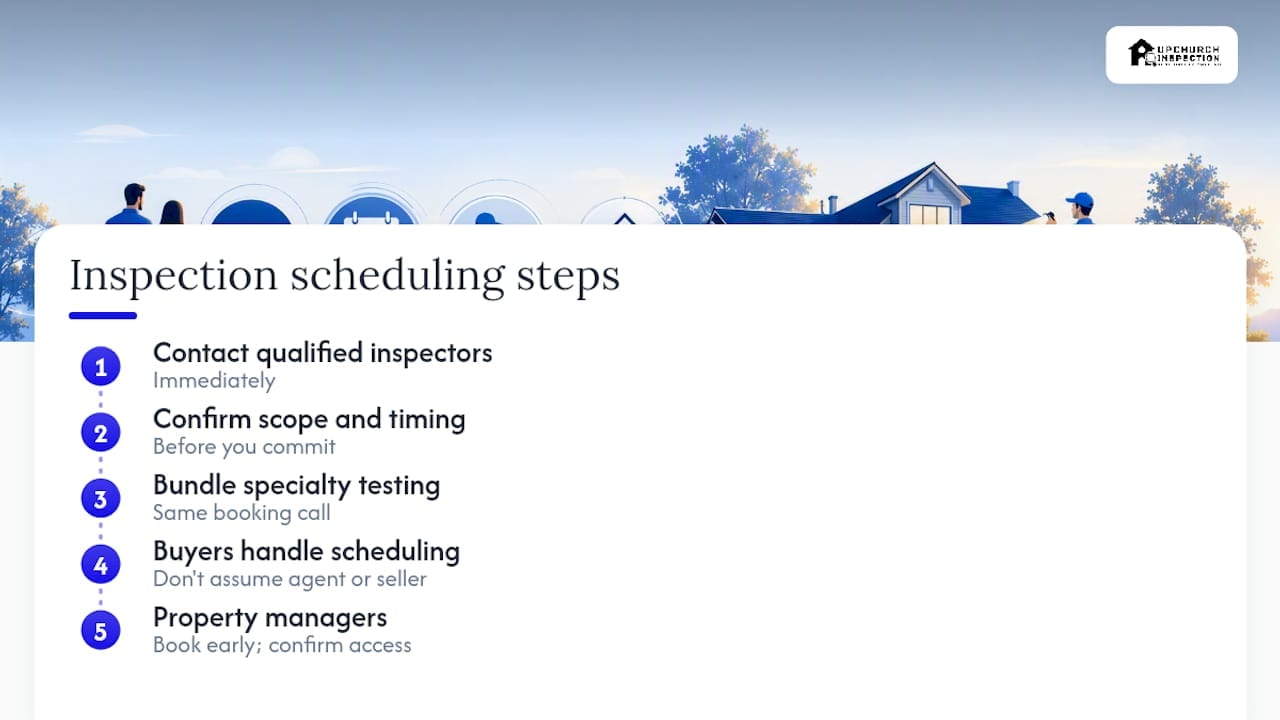
For property managers scheduling recurring inspections rather than a one-time purchase inspection, the calendar logic is different but the principle holds: book early, confirm access, and don’t let scheduling slip because it feels like a routine task. A missed annual inspection on a rental unit tends to surface as a much bigger repair bill eighteen months later.
How Do You Find and Vet a Qualified Inspector?
Finding candidates is the easy part. Vetting them fast enough to still hit your contingency window is where people get sloppy.
Start with directories that actually screen for training standards. ASHI (American Society of Home Inspectors) and InterNACHI (International Association of Certified Home Inspectors) both maintain searchable member lists, and membership generally means the inspector has met continuing education requirements beyond whatever your state mandates. Cross-reference names against the Better Business Bureau for complaint history, and check review platforms like Zillow and Angi (formerly HomeAdvisor) for pattern feedback, not just star ratings. One bad review means nothing. Five reviews all mentioning a rushed 45-minute inspection on a 2,800-square-foot house means something.
Once you have two or three names, vet them with these checks before you book:
- Confirm state licensing where your state requires it, and ask which standards of practice they follow.
- Request proof of errors-and-omissions and general liability insurance. A legitimate inspector carries both and won’t hesitate to send documentation.
- Ask how many inspections they’ve completed and how many years they’ve been doing this specific work, not just real estate generally.
- Request a sample report before you book anything.
- Confirm you’re allowed to attend the inspection in person.
That sample report request matters more than most buyers realize. Consumer Reports notes that a sample report tells you how thorough the actual deliverable will be, and typical fees run roughly $300 to $1,000 depending on property size and scope. A report full of vague checkbox language and no photos is a preview of what you’ll get on your own house. A report with clear photo documentation, specific location references, and severity ratings tells you the inspector actually crawled the attic instead of glancing up from the hatch.
Pro Tip: Ask the inspector directly, “What’s something you found on your last inspection that surprised you?” A seasoned inspector will have a real, specific answer within two seconds. Someone who stumbles on that question probably hasn’t done many inspections lately.
When Should You Schedule and What Logistics Matter?
Aim to have an inspector contacted within 24 hours of your offer being accepted, and get the on-site visit completed early in your contingency window. That leaves buffer time to review the report, request follow-up specialist evaluations if something concerning turns up, and still negotiate before your deadline hits.

a standard single-family home inspection runs a few hours on site, depending on square footage, age, and system complexity. Report turnaround is usually within a couple of days, though some inspectors deliver same-day for straightforward properties. Specialty tests take additional time; for example, radon testing requires continuous monitoring over a multi-day period, so it should start early. Sewer scope inspections add time on site, and mold testing turnaround depends on the laboratory.
| Task | Typical Timeframe |
|---|---|
| Contact inspectors after offer acceptance | Within 24 hours |
| On-site general inspection duration | 2 to 4 hours |
| Written report delivery | 24 to 48 hours after inspection |
| Radon monitoring period | 48 hours continuous |
| Sewer scope add-on time | a few hours |
| Mold/air-quality lab results | 3 to 5 business days |
Before the inspector shows up, confirm the logistics that trip people up most often:
- Utilities are on. An inspector can’t test the HVAC, water heater, or electrical panel properly if the power or water is shut off.
- Attic and crawlspace access points are clear and reachable.
- Keys or lockbox codes are arranged, whether through the listing agent or seller directly.
- Tenants have received proper notice if this is an occupied rental property.
- You have written confirmation of the date, time, and scope, not just a verbal agreement over the phone.
If you’re managing multifamily or commercial property inspections, the notice requirements often run longer. The Mortgage Bankers Association’s property inspection reference guide recommends a minimum two weeks’ notice for some scheduled inspections, plus a reminder sent 48 hours before the visit and confirmation that the on-site contact actually knows the property. That last part sounds obvious until you show up and the property manager on record left the company four months ago.
Book add-on tests, radon, sewer scope, mold at the same time you book the general inspection whenever possible. A separate visit for a sewer scope two weeks later, scheduled after you already reviewed the main report, is exactly the kind of delay that eats your contingency window alive.
What Does a Property Inspection Actually Cover?
A general inspection looks at the roof, attic, foundation, structural framing, HVAC systems, plumbing, electrical panels and wiring, major appliances, exterior siding and grading, and visible signs of moisture intrusion. That’s the core scope on essentially every residential inspection process, and it’s designed to give you a condition snapshot, not a certification that everything is perfect.
Several common conditions fall outside that standard scope and need to be booked separately if you have reason for concern:
- Radon testing, since radon requires dedicated monitoring equipment over a set time period.
- Termite and wood-destroying organism inspections, often required by lenders in certain regions regardless of visible damage.
- Sewer scope inspections, particularly important on homes over 25 years old with clay or cast iron lateral lines.
- Mold or indoor air quality testing when there’s visible staining, musty odor, or a known history of water intrusion.
- Well and septic system evaluations for rural properties not on municipal utilities.
What a general home inspection does not include: code compliance verification, invasive testing that requires cutting into walls or removing finished surfaces, environmental hazard remediation, or full engineering-level structural analysis. If an inspector flags foundation movement or notes framing that looks undersized for the span, that’s a referral to a structural engineer, not something a general inspection resolves on its own.
It’s worth separating this from an appraisal, because buyers confuse the two constantly. An inspection assesses the physical condition of the property. An appraisal, ordered by your lender, assesses market value to confirm the loan amount is justified. One tells you what’s wrong with the house. The other tells the bank what the house is worth. You need both, and neither substitutes for the other.
Should You Attend the Home Inspection in Person?
Show up. Being physically present during the walkthrough lets you ask questions in real time and see conditions with your own eyes instead of interpreting a photo and a paragraph of technical language three days later. Attending the inspection changes how much practical value you get out of the entire process.
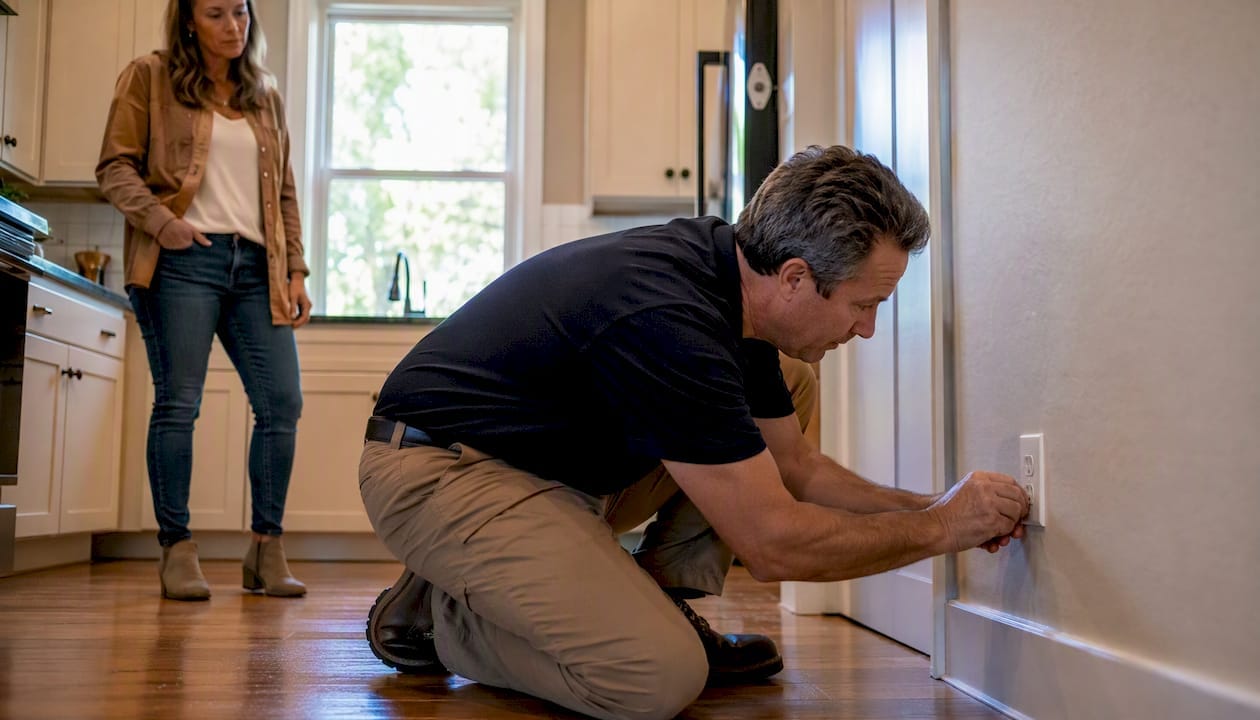
You don’t need to be there for the first hour. Most inspectors start with the exterior, roof, and mechanical systems before working into the interior walkthrough, so arriving roughly 60 minutes in usually lines up with when they’re ready to walk the living spaces with you, unless the inspector tells you otherwise. Showing up right at the start and trailing the inspector around the exterior mostly slows things down.
Bring a short list of anything that concerned you during your showing, whether that’s a musty smell in the basement or a stain on a ceiling tile. Bring a notebook or your phone to snap your own photos alongside the inspector’s. If the seller provided any documentation, warranty paperwork, prior inspection reports, receipts for HVAC service, bring those too, because an inspector can cross-reference what they’re seeing against what’s on paper.
On site, three questions do more work than any others: Is this a safety issue, a maintenance item, or purely cosmetic? How urgent is the repair, meaning does it need attention in six months or six years? And what would a specialist actually check that you can’t check yourself right now? A good inspector will answer all three honestly, including telling you when something looks fine but they’d still recommend a second opinion.
What Should You Do After the Inspection Report Arrives?
Read the report in a specific order: safety hazards first, major defects second, systemic and maintenance items third, cosmetic issues last. That hierarchy keeps you from getting distracted by a chipped countertop while missing that the report flagged double-tapped breakers in the electrical panel.
- Confirm the report actually arrived within the promised delivery window and in the format you agreed on, PDF with photos, not a phone call summary.
- Review every photo alongside its severity rating. Reputable inspectors label findings by urgency, and you should be able to tell the difference between “monitor this” and “address before closing” at a glance.
- For anything flagged as potentially systemic, foundation cracking, roof structure concerns, HVAC nearing end of service life, request a specialist assessment before you finalize your repair requests. Our guide to reading inspection reports walks through how to interpret severity language inspectors commonly use.
- Draft your repair request or credit request while you still have days left in your contingency window, not on the deadline itself. Reference specific report pages and photos rather than vague language like “the roof needs work.”
- If anything raises real doubt about the home’s structural integrity or reveals a defect the seller should have disclosed, loop in your agent and, if the issue is serious enough, a real estate attorney before you sign anything else.
Knowing how to tell the difference between cosmetic, structural, and systemic problems is what separates a productive negotiation from an emotional one. Walking away entirely makes sense when the report reveals immediate safety hazards or a critical defect the seller didn’t disclose that materially changes what you’re buying. Everything short of that is usually a negotiation, not a dealbreaker.
What Mistakes Cost Buyers Their Negotiating Leverage?
The most common scheduling mistake is simple procrastination: waiting a week after offer acceptance to even start calling inspectors. That week is gone from your contingency window and it doesn’t come back. A close second is assuming the seller or listing agent will arrange a neutral inspector on your behalf. They won’t, and even if they offer to, that’s not an inspector working for your interests.
In competitive markets, some buyers waive the inspection contingency entirely to make their offer more attractive. That’s a real gamble, and it’s one that occasionally backfires badly, since it removes your ability to negotiate or walk away based on what an inspection would have found. If you’re going to waive the contingency, at minimum get an informal walkthrough before you do it, even if it’s not a formal contractual protection.
Watch for these red flags while vetting:
- No sample report available on request, or a vague excuse about why they can’t share one.
- Evasive or inconsistent answers about report delivery timing.
- No proof of insurance or professional membership when asked directly.
- A pattern in reviews mentioning consistently late reports.
Don’t confuse a low quote with a good deal. Consumer Reports’ fee range of roughly $300 to $1,000 reflects real differences in scope, some inspectors include thermal imaging or a more thorough attic crawl, others charge extra for every add-on. Compare what’s actually included before you compare price tags.
Your Property Inspection Booking Checklist and Call Script
Keep this list next to the phone when you’re calling inspectors. It takes five minutes and it eliminates most of the confusion that leads to missed deadlines.
- Have the property address, square footage, age, and any known issues ready before you dial.
- Confirm utilities will be on for the inspection date.
- State your desired on-site date and time, and ask for their earliest availability.
- List every add-on test you want bundled in: radon, sewer scope, mold, well/septic.
- Ask their guaranteed report delivery timeframe and format.
- Get total cost, including add-ons, and ask about the cancellation policy.
- Confirm whether you’re welcome to attend.
Here’s a script you can read almost word for word: “I have an accepted offer with a contingency deadline of [date]. Are you available for an on-site inspection within the next five to seven days? What’s included in your base inspection, and what would radon and a sewer scope add in cost and time? How long will the report take after the visit, and can I be there during the inspection?” That single call answers nearly everything you need to know.
For multifamily or commercial properties, add a few questions: what’s the tenant-notice procedure, how long has the on-site property contact been in that role, and what documents should be provided in advance. Our breakdown on preparing for commercial property inspections covers tenant coordination in more depth if you’re managing an occupied building rather than a vacant purchase.
Pro Tip: If your contingency deadline is tight, ask for the delivery guarantee in writing, not verbally. “I’ll get it to you by Thursday” means nothing if Thursday comes and goes with no report and no explanation.
An Inspector’s Take on Scheduling Failures
The number one scheduling failure I see in the field isn’t a bad inspector or a bad buyer. It’s a house with the water shut off on inspection day. I can’t test the water heater, can’t check for active leaks under sinks, can’t run the dishwasher through a cycle, and now the whole visit is incomplete through no fault of anyone actually doing the work. A five-minute phone call the morning of the inspection, confirming utilities are on, would prevent nearly every one of these situations.
Regional timing matters more than most out-of-state buyers realize. In West Tennessee and the broader Mid-South, humidity drives a lot of what shows up in crawlspaces and attics, and HVAC systems here work harder for longer stretches of the year than they do in milder climates. Scheduling during peak summer season means longer wait times for inspectors and a system that’s already under maximum load, which is actually a useful stress test if you’re trying to gauge how a unit performs near the end of its service life. Booking early in a season, rather than the week before your contingency expires, gives you a better shot at catching an inspector who isn’t stacking six inspections into one day just to keep up with demand.
The checklist approach and the sample-report request aren’t bureaucratic box-checking. They’re the fastest way to separate an inspector who knows the difference between a cosmetic crack and a structural one from someone who’s going to hand you a generic report and a bill. Ask for the sample. Read it before you book anything.
Let Upchurch Inspection Handle Your Scheduling Pressure
If you’re weighing a stack of inspector names and trying to figure out who can actually hit your contingency deadline, Upchurch Inspection removes that guesswork by offering priority booking, bundled specialty testing, and sample reports you can review before you ever commit. Across Tennessee, Arkansas, Mississippi, Missouri, and Kentucky, our inspectors carry qualifications that exceed state standards, and we’ll send proof of insurance and credentials the moment you ask, no runaround.
When you book, you get written confirmation of your date and time, clear instructions on what access we need (utilities on, attic hatch clear, keys arranged), and a firm delivery window for your written report so you’re not guessing whether it’ll arrive before your deadline. Whether you need a straightforward residential inspection or something more involved like a commercial property condition assessment, pricing stays transparent from the first phone call.
Contact us to check availability for your contingency window and get bundled specialty testing set up in the same call.
Where to Verify Standards and Find Qualified Inspectors
Every buyer and property manager should know exactly where to check credentials and compare standards before committing to an inspector.
| Resource | What It Offers |
|---|---|
| ASHI | Searchable directory of member inspectors meeting continuing education standards |
| InterNACHI | Certification verification and member directory for home inspectors |
| CFPB | Federal guidance on scheduling and the role of inspection contingencies |
| Consumer Reports | Fee benchmarks and advice on evaluating inspector thoroughness |
| Zillow | Practical interview questions and insurance verification tips |
| The New York Times | Guidance on checking your state’s standards of practice first |
If you’re buying a newly built home, the prep steps differ slightly from a resale purchase. A builder walkthrough tends to focus more on finish work and punch-list items than deferred maintenance.
Frequently Asked Questions
Who is responsible for scheduling the property inspection?
The buyer typically schedules the inspection once the property is under contract, since the contingency period exists to protect the buyer’s interests. Agents often help coordinate, but the responsibility to make the call and confirm the appointment usually falls on the buyer.
How soon after an accepted offer should you schedule an inspection?
Contact inspectors within 24 hours of offer acceptance and aim to complete the on-site visit within the first 5 to 7 days of your contingency window. That leaves enough time to review the report and negotiate before the deadline.
Can property managers use the same scheduling approach for rental inspections?
The core logic holds, book early, confirm access, bundle any specialty testing, but timelines shift. Recurring rental inspections don’t have a purchase contingency deadline, though tenant notice requirements and lease terms set their own scheduling constraints.
Is a home inspection the same as an appraisal?
No. An inspection assesses the physical condition of the property. An appraisal, ordered by the lender, assesses market value. You typically need both during a purchase, and one doesn’t substitute for the other.
What should you do if the inspection reveals a major defect?
Confirm the severity with the inspector, request a specialist evaluation if recommended, and draft a specific repair request or credit request referencing the report before your contingency deadline expires. For anything involving immediate safety hazards, consult your agent right away.


