

TL;DR:
- A comprehensive home inspection checklist evaluates ten major systems, ensuring a clear condition report. Buyers and sellers benefit by understanding safety hazards, major issues, and repair needs before closing. Preparing properly and attending inspections helps prevent unexpected costs and negotiations.
A comprehensive inspection checklist is a structured evaluation tool that covers every major system and component of a residential property, giving buyers and sellers a clear picture of what they are actually purchasing or selling. Professional inspectors follow standards set by InterNACHI and ASHI, which define the 10 primary systems that must be evaluated in every residential inspection. Skipping or shortcutting this process is how buyers end up with a $15,000 roof replacement they never saw coming, and how sellers lose negotiating ground at the closing table. Whether you are under contract or preparing to list, understanding what a full inspection checklist covers, and what it does not, is the most practical thing you can do before money changes hands.
What does a comprehensive inspection checklist cover?
Professional home inspections follow standards like ASHI and InterNACHI, requiring evaluation of 10 primary systems across the property. Those systems are the roof, structure, electrical, heating, cooling, plumbing, interior, exterior, insulation and ventilation, and fireplace or chimney. Each one gets a visual assessment of observable conditions, not a teardown or a code audit.
Here is what a step-by-step inspection list covers across those 10 systems:
- Roof: Shingles, flashing, gutters, downspouts, visible decking, and penetrations like vents and skylights
- Structure: Foundation, framing, load-bearing walls, floor systems, and visible crawlspace or basement conditions
- Electrical: Panel condition, breaker labeling, visible wiring, outlets, GFCI protection, and grounding
- Heating and cooling: Equipment age, condition, filter status, ductwork, and basic operational function
- Plumbing: Supply and drain lines, water heater age and condition, visible leaks, water pressure, and fixture function
- Interior: Walls, ceilings, floors, doors, windows, and stairs for damage, moisture, and operational issues
- Exterior: Siding, trim, grading, walkways, decks, and visible drainage patterns
- Insulation and ventilation: Attic insulation depth, vapor barriers, and attic or crawlspace ventilation
- Fireplace and chimney: Firebox condition, damper operation, and visible flue from below
What the checklist does not cover matters just as much. A professional home inspection is a non-invasive visual evaluation. Inspectors do not move furniture, open walls, or access areas that are physically blocked. Mold testing, radon measurement, sewer scoping, and code compliance checks all fall outside the standard scope. Those require separate specialists. Buyers who expect the inspection to catch every hidden defect will be disappointed. The checklist is a condition snapshot, not a warranty.
How to prepare for a home inspection using your checklist
Preparation separates a useful inspection from a wasted one. Follow these steps before the inspector arrives.
- Confirm all utilities are active. Gas, water, and electricity must be on for the inspector to test appliances, HVAC, and plumbing. A home with utilities off will produce an incomplete report.
- Clear access to key areas. The attic hatch, electrical panel, water heater, crawlspace entry, and HVAC equipment must be physically accessible. Boxes stacked in front of the panel or a locked crawlspace door creates gaps in the report.
- Gather documentation. Collect any records of recent repairs, roof replacements, HVAC service, or permits. Inspectors note age and condition; your records add context.
- Plan to attend the full inspection. Buyers who engage fully with inspectors during the 2–4 hour inspection window gain better understanding by asking targeted questions about HVAC and roofing maintenance. Reading a 60-page report alone later is a poor substitute for being there.
- Bring your checklist template. Use it as a reference to follow the inspector room by room. Note what they flag, what they skip, and what they recommend for further evaluation.
Inspection duration depends on property size. Homes under 1,000 square feet typically take 60–90 minutes. Homes over 3,500 square feet often require 4–6 hours. Plan your schedule accordingly, and do not book the inspection on a day when you have to leave early.
Pro Tip: Ask the inspector directly: “What is the single biggest concern you found today?” That question cuts through report volume and gets you the inspector’s real judgment, not just a list of observations.
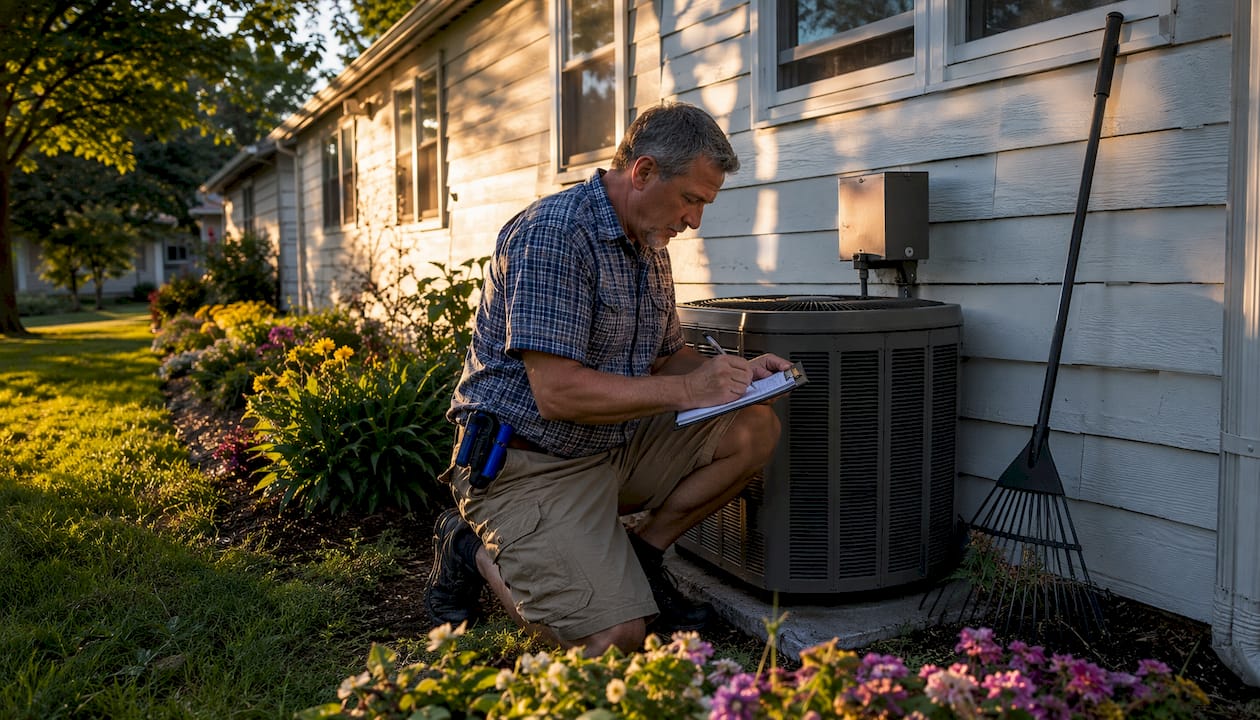
Common findings on a detailed inspection form and how to prioritize them
Inspection reports can run 30–80 pages. That volume can make a structurally sound home look like a disaster. The key is reading the executive summary first and sorting findings into four categories before reacting.
| Category | Examples | Priority |
|---|---|---|
| Safety hazards | Missing GFCI outlets, double-tapped breakers, no CO detectors, exposed wiring | Address immediately, non-negotiable |
| Major system issues | Roof near end of service life, HVAC failure, foundation movement, failed water heater | High priority for negotiation or repair |
| Minor repairs | Slow drains, failed caulking, minor leaks, damaged weatherstripping | Address before closing or budget post-purchase |
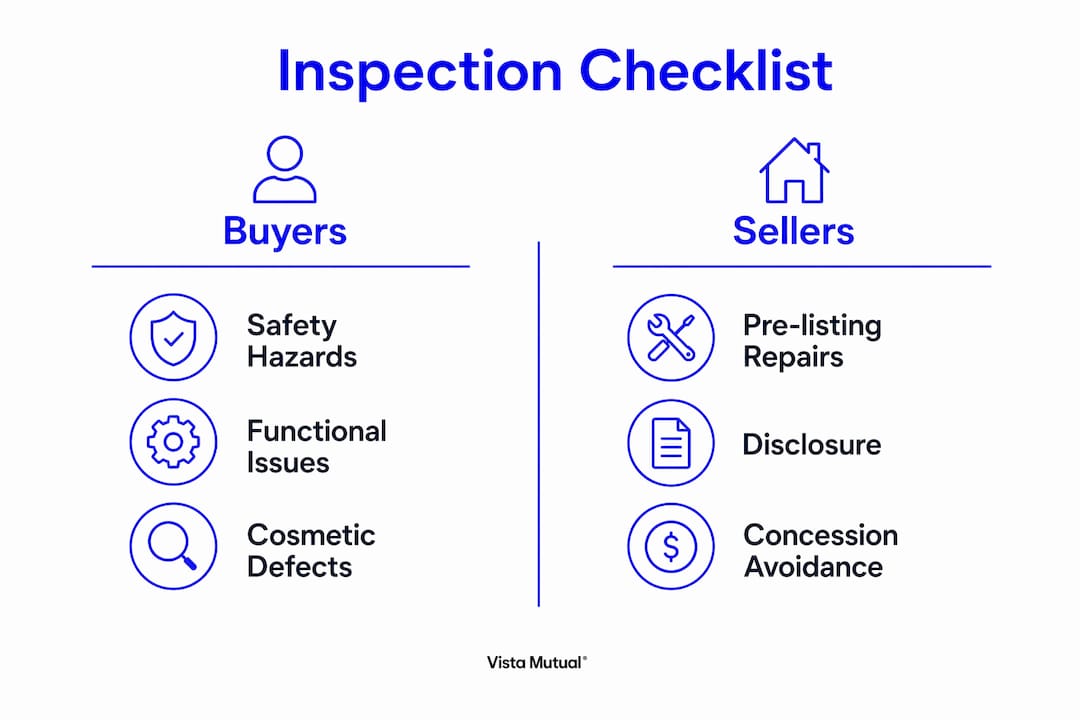
| Cosmetic concerns | Scuffed paint, worn carpet, dated fixtures | Lowest priority, rarely worth negotiating |
Roof problems appear in 70% of inspections, making them the most common major finding. Foundation cracks and electrical defects follow closely. These three areas carry the most weight in buyer negotiations and have the greatest impact on sale price.
Buyers often overemphasize cosmetic defects. A cracked outlet cover and a failed roof are not the same category of problem, but both show up in the same report format. Prioritize structural integrity, safety, and major system function. Cosmetic notes are informational, not negotiating chips.
Pro Tip: When reviewing your report, highlight every item marked “safety hazard” or “recommend immediate repair” first. Everything else can wait until you have assessed those two categories.
Pre-listing inspection checklist: what sellers should do before listing
Sellers who wait for the buyer’s inspector to find problems are playing defense. A pre-listing inspection puts you on offense. Scheduling a pre-listing inspection 4–6 weeks before listing gives you time to get repair quotes, complete work, and price the home accurately.
The key checklist items sellers should evaluate before listing include:
- Roof condition: Age, visible damage, missing shingles, and flashing integrity. Roof problems show up in the majority of buyer inspections and drive the largest concession requests.
- Electrical safety: Panel condition, GFCI protection in kitchens and bathrooms, and any visible aluminum wiring in older homes.
- Plumbing: Water heater age and condition, visible supply line leaks, and drain function under all fixtures.
- HVAC: Filter condition, system age, last service date, and whether both heating and cooling function properly.
- Structure: Visible foundation cracks, floor levelness, and any signs of moisture intrusion in the basement or crawlspace.
- Interior condition: Window seals, door operation, and any water staining on ceilings that suggests past or active leaks.
Sellers who addressed inspection issues before listing avoided buyer concessions at closing at a significantly higher rate than those who did not. That is a direct financial return on the cost of a pre-listing inspection.
Not every defect warrants repair. Sellers should fix safety hazards and functional failures and disclose older systems or cosmetic flaws rather than attempting to repair everything. A 15-year-old HVAC system that functions properly does not need replacement before listing. Disclose its age, price accordingly, and let the buyer decide. Proactive sellers who share their pre-listing report build buyer trust and reduce the risk of post-offer renegotiations or legal challenges. Transparency is a stronger position than concealment.
The pre-listing inspection benefits extend beyond just avoiding concessions. Sellers who know their property’s condition can set a realistic asking price, attract more serious buyers, and move through the contract period faster.
Key Takeaways
A property inspection checklist covering all 10 InterNACHI and ASHI systems, combined with active buyer presence and pre-listing seller preparation, is the most reliable way to protect your position in a real estate transaction.
| Point | Details |
|---|---|
| 10 systems define the scope | InterNACHI and ASHI standards require evaluation of roof, structure, electrical, HVAC, plumbing, interior, exterior, insulation, and fireplace. |
| Exclusions matter as much as inclusions | Mold, radon, sewer, and code compliance fall outside standard inspection scope and require separate specialists. |
| Attend the full inspection | Buyers who are present for the 2–4 hour process gain far more than those who only read the final report. |
| Prioritize safety and major systems | Focus on safety hazards and functional failures first. Cosmetic findings rarely justify negotiation leverage. |
| Pre-listing inspections reduce concessions | Sellers who address issues before listing are significantly less likely to face buyer concession demands at closing. |
What most buyers and sellers miss in the checklist
Most buyers treat the inspection report like a punch list for the seller to fix. That is the wrong frame entirely. The report is a condition disclosure, not a repair demand. When I walk through a property and flag 40 items, that does not mean the house is falling apart. It means the house has been lived in. The question is always: which of these 40 items actually changes what you are willing to pay or whether you proceed at all?
The buyers who get the most value from an inspection are the ones who show up, walk with the inspector, and ask questions about system longevity. “How many years does this water heater have left?” is worth more than any line in the written report. That kind of conversation gives you real planning data, not just a list of observed conditions.
Sellers in West Tennessee consistently underestimate how much a crawlspace tells a buyer. Moisture intrusion, wood rot, and inadequate vapor barriers are common in this climate, and they show up in nearly every older home we inspect in the region. Fixing a crawlspace issue before listing costs far less than the concession a buyer will demand after their inspector photographs it. Know your crawlspace before your buyer does.
The other thing buyers miss is what the checklist does not cover. A clean inspection report does not mean the sewer line is clear, the attic has no mold, or the foundation has no movement. Those require specialized inspection services beyond the standard visual scope. If the property is older or has any red flags, order those add-ons. The cost is minor compared to what you might inherit.
— Holly
Upchurchinspection: thorough evaluations for confident decisions
Upchurchinspection serves buyers and sellers across the Mid-South with residential and commercial inspections that follow InterNACHI and ASHI standards. Every report covers all 10 major systems with clear condition ratings and specific recommendations, so you know exactly what needs attention and what can wait. The inspectors at Upchurchinspection hold qualifications that exceed Tennessee state requirements, which means you get field-informed judgment, not just a checklist run-through. For sellers, a pre-listing inspection through Upchurchinspection gives you the information you need to price accurately and negotiate from a position of knowledge. Learn more about the long-term value of regular inspections and how Upchurchinspection can protect your investment at every stage of ownership.
FAQ
What is an inspection checklist in real estate?
A property inspection checklist is a structured list of systems and components a licensed inspector evaluates during a home inspection. It follows industry standards like InterNACHI and ASHI and covers 10 primary systems including roof, structure, electrical, plumbing, and HVAC.
How long does a home inspection take?
A standard home inspection takes 2–4 hours depending on property size. Homes under 1,000 square feet typically take 60–90 minutes, while homes over 3,500 square feet can require 4–6 hours.
What does a home inspection checklist not cover?
Standard inspection checklists exclude mold testing, radon measurement, sewer scoping, underground systems, and code compliance checks. These require separate specialist services beyond the standard visual evaluation.
Should sellers get an inspection before listing?
Scheduling a pre-listing inspection 4–6 weeks before listing gives sellers time to address safety hazards and functional failures, price the home accurately, and reduce the risk of buyer concession demands at closing.
How should buyers prioritize inspection findings?
Buyers should read the executive summary first and focus on safety hazards and major system failures before reviewing minor repairs or cosmetic issues. Cosmetic findings rarely justify significant negotiation leverage.


