
TL;DR:
- A pre-listing home inspection allows sellers to identify and fix issues before listing, avoiding costly renegotiations. Conducting the inspection 4–6 weeks early gives time for repairs, documentation, and coordination with contractors, protecting the sale price. Focusing on safety and major systems is essential, while preparing access and gathering records improve inspection results and buyer confidence.
A home selling inspection checklist is a structured list of property systems and conditions that sellers review before listing, giving them the chance to fix problems on their own terms rather than a buyer’s timeline. Most sellers skip this step and pay for it later, either through renegotiated prices, repair credits, or deals that fall apart entirely. A pre-listing inspection, the industry term for a seller-commissioned evaluation before the property hits the market, puts you in control of what gets disclosed, what gets fixed, and how you price the home. The sections below walk through timing, critical inspection areas, preparation steps, and how to handle findings without losing deal momentum.
When should you schedule a pre-listing home inspection?
Schedule a pre-listing inspection 4–6 weeks before your planned listing date. That window gives you time to get contractor bids, complete repairs, and gather documentation before buyers ever set foot in the house. Rushing this step is one of the most common and costly mistakes sellers make.
Pre-listing inspections cost $400–$600 depending on home size and location. That fee is modest compared to the price reductions and repair credits buyers demand when they find problems first. Think of it as buying information at a fixed price before negotiations begin.
Scheduling early also lets you coordinate the inspection with the contractor’s availability. In Memphis and West Tennessee, HVAC technicians and roofers book out weeks in advance, especially in spring and fall. If your inspector flags a failing heat exchanger in week one, you have time to get three bids and make an informed repair decision before your listing goes live.
Pro Tip: Book your pre-listing inspection the same week you interview real estate agents. That timing forces the repair conversation early, before marketing photos are scheduled and before you have a hard launch date, creating pressure.
Key reasons to inspect before listing:
- Avoid surprise renegotiations after a buyer’s inspector finds problems
- Price the home accurately based on known condition
- Reduce the chance of inspection contingencies derailing the closing
- Give buyers documented evidence of maintenance and repairs
- Shorten the time between contract and closing
What does a home selling inspection checklist cover?
The most common issues that trigger buyer renegotiations fall into six categories: roof condition, HVAC performance, water intrusion, electrical safety, plumbing function, and structural integrity. Repair costs range from $300–$1,500 for minor issues to $7,000–$15,000 for major ones. Knowing which category a problem falls into tells you whether to fix it, disclose it, or price around it.
Major areas on every seller’s checklist
- Roof and exterior. Missing or curled shingles, damaged flashing, and clogged gutters are the most flagged exterior items. Buyers use roof problems as leverage to secure large credits.
- HVAC systems. Age and service history matter as much as current function. A 15-year-old unit that runs today may still draw a repair request based on expected remaining service life.
- Water intrusion. Basement seepage, crawlspace moisture, and staining around windows or roof penetrations signal active or historic water problems. These are the findings buyers fear most.
- Electrical safety. Double-tapped breakers, missing GFCI protection near water sources, and aluminum branch wiring are common findings that require licensed correction.
- Plumbing. Slow drains, low water pressure, leaking supply lines, and deteriorated shutoff valves are frequently flagged. Galvanized steel pipes in older homes draw particular scrutiny.
- Structural components. Foundation cracks, sticking doors and windows, and uneven floors suggest settlement or framing movement. These findings often require a structural engineer’s review.
- Interior safety items. Smoke detectors, carbon monoxide detectors, and GFCI outlets are quick fixes that inspectors always check. Burnt-out bulbs in fixtures get flagged as “unable to test.”
| Category | Common finding | Typical repair range |
|---|---|---|
| Roof | Missing shingles, failed flashing | $300–$2,500 |
| HVAC | Aging unit, dirty coils, failed capacitor | $150–$7,000+ |
| Water intrusion | Crawlspace moisture, basement seepage | $500–$15,000 |
| Electrical | Missing GFCI, double-tapped breakers | $200–$3,500 |
| Plumbing | Leaking supply lines, low pressure | $150–$4,000 |
| Structural | Foundation cracks, settlement | $1,500–$15,000+ |
Pro Tip: Pull your HVAC service records before the inspection. An inspector who sees a unit serviced within the last 12 months will note that. A buyer’s inspector who finds no records will assume the worst.
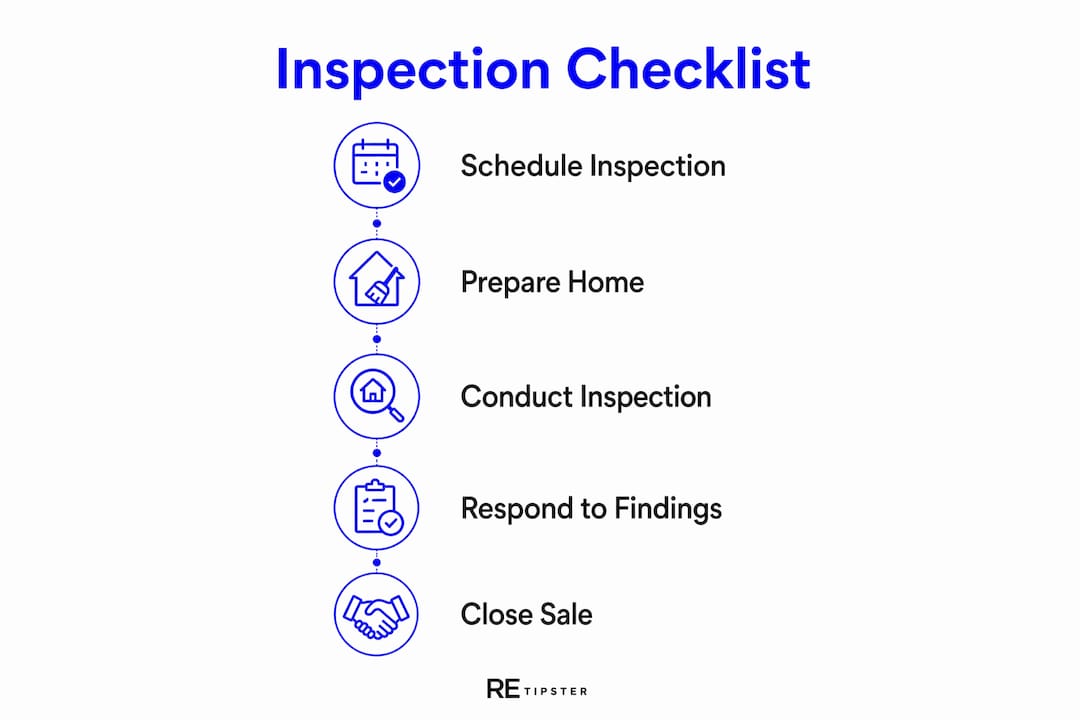
A property-selling checklist from any market consistently shows that roof and water-intrusion findings carry the most negotiating weight. Fix those two categories first if your budget is limited.
How do you prepare your home for inspection day?
Inaccessible inspection areas get flagged as “uninspected” in the report. That flag raises buyer concern and often requires a costly return visit. Clear access to every major system before the inspector arrives.
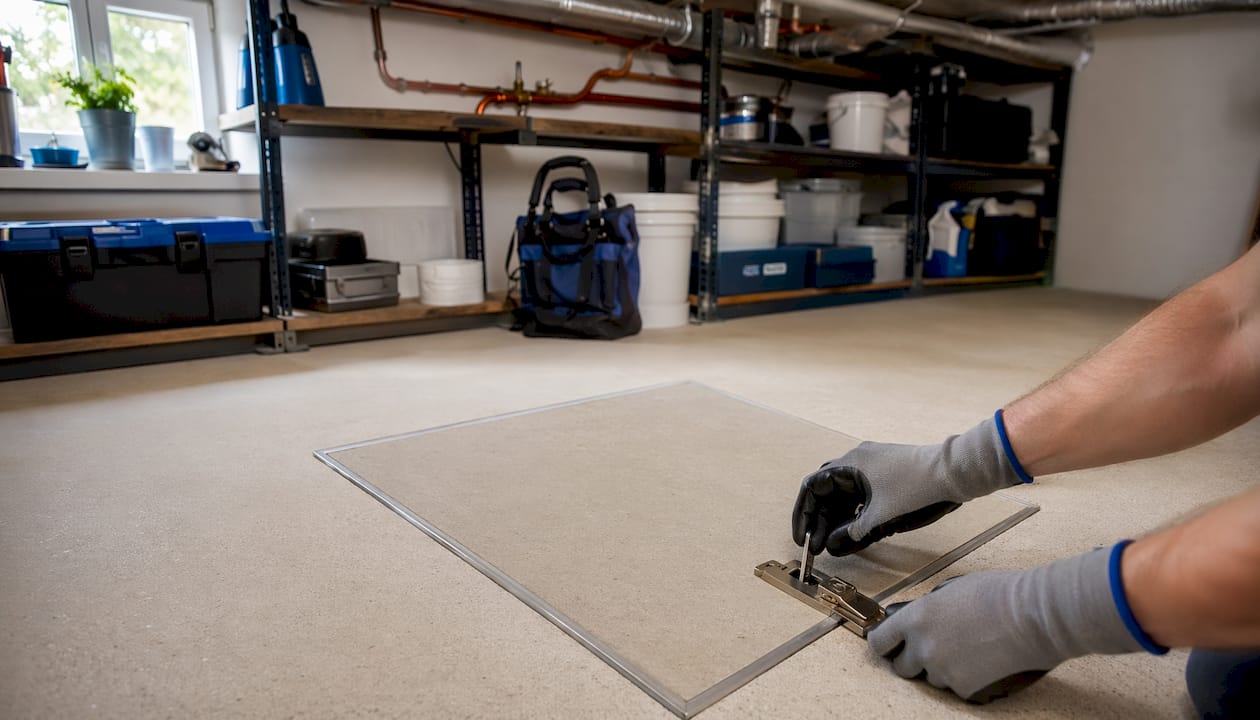
Inspectors need to physically reach the electrical panel, water heater, HVAC equipment, attic hatch, and crawlspace entry. Boxes stacked in front of the panel or a locked attic hatch do not just slow the inspection. They create written findings that suggest the seller is hiding something, even when the reason is purely logistical.
Gather your maintenance records, appliance warranties, and any permits pulled for past work. Buyers and their agents review these documents. A permit for a roof replacement or electrical upgrade is evidence of proper work. The absence of a permit for work that clearly happened is a red flag.
Leave the home during the inspection and take your pets with you. Inspectors work more thoroughly in an empty house. Sellers who hover during inspections make inspectors uncomfortable and sometimes cause them to rush.
48-hour inspection day prep checklist:
- Clear a 3-foot path to the electrical panel, water heater, and HVAC equipment
- Unlock attic hatches, crawlspace doors, outbuildings, and gate latches
- Replace all burnt-out light bulbs throughout the home
- Test and replace batteries in smoke detectors and carbon monoxide detectors
- Remove stored items from under sinks so inspectors can check for leaks
- Confirm the pilot light is lit on gas appliances
- Leave all utilities on, including water, gas, and electricity
- Set the HVAC thermostat so the system can be tested in both heating and cooling modes
- Gather permits, warranties, and service records in one folder for the inspector
Pro Tip: Walk the home yourself the evening before the inspection using the same path an inspector would take. You will catch things you stopped noticing years ago, including dripping faucets, sticking doors, and tripped GFCI outlets.
How should sellers respond to inspection findings?
Sellers have 2–5 days to respond to a buyer’s repair requests before inspection contingencies allow the buyer to cancel. That window is short. Going in without a plan wastes time and creates anxiety on both sides.
Inspection reports are negotiation documents, not pass/fail exams. Every home has findings. The question is which findings are material enough to require a response and which ones reflect normal wear that a buyer should expect in a home of that age. Sellers who understand this distinction negotiate better outcomes.
Your response options after a buyer’s inspection fall into five categories:
| Response option | Pros | Cons | Risk level |
|---|---|---|---|
| Make requested repairs | Removes buyer objections | Costs money, requires licensed contractors | Low |
| Offer a repair credit | Keeps deal moving, buyer controls repair | Reduces net proceeds | Low to medium |
| Renegotiate sale price | Preserves cash, buyer accepts as-is | Buyer may reject, deal may stall | Medium |
| Decline all requests | No cost to seller | Buyer may cancel using contingency | High |
| Provide documentation | Shows good faith, manages expectations | May not satisfy all buyer concerns | Low |
Licensed contractors are required for electrical, plumbing, and structural repairs in most jurisdictions. DIY repairs on these systems create liability and often fail re-inspection. Always use licensed tradespeople and collect receipts and photos of completed work.
Document every repair with dated photos, contractor invoices, and any permits required. This documentation protects you at closing and gives buyers confidence that work was done correctly. Sellers who hand over a repair folder at closing rarely face last-minute renegotiations.
Pre-listing inspection reports may legally require disclosure to buyers depending on state law. Confirm your state’s disclosure requirements before commissioning a private inspection. Some sellers choose to use the inspection findings internally without sharing the report, but that strategy carries legal risk in states with broad disclosure obligations.
Pro Tip: When a buyer submits repair requests with contractor estimates, get your own bids before agreeing to a credit. Buyer-supplied estimates are frequently inflated. A competing bid from a licensed local contractor gives you a defensible counter.
Fixing inspection issues before listing eliminated buyer concessions entirely for 65% of sellers in 2024. That figure reflects how much leverage shifts when sellers control the inspection narrative from the start.
Key Takeaways
A pre-listing inspection is the single most effective tool sellers have to control repair costs, protect sale price, and prevent deals from collapsing at the inspection contingency stage.
| Point | Details |
|---|---|
| Inspect 4–6 weeks early | Schedule before listing to allow time for repairs and contractor coordination. |
| Fix safety and function first | Prioritize electrical, plumbing, and water intrusion over cosmetic improvements. |
| Prepare access before inspection day | Clear paths to all mechanical systems to avoid “uninspected” flags in the report. |
| Respond within the contingency window | Sellers have 2–5 days to reply to repair requests before buyers can cancel. |
| Document every repair | Receipts, photos, and permits protect sellers at closing and reduce last-minute disputes. |
Why sellers underestimate the inspection, and what I’ve learned from it
Most sellers treat the inspection as something that happens to them. They wait for the buyer’s inspector to show up, then react to whatever comes out of the report. That reactive posture costs money and time, and it hands negotiating leverage to the buyer at the worst possible moment.
What I’ve seen repeatedly is that sellers who commission their own pre-listing inspection walk into negotiations from a position of knowledge. They already know what the roof looks like. They know the HVAC is 14 years old and has been serviced annually. They’ve replaced the GFCI outlets in the bathrooms and have the receipts. When the buyer’s inspector finds the same things, there are no surprises, and there is no panic.
The other mistake I see is sellers spending money on cosmetic fixes while ignoring functional problems. Fresh paint and new cabinet hardware do not move the needle on sale price the way a clean electrical panel and a dry crawlspace do. Cosmetic fixes rarely yield positive ROI compared to functional and safety repairs. Buyers and their inspectors see through staging. They do not see through a dry basement.
Transparency also builds trust in ways that are hard to quantify but easy to feel during a transaction. A seller who hands over a pre-listing inspection report, a repair log, and maintenance records signals that they have nothing to hide. That signal reduces buyer anxiety and often results in cleaner offers with fewer contingencies. The benefits of home inspection for sellers go well beyond finding problems. They include controlling the narrative around those problems.
— Holly
Upchurch Inspection: pre-listing inspections for Mid-South sellers
Sellers in Memphis and West Tennessee who want to list with confidence work with Upchurch Inspection before their property goes on the market. Our inspectors exceed state licensing standards and produce detailed reports covering every major system, including structural components, plumbing, electrical, and HVAC, with clear condition ratings and repair priority guidance. We give you a report you can actually use, whether that means fixing issues before listing, pricing around known conditions, or building a disclosure package that protects you legally. Scheduling early is the move that protects your sale price. Learn more about the value of regular inspections or contact Upchurch Inspection to book your pre-listing evaluation today.
FAQ
What is a pre-listing home inspection?
A pre-listing home inspection is a seller-commissioned evaluation of a property’s condition before it goes on the market. It follows the same process as a buyer’s inspection but gives the seller time to address findings before negotiations begin.
How much does a pre-listing inspection cost?
Pre-listing inspections typically cost $400–$600, depending on home size and location. That cost is almost always less than the repair credits or price reductions buyers negotiate when they find problems first.
Do sellers have to disclose a pre-listing inspection report?
Disclosure requirements vary by state. Some states require sellers to share any known inspection findings with buyers, which may include a pre-listing report. Confirm your state’s rules with a real estate attorney before commissioning a private inspection.
What repairs should sellers prioritize before listing?
Sellers should prioritize safety and functional repairs, including electrical hazards, water intrusion, plumbing leaks, and HVAC issues. Cosmetic improvements rarely produce a positive return on investment compared to fixing systems that inspectors and buyers scrutinize most closely.
How long do sellers have to respond to inspection repair requests?
Sellers typically have 2–5 days to respond to a buyer’s repair requests under standard inspection contingency terms. Failing to respond within that window can allow the buyer to cancel the contract.


