
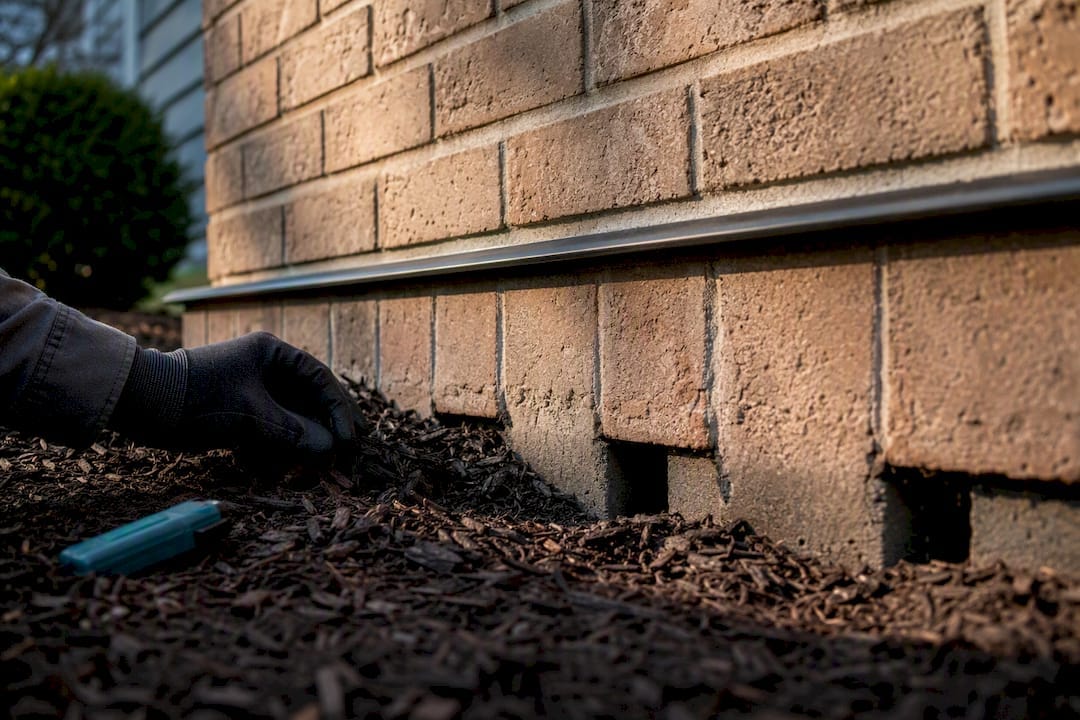
Missing or blocked brick weep holes trap moisture behind the veneer, and that’s a functional problem, not a cosmetic one. Your first move is simple: check whether the weep line is buried under grade or mulch and clear anything blocking visible weeps. If you’re already seeing interior staining, a musty smell, or soft trim near an exterior wall, skip the DIY step and get an inspection before you touch anything.
TL;DR:
- Most missing weep holes are caused by landscaping debris, such as mulch or soil piled against the foundation, which is easily fixable by grading modifications.
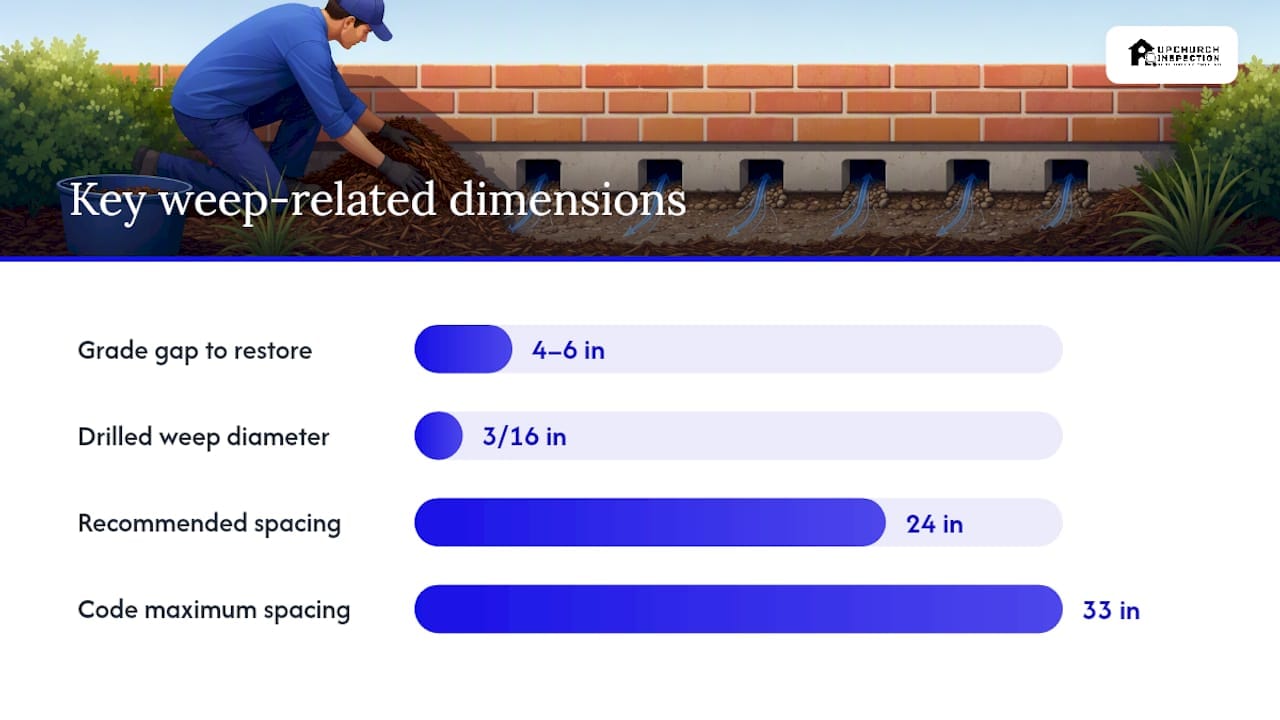
- Weep holes are typically open mortar joints spaced about 16 to 24 inches apart, with a minimum size of 3/16 inch, and perform better when placed closer than the minimum code requirement.
- Supplementary weep installation or drilling holes only make sense if the flashing behind the wall is confirmed to be intact and properly located.
- Inspectors advise regrading, clearing debris, and verifying weep and flashing presence as the first steps before considering costly masonry repairs.
- Proper diagnosis requires moisture readings and cavity inspection tools; persistent issues after debris removal usually indicate flashing or structural concerns needing professional assessment.
Table of Contents
- Brick Weep Holes Missing: Where They Belong and What Code Requires
- How to Check for Missing or Blocked Weep Holes
- Why Weep Holes Go Missing in the First Place
- Fixing Missing or Blocked Weep Holes: DIY Limits and Pro Repairs
- When to Call In a Professional
- What Upchurch Inspection Looks For on Site
- The Honest Take on Missing Weep Holes
- Sources
Brick Weep Holes Missing: Where They Belong and What Code Requires
Brick veneer isn’t waterproof. It’s designed to let water in behind the brick and then get that water back out through a drainage cavity, flashing, and weep holes. Water runs down the back of the brick, hits the through-wall flashing, and needs an exit point at the bottom of that flashing run. That exit point is the weep hole. When someone mentions “brick weep holes missing,” they usually mean that exit point has been paved over, mortared shut, or was never cut in the first place.
Weep holes need to sit immediately above flashing, and flashing belongs at every point the wall drainage plane gets interrupted: the base of the veneer, above lintels over windows and doors, and above other flashed penetration to ensure proper installation. If the flashing runs but there’s no weep above it, water just backs up in the cavity with nowhere to go.
The International Residential Code requires weep holes above through-wall flashing, with spacing guidance in the R703 series that allows up to about three feet on center. That’s the legal minimum, not the smart target. Industry guidance from brick manufacturers generally favors tighter spacing, closer than the legal minimum, because closer spacing drains faster and clogs less over time.
A few things worth knowing before you walk your own wall:
- Weep holes are usually open head joints (a mortar joint left empty) rather than drilled circles, though drilled retrofits are common on older homes.
- The minimum functional hole size cited by InterNACHI is 3/16 inch, small enough to look easy to miss during a casual walk-around.
- Open head-joint weeps outperform plastic wick or tube inserts long term, since wicks tend to clog with debris and mortar fines.
How to Check for Missing or Blocked Weep Holes
You don’t need special tools to do a first-pass check. Walk the exterior on a dry day and look at the bottom course of brick, right above the foundation line, and above every window and door lintel.
- Scan for the weep line. Look for small open joints or gaps every 16 to 24 inches at the base of the veneer and above lintels. If you can’t find any along a 10-foot run, that’s a red flag.
- Check clearance to grade. Measure from the bottom of the veneer (or the weep line, if visible) down to mulch, soil, or hardscape. You want a clear space of several inches minimum. If mulch is piled against the brick, that’s often the whole problem right there.
- Look for staining patterns. Dark, vertical streaking or a persistent damp band low on the wall, especially after rain, usually means water is exiting somewhere it shouldn’t or not exiting at all.
- Probe gently. A thin wire or wood probe can tell you if a suspected weep opening is packed with mortar droppings, paint, or caulk rather than genuinely absent.
- Recheck after a rain event. Wet weather reveals what dry inspection misses. Fresh staining, efflorescence (that white chalky residue), or a damp smell near the wall after rain tells you the cavity isn’t draining.
Inspectors go a step further with tools most homeowners don’t have on hand: a borescope fed into the cavity through an existing weep or mortar joint to check for standing water and flashing condition, and a moisture meter run along interior sheathing and sill plates to catch what’s happening on the other side of the wall.
Pro Tip: Don’t drill or chip into mortar joints with a rotary tool unless you actually know what’s behind that brick. Clearing mulch and pulling visible debris out of an existing weep is safe DIY territory. Cutting new openings without knowing where the flashing sits is a good way to do cosmetic work that fixes nothing.
Why Weep Holes Go Missing in the First Place
In our experience, “missing” weep holes are rarely a mystery once you look closely. A few patterns show up again and again:
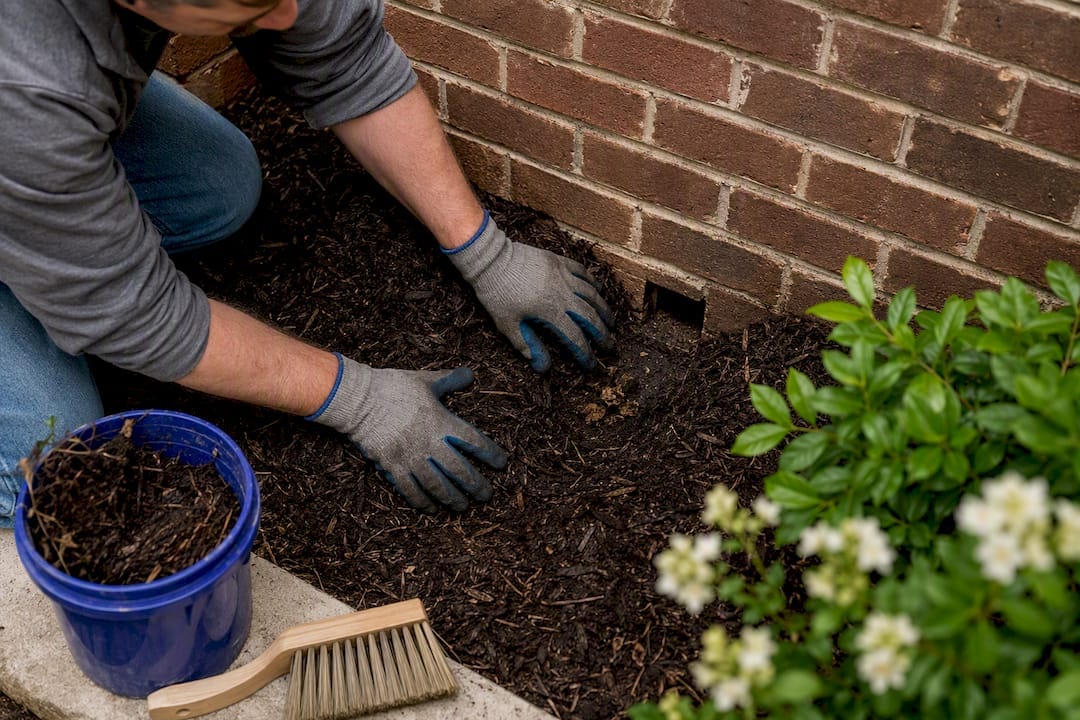
- Buried by landscaping. New mulch beds, a poured patio, or regraded soil piled against the foundation is the single most common cause we see, and it’s entirely fixable without touching the brick.
- Blocked by construction debris. Mortar droppings during the original build, paint from a later exterior job, or caulk applied by someone trying to “seal” the wall can all plug a functioning weep.
- Never installed correctly. Some older homes, and unfortunately some newer ones built fast, simply skipped weeps or flashing during construction. This is a bigger deal because there’s no drainage system to restore, only one to build.
- Failed weep hardware. Plastic wicks and tube inserts can clog internally even when the opening itself looks clear from outside.
The tricky part is that buried weeps and never-installed weeps look identical from the sidewalk. You often can’t tell which one you’re dealing with until someone clears the grade line or checks the cavity directly.
Fixing Missing or Blocked Weep Holes: DIY Limits and Pro Repairs
Some of this is genuinely homeowner-safe work. Some of it isn’t, and pretending otherwise is how people end up with a wall that looks fixed but still traps water.
- Clear the grade line yourself. Pull mulch and soil back from the foundation to restore that 4 to 6 inch gap. This alone solves a large share of “missing weep” complaints, since the weeps were there all along, just buried.
- Remove visible debris. A stiff wire or compressed air can clear cobwebs, wasp nests, and loose debris from an open weep without damaging anything.
- Add screened vent inserts if pests are the concern. These keep insects out while preserving airflow, but only if they’re installed exactly at the flashing line. An inch off and you’ve created a new blockage instead of solving one.
- Have a mason install open head-joint weeps. For walls that never had proper drainage, a contractor can cut clean, code-compliant openings, ideally at that closer 24-inch spacing rather than the 33-inch code maximum.
- Drill retrofit weeps only after flashing is confirmed. A 3/16-inch drilled hole above the flashing line works fine, but drilling without verifying flashing is present just gives you a hole that leads nowhere useful.
- Install a cavity cleanout system for chronic clogging. Products like MortarNet catch mortar droppings during construction or retrofit work, cutting down on repeat blockages in walls that clog often.
The invasive end of the spectrum is selective brick removal: a mason pulls a limited section of veneer, installs or repairs the through-wall flashing, then rebuilds the course with matching mortar. That’s warranted when there’s sheathing rot, active interior staining, or repeated leaks that grading changes and drilled holes haven’t resolved.
Pro Tip: If a contractor’s whole plan is “we’ll drill some weep holes,” ask how they’re confirming the flashing is intact first. A hole above missing or torn flashing doesn’t drain the cavity. It just adds an opening.
When to Call In a Professional
Homeowner checks cover a lot of ground, but there’s a line where DIY needs to stop. Call for a professional evaluation when you see any of the following:
- Water stains or discoloration on interior walls near an exterior brick line
- A musty or mildew smell without an obvious source
- Soft or spongy drywall, trim, or subfloor near an exterior wall
- No visible weep line anywhere along a long run of brick, even after clearing grade
- Recurring wet spots after rain despite clearing debris and fixing landscaping
A qualified inspector brings tools you don’t have and, more importantly, judgment built from seeing a lot of walls. That means moisture meter readings at the sill and sheathing, borescope photos from inside the cavity, and a written recommendation that separates “clear the mulch and monitor” from “you need a mason and possibly a structural engineer.” Reviewing older brick homes across Memphis neighborhoods turns up this exact drainage problem often enough that it’s one of the first things worth ruling out on any pre-1990s masonry veneer.
Before you call, jot down where you’ve seen staining or dampness, note any recent landscaping or hardscape changes, and mention anything you’ve already tried. Ask the contractor or inspector for photos, moisture readings, and a specific repair scope, not just a verbal “yeah, we’ll fix that.”
What Upchurch Inspection Looks For on Site
We check flashing location, clearance to grade, and weep spacing on every masonry veneer inspection, and we back that up with moisture meters and a borescope when the wall shows warning signs. More often than not, the fix is unglamorous: pull the mulch back, clear a clogged weep, maybe add screened inserts if pests are the reason someone plugged them in the first place.
Escalation happens when the numbers don’t add up, meaning moisture readings stay high at the sill or sheathing even after obvious blockages are cleared. That’s when flashing gets suspect, and that’s a mason or engineer conversation, not a landscaping fix. Every report we generate includes photos of the weep line and flashing, moisture readings where relevant, and a plain-language recommendation, whether that’s “monitor after regrading” or “budget for flashing replacement.” If you’re weighing whether a wall needs that level of scrutiny, our page on choosing the right specialized inspection walks through how we decide between a standard visual check and a deeper moisture evaluation.
The Honest Take on Missing Weep Holes
Most of the alarm around missing weep holes is overblown, and most of the advice online undersells how often the real fix is landscaping, not masonry. A pile of mulch against the foundation causes more “missing weep hole” panic than actual construction defects do. Pull it back, look again, and half the time the problem disappears without a contractor involved.
Where conventional advice actually falls short is the drilling shortcut. Plenty of guides tell homeowners to just drill a few 3/16-inch holes and call it solved. That works only if flashing is present and intact behind those holes. If it isn’t, you’ve spent an afternoon creating openings that don’t lead anywhere useful, and you’ll be back to square one when the next hard rain hits.
Prioritize the grade check first. It’s free, it’s fast, and it resolves the majority of cases. If staining, smell, or moisture readings persist after that, stop guessing and bring in someone who can look inside the cavity.
— Holly


