TL;DR:
- A home systems inspection checklist verifies the condition of major building systems before closing, helping buyers identify issues early. Phase inspections at foundation, pre-drywall, and final stages catch hidden defects, reducing costly repairs and delays. The final walkthrough ensures all systems are operational, safety devices are functioning, and documentation supports builder repairs or holdbacks.
A new home systems inspection checklist is a structured tool that verifies the condition and functionality of every major building system before you close on a property. New construction is not automatically defect-free. Builders work under schedule pressure, subcontractors vary in quality, and municipal inspectors cover code compliance, not performance. A thorough home systems evaluation checklist fills that gap. It gives buyers and real estate professionals a documented, repeatable method to catch problems while the builder is still responsible for fixing them.
1. What are the critical systems to inspect in a new home?
A complete new home systems inspection checklist starts with the systems that carry the most financial and safety risk. Cosmetic issues like paint and trim are easy to fix. A failed HVAC system or a cracked foundation footing is not. Prioritize systems by consequence, not by visibility.
The core systems to evaluate on any new property inspection include:
- Foundation and framing: Look for cracks, out-of-plumb walls, and improper fastening at beam connections.
- Roofing: Check shingle installation, flashing at penetrations, ridge venting, and attic decking condition.
- HVAC: Verify equipment sizing, duct connections, filter installation, and thermostat function. HVAC accounts for nearly 50% of a home’s energy use, making early inspection critical.
- Electrical: Confirm panel labeling, GFCI protection in wet areas, AFCI breakers where required, and proper grounding.
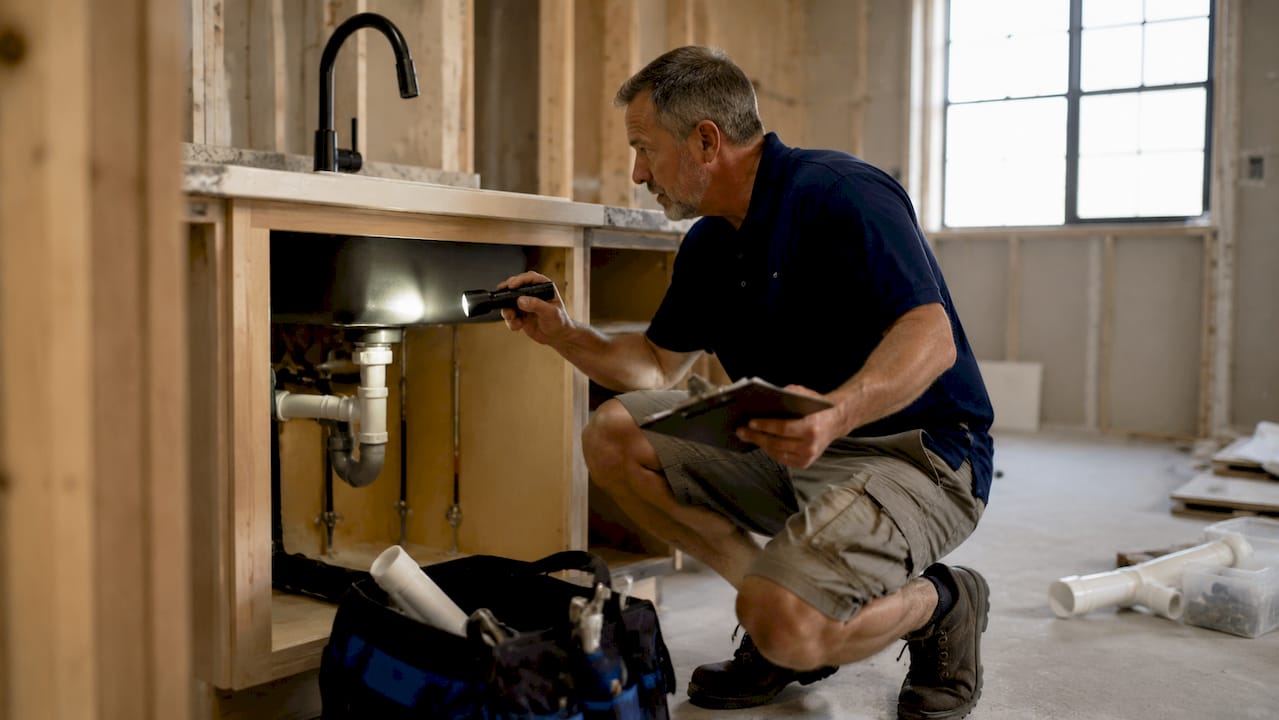
- Plumbing: Test all fixtures for flow and drainage, check supply line connections, and verify water heater temperature settings.
- Insulation and air sealing: Confirm coverage meets local code minimums and that penetrations are sealed.
- Windows and doors: Test operation, check weatherstripping, and look for gaps at rough openings.
- Smoke and CO detectors: Confirm placement meets National Fire Protection Association guidelines and test each unit.
Professional home inspectors evaluate performance and safety but do not certify code compliance. That distinction matters. A builder’s permit sign-off does not mean every system performs correctly.
Pro Tip: Bring a phone charger and a nightlight to test outlets in every room. Builders occasionally wire circuits incorrectly, and a quick plug-in test takes seconds.
2. How do phase inspections improve new home system evaluations?
Phase inspections are the most underused tool in new construction. Most buyers wait for the final walkthrough. By then, drywall covers the framing, insulation hides the duct work, and concrete buries the foundation. Phase inspections at foundation, pre-drywall, and final stages allow detection of hidden issues before costly finishes cover defects.
The three standard phases work like this:
- Foundation or pre-pour inspection: The inspector reviews footing depth, rebar placement, and drainage slope before concrete is poured. Errors caught here cost hundreds to fix. Errors missed here can cost tens of thousands.
- Pre-drywall inspection: Framing, electrical rough-in, plumbing rough-in, HVAC duct routing, and insulation are all visible. This is the single best opportunity to verify structural connections and mechanical installations before they disappear behind walls.
- Final walkthrough inspection: All systems are operational. The inspector tests equipment, checks finishes, and documents incomplete or defective work for builder remedy.
A practical phased inspection system catches problems earlier and reduces last-minute cost surprises or delays at closing.
Each phase builds on the last. A buyer who skips the pre-drywall inspection and relies only on the final walkthrough is accepting significant risk. We inspect new builds regularly in the Mid-South, and pre-drywall findings, including missing fire blocking, improperly supported ducts, and unsealed penetrations, are common. None of those issues would be visible at closing. For a detailed breakdown of what each phase covers, the new construction inspection guide at Upchurchinspection walks through the process step by step.
3. What should a final walkthrough home systems checklist include?
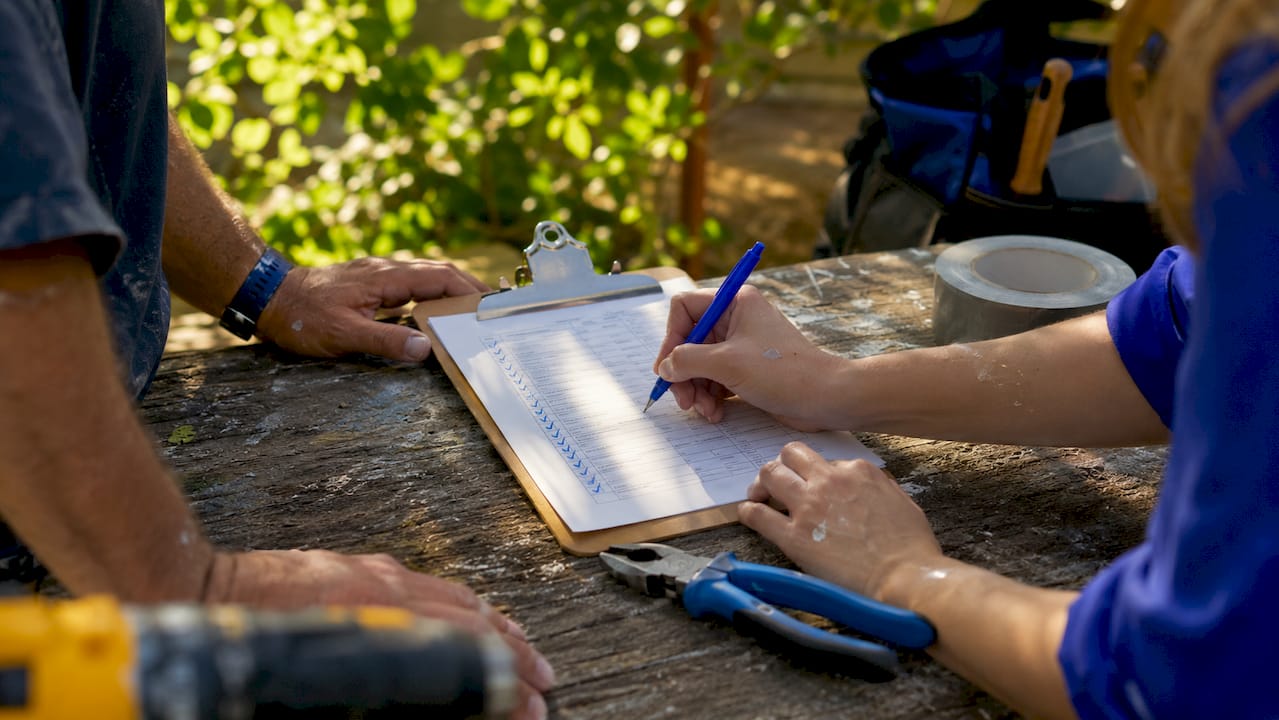
The final walkthrough is not a victory lap. The final walkthrough is intended to document incomplete or defective work for builder remedy while they are still responsible. Arrive with a checklist, a camera, and enough time to test every system properly. Rushing this step is one of the most expensive mistakes a buyer can make.
| Area | Key items to evaluate |
|---|---|
| Exterior | Grading slope away from foundation, driveway cracks, siding gaps, roof flashing |
| HVAC | Filter installed, all registers open, thermostat cycles correctly, condensate drain clear |
| Plumbing | All fixtures flow and drain, no supply line leaks, water heater set to 120°F |
| Electrical | Panel labeled, all outlets functional, GFCI trips and resets, lights operate |
| Windows and doors | Open, close, and lock smoothly; weatherstripping seated; no broken seals in glass |
| Attic and crawlspace | Insulation coverage complete, no debris, ventilation clear, no moisture staining |
| Interior finishes | Drywall seams finished, paint complete, flooring transitions secured |
Photo documentation during final walkthroughs provides legally useful evidence for builder repairs or holdbacks. Photograph every defect with a reference object for scale. Date-stamped photos are harder to dispute than verbal descriptions.
Pro Tip: Run every faucet and flush every toilet simultaneously. This stress-tests the supply pressure and reveals drain slowdowns that a single-fixture test would miss.
Loan programs such as FHA, VA, and USDA require appraisals that may trigger additional inspections focusing on roof, HVAC, or termite issues. If you are financing through one of these programs, confirm which system-specific inspections your lender requires before the final walkthrough.
4. Common safety and efficiency checks in new home systems inspection
Safety checks are not optional items at the bottom of a home systems evaluation checklist. They are the first items you verify after possession. Three of every five home fire fatalities occur in homes without working smoke alarms. That statistic alone justifies making detector testing the first task on any new homeowner inspection checklist.
The safety and efficiency items that matter most:
- Smoke and CO detectors: Test every unit. Replace batteries even if the home is new. Confirm placement on every level and outside sleeping areas.
- Exterior lock rekeying: Rekey exterior locks immediately after possession. Construction crews, subcontractors, and sales staff may have had key access.
- Utility shut-offs: Locate the main water shut-off, gas shut-off, and electrical panel before you need them in an emergency.
- HVAC filter condition: A new home may have a filter clogged with construction dust. Replace it before running the system for extended periods.
- Duct sealing: Leaky ducts waste conditioned air before it reaches living spaces. The Department of Energy estimates around 20% efficiency gain from sealed ducts and proper weather sealing.
- Water heater temperature: Factory settings are often too high. Set the thermostat to 120°F to prevent scalding and reduce energy costs.
- Window and door sealing: Energy loss through gaps at windows and doors is significant. Check weatherstripping at every exterior opening.
Pro Tip: Hold a lit incense stick near window and door frames while the HVAC runs. Smoke movement reveals air leaks that visual inspection misses.
Using structured checklists reduces overlooked inspection tasks by 30–50%, improving defect detection during walkthroughs. That improvement is not abstract. It means fewer repair disputes after closing and fewer surprises in the first year of ownership.
Key takeaways
A thorough new home systems inspection checklist, applied across all three build phases, is the most reliable way to protect your investment and avoid costly repairs after closing.
| Point | Details |
|---|---|
| Phase inspections catch hidden defects | Foundation, pre-drywall, and final inspections each reveal issues invisible at the next stage. |
| Final walkthrough requires documentation | Photo every defect with date stamps to support builder repair requests or holdbacks. |
| Safety systems come first | Test smoke and CO detectors and rekey locks before any other move-in task. |
| HVAC and duct sealing drive efficiency | Sealed ducts and a clean filter protect comfort and reduce energy costs from day one. |
| Inspectors assess condition, not code | A professional inspector evaluates performance and safety but does not enforce building code. |
What I’ve learned from inspecting new builds
New construction buyers often assume the builder’s municipal inspection covers everything. It does not. Municipal inspectors check for code compliance at specific stages. They are not testing whether your HVAC actually heats the master bedroom or whether the drain in the guest bath runs slow. That is the inspector’s job.
The buyers who get the best outcomes are the ones who treat the inspection process as a negotiation tool, not a formality. A well-documented pre-drywall report gives you specific, time-stamped evidence of what was wrong before the walls went up. That evidence carries weight with builders and their warranty departments. Vague complaints after closing carry very little.
We also see buyers skip the phase inspections to save money, then spend far more resolving warranty disputes that a $300 pre-drywall inspection would have prevented. The home inspection tips for buyers at Upchurchinspection cover this pattern in detail. The math is not complicated. Pay a little now or risk paying a lot later.
One more thing worth saying plainly: a checklist is only as good as the person using it. A structured list helps you stay organized and ensures you cover every system. It does not replace the judgment of an experienced inspector who knows what a poorly supported duct looks like or how to identify early moisture intrusion behind a finished surface. Use the checklist. Also hire the inspector.
— Holly
Upchurchinspection’s approach to new home evaluations
Upchurchinspection serves homebuyers and real estate professionals across the Mid-South with licensed inspectors whose qualifications exceed state standards. For new construction, Upchurchinspection offers phase-specific evaluations at foundation, pre-drywall, and final walkthrough stages, each producing a detailed written report with photos. The reports identify system deficiencies, incomplete work, and safety concerns in plain language that buyers can take directly to their builder. Understanding the benefits of regular inspections helps buyers see inspection not as a one-time cost but as an ongoing protection strategy for their property. Contact Upchurchinspection to schedule a phase inspection or final walkthrough evaluation before your closing date.
FAQ
What does a new home systems inspection checklist cover?
A new home systems inspection checklist covers foundation, framing, roofing, HVAC, electrical, plumbing, insulation, windows, doors, and safety devices. The goal is to verify that every major system performs correctly before the buyer takes possession.
Do new construction homes need an independent inspection?
Yes. Builder inspections and municipal code checks do not evaluate system performance the way an independent inspector does. Professional inspectors assess condition and safety but do not enforce code, which makes their role distinct from and complementary to the builder’s permit process.
What is a pre-drywall inspection and why does it matter?
A pre-drywall inspection evaluates framing, electrical rough-in, plumbing rough-in, HVAC duct routing, and insulation before walls are closed. It is the last opportunity to identify structural and mechanical defects that become invisible and expensive to correct after drywall installation.
How many phase inspections should a new home buyer schedule?
Three phase inspections are standard: foundation or pre-pour, pre-drywall, and final walkthrough. Each phase targets different systems and defects, and together they provide the most complete picture of build quality available to a buyer.
What should I do first after taking possession of a new home?
Test every smoke and CO detector, rekey all exterior locks, and locate the main water, gas, and electrical shut-offs. Safety systems must be prioritized immediately upon move-in because they directly affect occupant safety and risk mitigation.