
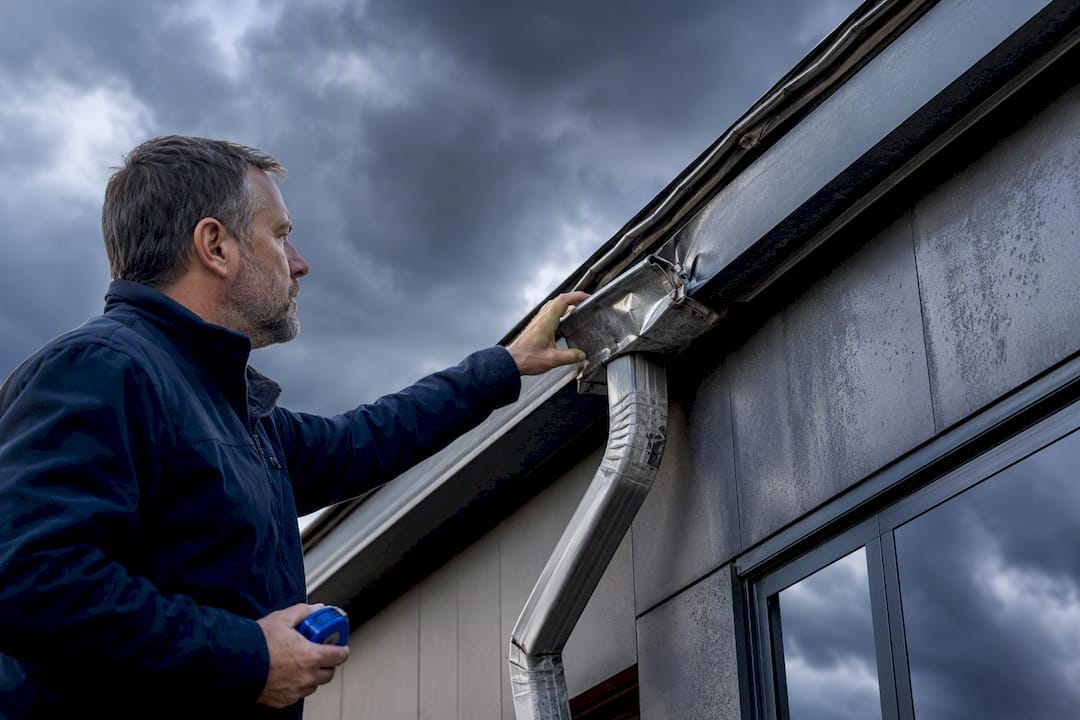
A storm damage inspection is a systematic review of a roof, exterior, and structure to identify and document damage caused by wind, hail, or water, distinguishing it from normal wear. It matters because insurers pay claims based on evidence, not assumptions. A qualified inspection gives you dated photos, measurements, and causation analysis that either supports your claim or tells you honestly that repairs aren’t storm related.
TL;DR:
- A thorough storm damage inspection focuses on the roof, exterior surfaces, and interior for signs like missing shingles, dents, and water intrusion, which indicate storm-related damage.
- Damage caused by storm events can be confirmed with moisture meters, thermal imaging, and precise hail test squares, improving the credibility of your claim evidence.
- Inspections typically take several hours and cost more for larger or complex properties, with timing crucial for coordinating with insurance adjusters.
- Immediate need for a licensed specialist arises when visible structural or electrical damage suggests structural failure or safety hazards.
- A detailed, documented inspection report enhances claim success by clearly linking damage to the storm, supporting accurate repairs, and securing fair settlement offers.
Table of Contents
- What Does a Storm Damage Inspection Cover?
- What Are the Common Signs of Storm Damage?
- How Do Inspectors Determine What Caused the Damage?
- How Long Does an Inspection Take, and What Does It Cost?
- When Do You Need a Licensed Specialist?
- What Should You Do After the Inspection Is Complete?
- Why a Professional Inspection Report Changes the Outcome
- An Editorial Take on Why Documentation Beats Assumption
- Get an Inspection Report Built for Insurance Review
- Sources
- FAQ
What Does a Storm Damage Inspection Cover?
A thorough inspection moves through the property in a set order, and each stop tells you something different about safety, repair urgency, or whether a storm actually caused what you’re looking at.
The roof gets the most attention, since it takes the brunt of wind and hail: coverings, flashing around chimneys and vents, and every penetration point where water can sneak in. Exterior cladding, windows, and doors come next, since wind-driven debris and pressure changes can crack siding or blow out seals long before anyone notices from the ground. Gutters and downspouts matter too. Dented or detached gutters are often the clearest physical marker that hail or wind hit the property, and clogged or torn drainage systems create secondary water problems that outlast the storm itself.
Inside, we check the attic and interior ceilings for moisture staining, compressed or wet insulation, and daylight coming through roof decking that shouldn’t show any light at all. Structural framing and visible foundation conditions get logged, since storm stress can reveal cracks or movement that pre-existing settling can mask. Around the property, we note drainage erosion, downed limbs, or trees leaning toward structures, since those are often the next problem waiting to happen.
Some conditions stay out of reach on a standard visual inspection:
- Areas behind finished walls or under roofing membranes that require destructive testing to confirm
- Sections blocked by standing water, debris, or unsafe footing
- Damage inside HVAC units or electrical systems that needs a licensed trade specialist
- Structural elements that require an engineer’s evaluation rather than a visual walkthrough
What Are the Common Signs of Storm Damage?
Most owners can spot the obvious stuff. What trips people up is knowing which signs mean “call someone today” versus “note it and move on.” Here’s a rough order of what to check and what each one usually tells you.
- Missing or lifted shingles. Wind uplift often peels shingles at roof edges and ridges first, exposing the underlayment to further water intrusion.
- Creased or bruised shingles. A shingle that’s cracked or folded rather than torn away has usually lost its ability to seal, even if it’s still nailed down.
- Granule loss in gutters. A heavy accumulation of granules in gutters after a hailstorm is one of the industry-recognized signs of roof storm damage, since granules protect the shingle’s asphalt layer from UV breakdown.
- Dented vents, flashing, or gutters. Soft metal takes hail impact well, which makes it a good visual proxy for hail size and force across the roof.
- Broken windows or impact marks on siding. These usually point to wind-driven debris rather than hail alone, and they warrant a closer look at nearby roof sections.
- New water stains, bubbling paint, or wet insulation inside. These are urgent. Active moisture inside a structure means the building envelope has already failed somewhere, and mold risk climbs the longer it sits.
- Sunlight visible through roof decking, or a sagging roofline. Treat this as a structural concern, not a punch list item. It often points to failed sheathing or framing damage, not just missing shingles.
Cosmetic dents and granule loss don’t threaten the structure on their own. A sagging roofline or interior moisture intrusion does, and those need faster attention.
How Do Inspectors Determine What Caused the Damage?
Spotting damage is one thing. Proving a storm caused it is a different job, and it’s where inspection tools earn their keep.
Moisture meters come in two types. Pin meters puncture the surface slightly to measure resistance between two probes, while pinless meters read moisture through sensor pads without breaking the material. Both give a percentage reading that we compare against dry baseline material elsewhere on the property, since a single number means little without that comparison. Thermal imaging and moisture meters work best together: infrared cameras flag temperature differences that suggest trapped moisture behind a surface, and the meter then confirms whether that suspect area is actually wet.
- Test squares, typically a marked section of roof about 10 feet by 10 feet, are used to count hail hits per square and support hail damage claims consistently across an entire roof
- Drone and aerial photography document large or steep roof sections safely, without anyone walking a compromised surface
- Borescopes let inspectors see inside wall cavities or tight attic spaces without cutting into finished surfaces
- Annotated photos and measured diagrams tie every finding to a specific location, which is what turns a walkthrough into a report an adjuster can actually use
Pro Tip: Ask whether your inspector uses a 10-foot test square approach for hail claims. Adjusters are far more likely to accept a documented hit count than a general statement that “the roof has hail damage.”
How Long Does an Inspection Take, and What Does It Cost?
Most single-property storm damage inspections run several hours, though that window stretches for larger commercial roofs, multi-building complexes, or properties where specialized testing like moisture mapping across several units is involved. Cost tracks closely with size and complexity: a straightforward residential roof review costs less than a commercial property requiring thermal scans across multiple sections or destructive testing to confirm hidden damage.
Timing with your insurer matters as much as the inspection itself. FEMA’s post-disaster guidance recommends securing the property, documenting damage, and reporting your claim promptly, since adjusters schedule their own inspection to estimate the loss. Getting an independent inspection report in hand before or around the adjuster’s visit gives you a second, detailed opinion to compare against theirs.
- Attend the adjuster’s inspection in person whenever possible and walk the property together
- Ask what measurements the adjuster is taking and record their name for your file
- Avoid permanent repairs before the adjuster’s visit, but make reasonable temporary repairs to stop further damage
- Keep every receipt tied to temporary mitigation work
NAIC’s post-disaster claims guidance makes a point worth repeating: an independent inspection report and contractor bids give you real leverage to request a claim supplement if the adjuster’s initial estimate falls short of what the damage actually requires.
When Do You Need a Licensed Specialist?
A general inspection tells you what’s damaged. It doesn’t always tell you how to fix it, and some findings need a specialist before anyone touches a tool.
Call someone immediately if you see a visibly sagging roofline, foundation movement or new cracking, exposed or damaged electrical wiring, or any sign of partial structural collapse. These aren’t wait-and-see items.
- Structural concerns (framing, foundation movement) go to a licensed structural engineer
- Roof coverage or decking failure goes to a licensed roofing contractor
- Exposed wiring or electrical damage goes to a licensed electrician immediately, before power is restored to that area
- Foundation cracking or heaving goes to a foundation specialist or geotechnical engineer for evaluation
In the meantime, tarp exposed roof sections, board up broken openings, and restrict access to unsafe areas. Photograph everything before you cover it, since that documentation matters as much as the mitigation itself.
What Should You Do After the Inspection Is Complete?
Once the inspection wraps, the paper trail becomes the most important asset you have.
- Shoot wide context photos first, then close-ups of every damaged area, with a timestamp visible or noted separately for each set.
- Pull together pre-storm photos if you have them. Nothing proves storm causation faster than a clear before-and-after comparison.
- Gather maintenance logs and past repair receipts. Adjusters and inspectors alike use these to rule out pre-existing deterioration.
- Collect contractor repair estimates alongside your inspection report. Multiple bids strengthen your position if the insurer’s scope looks thin.
- Use the inspector’s written causation analysis to request a supplement or push back on any exclusion the insurer cites.
Pro Tip: A site logging tool built for insurance restoration work can help you organize photo evidence chronologically, which makes it far easier to hand a clean file to your adjuster or attorney if a dispute drags on.
Why a Professional Inspection Report Changes the Outcome
A professional report does more than list damage. It pairs annotated photos with moisture readings and a specific recommended repair scope, so an adjuster or contractor sees exactly what was found and where. These reports are built for commercial owners, investors, and property managers across Tennessee, Arkansas, Mississippi, and Southeast Missouri who need documentation that holds up under claim review. For an owner managing deferred maintenance and CapEx planning across a portfolio, that level of detail is what separates a fair settlement from a fight.
An Editorial Take on Why Documentation Beats Assumption
Most storm damage advice online focuses on spotting shingles or dents. That’s the easy part. What the research and field patterns actually point to is this: causation analysis, not damage identification, is where claims get won or lost. Anyone can photograph a dented gutter. Far fewer owners understand that an adjuster’s first estimate is a starting position, not a final number, and that an independent report with measured, dated evidence is what moves that number.
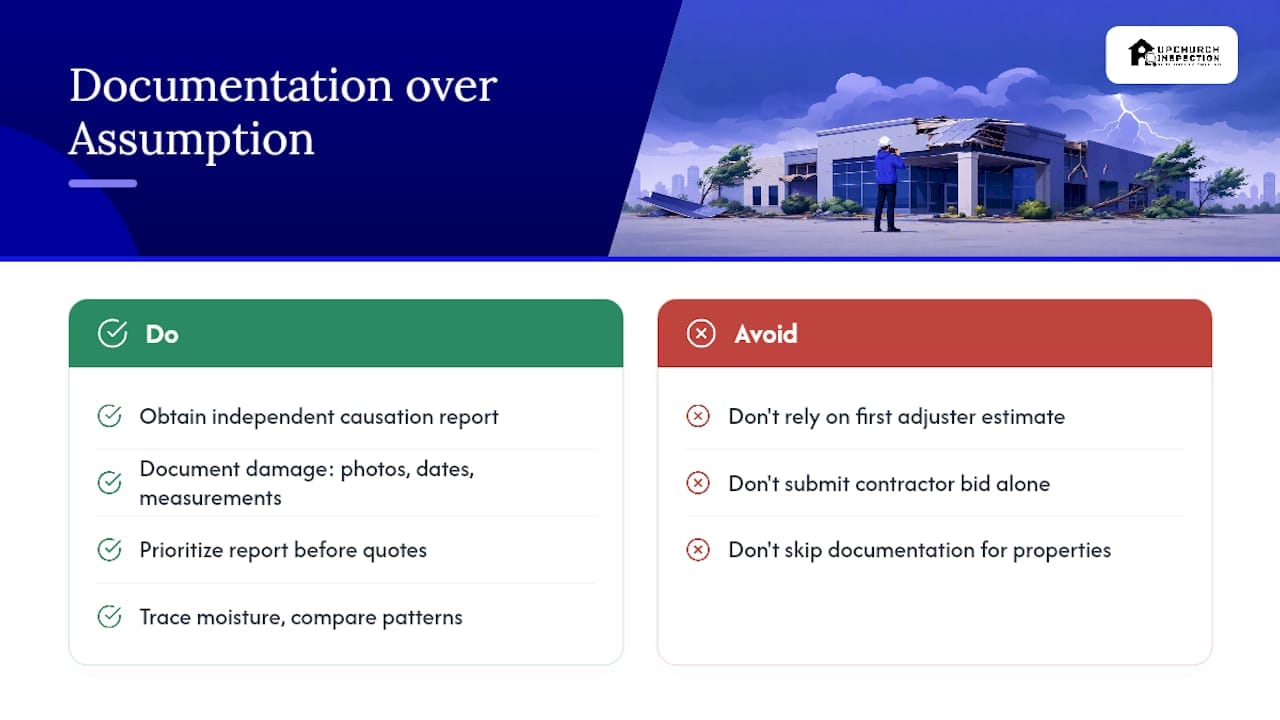
The conventional advice to “get multiple contractor quotes” undersells the actual leverage point. A contractor bid without a documented causation analysis behind it is easy for an insurer to dismiss as scope creep. A report that separates storm-created damage from pre-existing wear, using comparison patterns and moisture tracing, is much harder to argue against.
If you take one thing from this guide, prioritize the inspection report over the repair quote. Get the documentation first. The quotes will follow, and they’ll carry more weight once there’s a clear record behind them. Commercial owners juggling multiple properties especially can’t afford to skip this step, since one underdocumented claim can quietly become next year’s deferred maintenance line item.
— Holly
Get an Inspection Report Built for Insurance Review
A professional inspection service gives commercial owners and investors something a quick contractor walkthrough usually can’t: a documented, photo-annotated report built specifically to hold up during adjuster review, not just a repair recommendation. That distinction matters most when a claim gets disputed months later and you need a dated record showing exactly what the storm did versus what was already there. Experienced inspectors work across Tennessee, Arkansas, Mississippi, and Southeast Missouri, covering everything from single commercial roofs to multi-building portfolios where deferred maintenance risk compounds fast. If you’re managing property after a recent storm, or you want a specialized evaluation before you commit capital to a purchase, see how commercial inspection services can support your due diligence and get a report built to hold up under review.
Sources
- Post-Disaster Claims Guide (NAIC)
- Understanding roof storm damage: causes, signs, how to inspect and next steps
FAQ
What Does a Storm Damage Inspector Do?
A storm damage inspector examines the roof, exterior, and interior of a property to identify damage from wind, hail, or water, then documents findings with photos, measurements, and a causation analysis that separates storm damage from normal wear.
How Do You Assess Storm Damage?
Assessment starts with a visual walkthrough of the roof, siding, and interior, followed by targeted tools like moisture meters, thermal imaging, and hail test squares to confirm and measure suspected damage before it’s written into a report.
How Much Does a Structural Damage Inspection Cost?
Cost depends on property size, whether it’s residential or commercial, and whether specialized testing like thermal imaging or moisture mapping is needed, so pricing varies more than a single flat number can capture.
How Does Insurance Work With Storm Damage?
You report the claim promptly, document damage with photos before making permanent repairs, and typically meet the adjuster on site so they can inspect and estimate the loss, per FEMA’s homeowner guidance; an independent inspection report and contractor bids give you leverage to request a supplement if the initial estimate falls short.


