

A home inspection often feels like the final exam before you can sell your house, but with a bit of prep work, it doesn’t have to be a nail-biter. Being proactive about small fixes, making sure the inspector can get to everything, and having your paperwork ready can turn a stressful event into a smooth step toward closing the deal.
Your Guide to a Stress-Free Home Inspection
Think of a home inspection less as a pass-or-fail test and more as a professional, third-party checkup on the property’s health. For sellers, it’s your chance to show off a well-cared-for home and build a solid foundation of trust with the buyer. The goal isn’t to sweep problems under the rug; it’s to address them head-on for a more transparent and predictable sale. A little effort upfront can save you a ton of time, stress, and money later.
Inspection prep matters because buyers almost always rely on it. One industry summary reports that about 86% of inspections uncover at least one issue, 41% include safety-grade findings, and 5% to 7% of buyers walk away after the inspection stage; the same summary also notes buyers negotiate an average of $14,000 off the sale price using inspection findings, while the average inspection cost is about $343, according to My Home Score. In practice, that means sellers get the best return by reducing avoidable defects and preventing incomplete reports.
Demystifying The Process
Knowing what to expect from start to finish—from prepping the house to getting the final report—can take a lot of the anxiety out of the equation.
This visual breaks down the entire home inspection journey into three simple phases: prepare, inspect, and close.
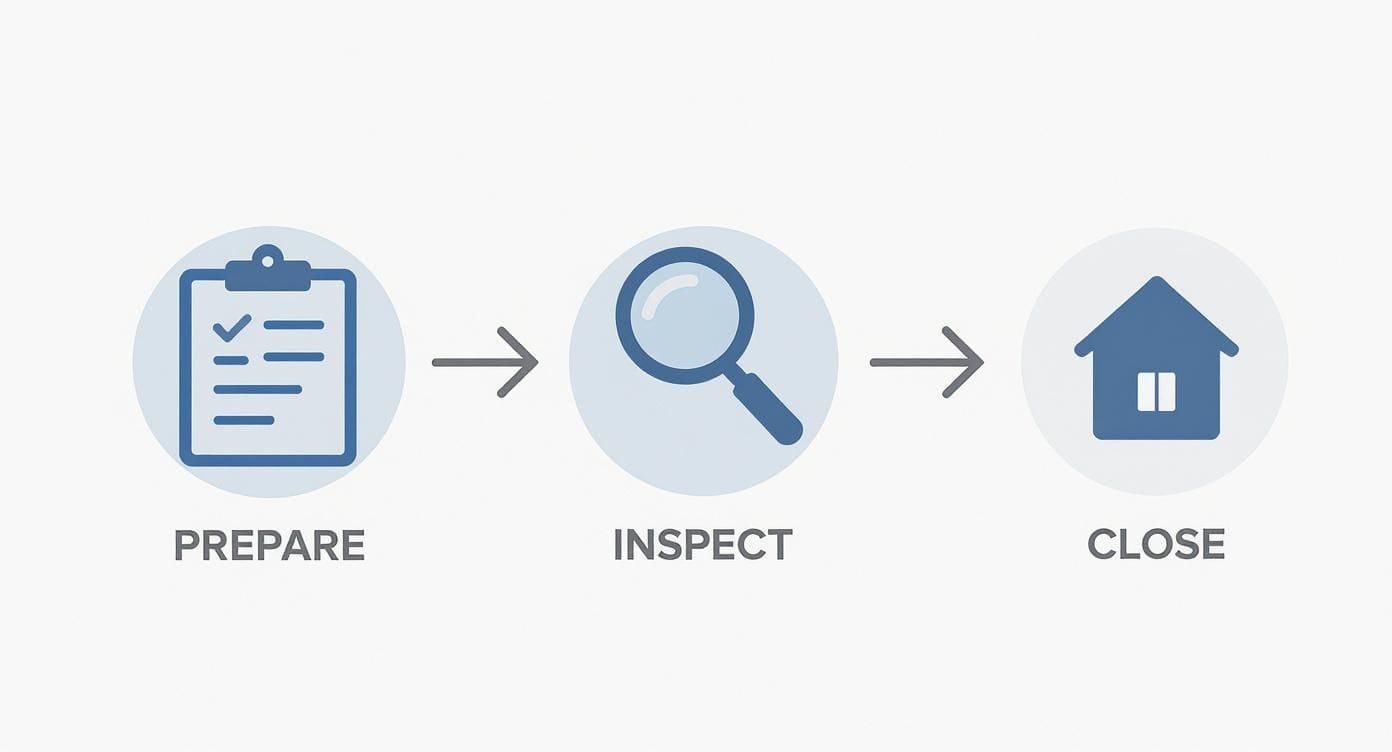
As the infographic makes clear, a successful closing starts long before the inspector ever knocks on your door. Proactive preparation from you, the seller, is absolutely critical.
An inspector’s mission is to evaluate the home’s major systems, from the foundation all the way up to the roof shingles. They are trained to spot significant defects, potential safety hazards, and major components that are nearing the end of their useful life. Their checklist typically covers:
- Structural Integrity: Foundation, walls, and framing.
- Major Systems: HVAC, electrical, and plumbing.
- Roof Condition: Shingles, flashing, and gutters.
- Safety Features: Smoke detectors, GFCIs, and handrails.
The key thing that inspectors look for are safety issues. They focus on things that are significantly deficient, unsafe, near the end of the service life, or not functioning properly.
A smooth inspection day often comes down to handling the small stuff ahead of time. I’ve found sellers get the most value by fixing the items that create doubt fast: dead bulbs, stuck windows, drippy faucets, blocked utility access, and missing paperwork. Those details do not make a house perfect, but they do keep the report focused on the issues that matter.
Home Inspection Quick-Start Preparation Guide
| Area of Focus | Action Required | Why It Matters |
|---|---|---|
| Accessibility | Clear paths to the furnace, water heater, electrical panel, attic, and crawl space. | The inspector can’t check what they can’t reach. Blocked access means an incomplete report and potential delays. |
| Utilities | Ensure all utilities (water, gas, electricity) are on and functioning. | The inspector needs to test all systems. If a utility is off, they’ll have to come back, costing time and money. |
| Minor Repairs | Replace burnt-out light bulbs, fix leaky faucets, and tighten loose doorknobs. | These small fixes show pride of ownership and prevent the inspector from creating a long list of minor “nuisance” items. |
| Safety Devices | Test all smoke detectors and carbon monoxide alarms. Make sure they have fresh batteries. | This is a critical safety check. Functioning alarms are non-negotiable and one of the first things an inspector looks for. |
Taking care of these four areas is a fantastic start and will help your inspection go much more smoothly.
To set yourself up for success, it helps to dig a little deeper. For instance, understanding the benefits of regular roof inspections can give you insight into what a professional looks for, which is a major part of any home assessment. If you want another practical roofing-focused resource at this stage of prep, Four Seasons Roofing's guide is also useful for understanding what often gets flagged regarding roof condition and exterior wear.
How We Built This Home Inspection Preparation Guide
This guide is organized around the issues that most often slow a sale down: access problems, easy-to-fix defects, missing maintenance records, and visible signs of deferred care. To prioritize the advice, we focused on four seller questions: what inspectors commonly need to reach, what causes incomplete reports or reinspection delays, what findings most often trigger buyer renegotiation, and which prep tasks are realistic to complete before inspection day.
The data points behind that approach are fairly consistent. In one industry summary, roof issues appeared in 19.7% of reports, electrical issues in 18.7%, window problems in 18.4%, gutter defects in 16.9%, and plumbing problems in 13.6%, according to Rapid Eye Inspections. Another large-summary review found many of the most common defects were repetitive, low-cost items: missing exterior caulking and sealer in 16.26% of homes, doors needing adjustment in 15.47%, faucets and shower heads needing service in 14.75%, and outlet or switch deficiencies in 14.00%, based on ZipDo’s inspection statistics roundup.
That is why the recommendations below do not chase perfection. I deliberately put seller effort into three buckets: keep systems reachable, fix the distracting maintenance issues buyers notice immediately, and have records ready for any major work. In my experience reviewing homeowner advice, that mix does more to keep an inspection moving cleanly than a last-minute cosmetic scramble.
24-Hour Home Inspection Preparation Checklist
If you only have a day, focus on completion, access, and clarity rather than deep repairs. Use this checklist to make sure the inspection can happen without delays and without a report full of avoidable minor defects.
Must-do items in the last 24 hours
- Replace all burnt-out light bulbs.
- Test smoke alarms and carbon monoxide alarms; replace batteries where needed. For placement and power guidance, review the current NFPA smoke alarm recommendations and the NFPA carbon monoxide alarm guidance.
- Turn on all utilities and confirm HVAC, plumbing fixtures, and appliances can be operated normally.
- Clear access to the electrical panel, furnace or air handler, water heater, attic hatch, crawl space entry, and under-sink plumbing.
- Unlock gates, sheds, electrical rooms, and any door the inspector may need to open.
- Move cars away from the garage walls and driveway areas that block access to panels, attics, or crawl spaces.
- Crate pets or arrange for them to be off-site.
- Gather permits, repair invoices, warranties, and service records into one folder.
- Clean up visible moisture-prone areas such as under sinks, around toilets, near the water heater, and around basement walls so active leaks or stains are easy to identify accurately.
- Check that windows open, close, and lock; check that interior and exterior doors latch properly.
Worth doing if time allows
- Change the HVAC filter.
- Tighten loose outlet covers, door hardware, and handrails.
- Clear leaves from obvious gutter blockages near entries and downspouts.
- Run sinks, tubs, and showers to confirm drains are moving freely.
- Trim shrubs or branches touching siding, windows, condensers, or roofing edges.
This is the point where I usually tell sellers not to overthink it. A clean path, working safety devices, active utilities, and a short stack of records will usually help more than an all-night attempt to make the home look untouched.
The Seller’s Pre-Inspection Punch List
Preparing well is less about impressing the inspector and more about keeping the report accurate, complete, and fair. When minor defects pile up, buyers often read that as deferred maintenance even when the big systems are fine. A seller checklist works best when it follows a timeline, because the right tasks are different a week before the appointment than they are on the morning the inspector arrives.
1 Week Before the Inspection
Use this window for simple repairs and system checks that take a little time to complete.
- Replace burnt-out bulbs inside and out. Inspectors note inoperative lights because they cannot assume a bulb is the only problem.
- Test switches and outlets. Plug in a lamp or phone charger and verify outlets work in main rooms, bathrooms, garage areas, and exterior locations.
- Open and close every window. Check locks, sticky sashes, damaged screens, and windows painted shut.
- Check doors and latches. Adjust doors that rub, drag, or do not latch securely, including closet and exterior doors.
- Change the HVAC filter. A dirty filter suggests poor maintenance and can affect airflow during testing. The EPA’s indoor air guidance also emphasizes the importance of HVAC maintenance for indoor conditions.
- Test smoke and carbon monoxide alarms. Replace dead batteries and confirm devices respond properly.
- Address easy leak fixes. Tighten a loose trap connection, replace a worn faucet washer, or fix a constantly dripping shower head.
- Run all drains. Slow bathroom sinks, tub drains, or kitchen drains are worth clearing before inspection day.
- Walk the exterior. Look for obvious caulking gaps, loose downspout extensions, cracked panes, and vegetation touching the house.
24 Hours Before the Inspection
This stage is about making the house inspection-ready rather than repair-ready.
- Clean visible problem areas. Wipe around toilets, under sinks, by the water heater, and near the HVAC unit so any current leak, rust, or staining is visible and not confused with dirt.
- Confirm all utilities are on. Water, electricity, and gas must be active so the inspector can evaluate the systems.
- Check access points. Make sure the attic hatch opens, the crawl space entry is not buried, and the electrical panel is reachable.
- Move storage away from key equipment. Create working room around the furnace, air handler, water heater, and garage walls.
- Gather documentation. Put maintenance records, permits, invoices, and warranty information in one folder or envelope.
- Secure pets and plan your departure. Sellers usually should not stay during the inspection; the American Society of Home Inspectors explains that inspectors need room to work and buyers need room to ask questions.
- Check exterior gates and meters. If the inspector needs to access the backyard, condenser, propane, or utility meters, make sure they are reachable.
Morning Of the Inspection
Morning-of tasks should be fast and practical.
- Turn on lights in dark areas if weather is poor.
- Unlock all doors, gates, and utility areas.
- Leave remotes, keys, alarm instructions, and gate codes in an obvious place.
- Move vehicles out of the garage and away from access doors.
- Do one last check under sinks, around toilets, and at the water heater for active drips.
- Make sure pilot-dependent gas appliances are ready if applicable.
- Leave the home tidy enough for the inspector to walk room to room without obstacles.
Some prep items improve inspection flow, and others reduce buyer concern. Access, utilities, unlocked entries, and working alarms help the inspector complete the report without limitations. Clean drains, working windows, fresh bulbs, and small leak fixes do something different: they keep the report from filling up with repetitive maintenance notes that make buyers wonder what bigger items were overlooked. That distinction matters.
Clearing the Path for a Thorough Inspection
An inspector’s report is only as good as their access to your home. If the inspector cannot physically reach a component, they usually have to note that limitation in the report. That can trigger follow-up questions, a second visit, and sometimes a closing delay if the buyer wants the inaccessible area inspected before moving forward.

The practical goal is simple: make every major system reachable without the inspector moving your belongings. I’ve seen this overlooked more often than sellers expect, especially in garages, utility closets, and attic entries where storage tends to creep in over time.
What should be accessible before the inspector arrives
Clear the approach to these areas and components:
- Electrical panel: The inspector needs a direct, safe working area in front of the panel.
- Furnace or air handler: Remove boxes, shelving, or laundry items that block service panels or airflow.
- Water heater: Clear around the unit so the inspector can view connections, venting, drainage, and the base.
- Attic hatch: Make sure the access point is visible and not hidden above stacked storage.
- Crawl space entry: Remove anything covering the hatch or door and keep the approach dry and safe.
- Under-sink plumbing: Empty crowded sink cabinets enough to view drains, valves, and supply lines.
- Garage walls: Inspectors often need to check the perimeter, visible framing, electrical components, and signs of moisture or impact damage.
- Exterior meters and service equipment: Gas and electric meters, shutoffs, and condenser clearances should not be blocked by overgrowth or stored items.
- Gates and fenced areas: Unlock backyard access if the inspector needs to reach exterior walls, roofing views, HVAC equipment, decks, or outbuildings.
Access prep do's and don'ts
Do:
- Move storage bins, paint cans, and seasonal items away from utility equipment.
- Pull furniture a bit off walls where moisture stains or electrical access may need to be viewed.
- Leave keys for locked sheds, gates, or detached garages.
- Park vehicles where they do not block garage walls, attic ladders, or crawl space doors.
- Remove pets from the home or keep them securely contained well away from inspection routes.
Don’t:
- Stack boxes directly in front of the panel, furnace, or water heater.
- Lock rooms and assume they will not matter.
- Push furniture tight against stains, cracks, or access panels hoping they will not be noticed.
- Leave a vehicle in a position that blocks the garage interior or crawl space access.
- Let pets roam during the inspection.
When access is blocked, the outcome is usually straightforward: the report lists the area as limited or inaccessible, the buyer asks for clarification, and a reinspection may be needed. That means extra scheduling, possible added cost, and a preventable delay before closing. In my view, clearing access is one of the highest-value things a seller can do because it improves the report without requiring any guesswork about repairs.
Organizing Your Paperwork for Inspection Day
While the physical state of your home is obviously front and center during an inspection, organized paperwork still matters. Good records help the buyer understand what was done, when it was done, and whether major work was handled professionally. They do not erase visible defects, but they do reduce uncertainty.
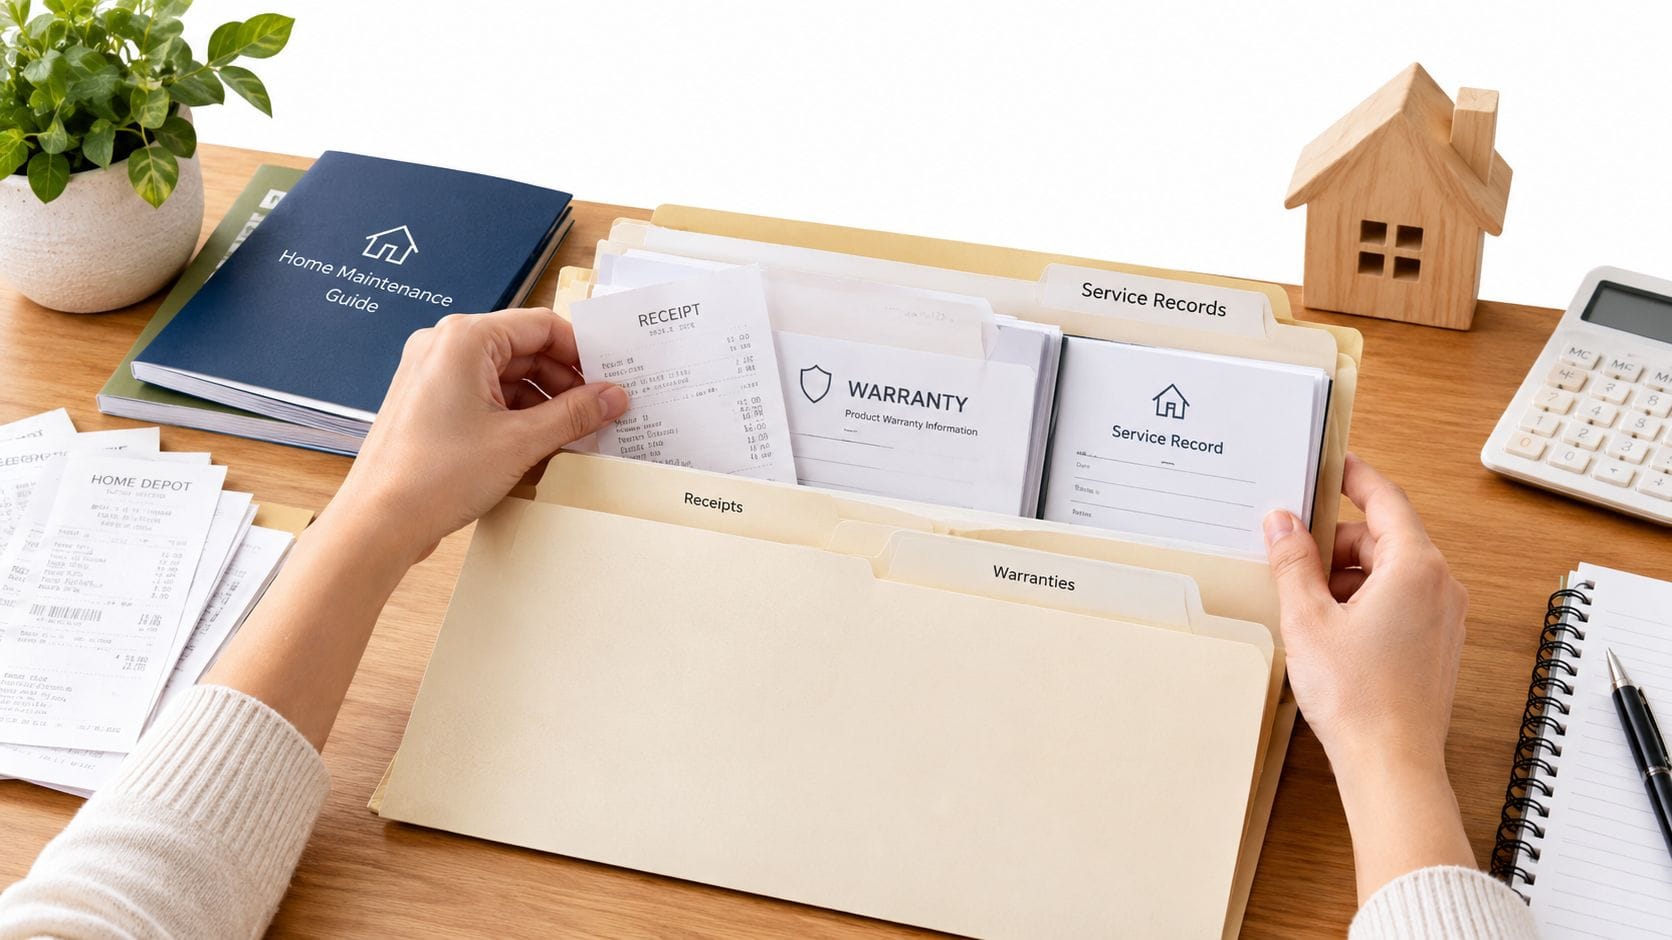
Sellers can show transparency by providing records. I’ve noticed buyers respond especially well when records answer obvious follow-up questions before anyone has to ask them: how old is the roof, who replaced the water heater, was the basement work permitted, and when was the septic last serviced?
What to have ready and why
- Permits for additions or remodels: These help show that major work such as finishing a basement, adding a deck, updating electrical service, or remodeling a kitchen or bath was completed through the proper channels.
- Invoices for roof, HVAC, plumbing, or electrical work: These records show the contractor, service date, and scope of work. They are especially useful when the inspector notes a component but the buyer wants more context.
- Warranty details: Transferable roof, appliance, HVAC, foundation, or window warranties can add reassurance for the buyer.
- Ages of major systems: Have approximate install dates for the roof, furnace, condenser, water heater, and major appliances if known.
- Pest, septic, and chimney service records: For homes with these features, service history helps document maintenance and prior findings.
- Utility and location notes: Include notes on the main water shutoff, gas shutoff, attic access location, crawl space entry, alarm instructions, garage door codes, and gate codes.
Essential Home Inspection Document Checklist
| Document Type | Examples | Benefit for Inspection |
|---|---|---|
| Permits & approvals | Additions, remodels, electrical upgrades, decks | Helps confirm major work was completed through the proper local process. |
| Repair invoices | Roof replacement, plumbing repairs, panel upgrade, HVAC replacement | Gives dates, scope, and contractor information for major items. |
| Service records | HVAC tune-ups, pest treatments, septic pumping, chimney cleaning | Shows routine maintenance instead of reactive ownership. |
| Warranty information | Roof, appliances, windows, HVAC systems | Adds clarity on what coverage may still exist after closing. |
| System-age notes | Furnace, AC, water heater, roof, appliances | Helps the buyer and agent frame inspection findings realistically. |
| Access notes | Shutoff valves, alarm instructions, attic access, gate codes | Prevents delays on inspection day and makes key features easy to locate. |
It helps to keep these documents in a folder or simple binder, but the bigger point is expectation-setting: paperwork supports transparency; it does not replace visible condition. If the water heater is actively leaking or the roof has obvious wear, a receipt alone will not neutralize that concern. What records can do is show whether the issue was maintained, recently addressed, or professionally evaluated.
A practical way to think about this is as a property due-diligence file. If you want a broader transaction-focused example of that mindset, this due diligence checklist is a helpful reference.
| Document Type | Examples | Benefit for Inspection |
|---|---|---|
| Warranties & Manuals | Roof, HVAC, windows, major appliances | Proves quality and offers future protection for the buyer. |
| Service & Maintenance Records | HVAC tune-ups, septic pumping, chimney sweep | Shows a history of proactive care and system upkeep. |
| Repair Invoices | Foundation repair, plumbing fixes, electrical work | Provides transparency and details on past issues. |
| Permits & Approvals | Additions, major renovations, electrical upgrades | Confirms work was completed to local building codes. |
| Blueprints & Surveys | Original home blueprints, property survey | Offers valuable information on structure and lot lines. |
Day-Of Essentials: More Than Just Paper
Beyond your document folder, a few logistical checks on the day of the inspection must be completed. These simple steps ensure the inspector can do a complete and thorough evaluation without hitting any roadblocks.
First and foremost, make sure all utilities are active. An inspector can’t test the furnace, check for hot water, or verify the outlets work if the gas, water, and power are off. If the property is vacant, double-check that everything has been turned back on well before the appointment time.
Also, take a moment to ensure all pilot lights are lit. This is a common oversight that can cause real headaches. Check appliances like:
- Gas Water Heaters
- Gas Fireplaces
- Furnaces
If an inspector can’t test a major system because a utility is off or a pilot light is out, they have to mark it as “uninspected.” This almost always means a follow-up visit is needed, which can delay closing and add unnecessary costs for everyone. For a current cost baseline and market context, the National Association of Realtors discussed the average home inspection cost in its coverage of inspection pricing and trends.
Understanding the Inspection Report and Negotiations
The inspection is done, and the report just hit your inbox. Take a breath. This document can look daunting at first, but it’s not a pass/fail grade—think of it as a detailed health checkup for your home, designed to give the buyer a complete picture. Focus on how to read it, what really matters, and how to handle the negotiation phase to keep your sale on track.

The first thing to do is sort through the findings. An inspector’s job is to flag everything, from a loose doorknob to a major structural red flag. Your job is to sift through it all and figure out what needs your attention.
Decoding the Inspector’s Findings
Most reports are long, filled with photos and technical jargon that can make your head spin. Don’t let the sheer volume of information overwhelm you. The trick is learning to separate the big-ticket items from the small stuff.
I find it helpful to group the findings into three buckets:
- Major Safety and Structural Issues: These are the potential deal-breakers. We’re talking about things like an active roof leak, foundation cracks, an outdated electrical panel known for fire risk, or visible mold. These are the items that will almost certainly require a serious conversation.
- Systems Nearing End of Life: An inspector will always note if your HVAC system is 20 years old or if the water heater is showing its age. They might work just fine right now, but a buyer sees these as big-ticket expenses looming on the horizon.
- Minor Fixes and Cosmetic Flaws: This bucket includes everything else—a cracked outlet cover, a dripping faucet, some peeling paint. These are typically easy, inexpensive fixes and are far less likely to derail a deal unless there are dozens of them, suggesting deferred maintenance.
The key is to focus on health, safety, and major functional components. You’re not obligated to fix every little cosmetic issue, but you should be ready to talk about anything that affects the home’s core integrity or poses a genuine safety risk.
Once you’ve sorted the issues, you can start to anticipate what the buyer might ask for. They’ll likely come back with a list of repair requests or ask for a credit at closing. This is a completely normal part of the process—it’s just the start of the final negotiation.
Crafting Your Negotiation Strategy
How you respond to the buyer’s requests is one of the last major hurdles before closing. You have a few ways to play it, and the right move really depends on the severity of the issue, the current market, and your own situation. A little preparation here can make a huge difference.
Here are the three main ways you can respond to repair requests:
- Agree to Make the Repairs: For critical issues, especially those tied to safety or building codes, handling the repair yourself is often the cleanest path forward. It gives the buyer peace of mind. Just be sure to use a licensed professional and keep all the receipts to prove the work was done right.
- Offer a Seller Credit: Instead of dealing with contractors, you can offer the buyer a credit at closing to cover the cost of a repair. For example, if a new water heater costs $1,500, you might offer a credit for that amount. Buyers often prefer this because they can choose their own contractor and oversee the work themselves.
- Negotiate or Decline the Request: If a request feels unreasonable or is purely cosmetic, you have the right to say no. You could also offer to split the cost or suggest a small price reduction as a compromise. In a hot seller’s market, you’ll be in a much stronger position to stand firm on minor items.
Let’s look at a real-world scenario. The inspection flags an old electrical panel that’s a known fire hazard. The buyer, understandably, requests that you replace it before closing.
This is a clear safety issue, not a cosmetic flaw. Your best bet is to either get a quote from a licensed electrician and replace it or offer a credit that fully covers the estimated cost. Trying to ignore a major safety concern is one of the fastest ways to kill a deal.
Ultimately, a successful negotiation is about finding a fair middle ground. By understanding the report, focusing on what matters, and keeping the lines of communication open, you can complete this final step and move confidently toward closing day.
Common Home Inspection Questions Answered
What is the biggest red flag in a home inspection?
The biggest red flags are the issues that affect safety, habitability, or the cost of ownership in a major way. That usually means active water intrusion, structural movement, significant roof failure, hazardous electrical conditions, or safety defects involving fire risk. If I were prioritizing seller prep, I would worry far less about a scuffed wall than I would about a damp crawl space, a leaking roof penetration, or an electrical panel with known concerns.
What things will fail a home inspection?
A home inspection usually does not result in a technical pass or fail. Inspectors document condition; they do not grade the house like an exam. What happens instead is that lenders, insurers, and buyers react strongly to major defects. Safety hazards, nonfunctioning major systems, roof leaks, structural concerns, and serious moisture issues are the findings most likely to derail financing, trigger insurance questions, or lead to aggressive renegotiation.
Do I need to do anything to prepare for a home inspection?
Yes. Sellers should handle the basics that allow a complete inspection: turn on utilities, clear access to major systems, test smoke and carbon monoxide alarms, secure pets, provide access to gates and rooms, replace obvious burnt-out bulbs, and gather maintenance records. You do not need to remodel the house, but you do need to make it inspectable.
What should homeowners do before the inspector arrives?
Focus on three things: access, function, and records. Clear the path to the electrical panel, HVAC equipment, water heater, attic, crawl space, and under-sink plumbing. Confirm windows, doors, lights, drains, and safety devices work. Then set out permits, invoices, warranties, and service notes for major systems or recent repairs.
Should sellers leave during the inspection?
Usually, yes. Buyers and inspectors need room to talk freely and move through the property without interruption. The best setup is to leave the home accessible, be available by phone, and let your agent handle any questions that come up.
Are minor defects worth fixing before the inspection?
Often, yes. The reason is not that a dripping faucet or dead bulb is expensive. It is that repetitive minor issues create a pattern that makes buyers assume maintenance has been deferred elsewhere too. Since common findings often include doors, faucets, outlets, windows, and exterior sealing, fixing the easy items beforehand is one of the clearest ways to keep the report focused on the bigger picture.
Are specialized inspections necessary?
Sometimes. Standard inspections are broad, but certain risks need specialists. Pest checks and Termite Inspections may be essential, and depending on the home, radon, sewer, well, septic, or chimney inspections may also make sense. Your agent and inspector can tell you which add-ons fit the property.
Navigating the inspection process is much easier with an expert on your side. For a thorough, professional evaluation that gives you a clear and actionable report, trust the certified team at Upchurch Inspection. Schedule your Memphis-area home inspection today.



One Response
Most buyers choose to have a home inspection, making it an important part of the sale. Preparing in advance can help create a more transparent and successful transaction.