TL;DR:
- A thorough home inspection guides buyers to identify major safety, structural, and system issues before closing. Preparation, active participation, and triaging findings help ensure informed negotiations and avoid costly surprises with older or regional property risks. Partnering with experienced local inspectors enhances confidence and clarity during this critical process.
Discovering a failing HVAC system or a cracked foundation after you’ve already moved in is every buyer’s nightmare. The inspection period is your single best opportunity to uncover costly surprises before they become your financial responsibility, yet too many buyers treat it as a formality rather than a strategic tool. In the Mid-South market, where older housing stock, high humidity, and regional soil conditions create unique property risks, being unprepared for your inspection can cost you thousands in missed negotiations or, worse, in repairs you never saw coming. This guide gives you a clear, step-by-step path to walk in prepared and walk out informed.
Table of Contents
- What a home inspection covers and why it matters
- Pre-inspection checklist: How to set up for success
- How to get the most from your inspection day
- After the inspection: Reviewing your report and negotiating repairs
- In our experience: What most homebuyers get wrong and how to avoid it
- Partner with local experts for a confident inspection experience
- Frequently asked questions
Key Takeaways
| Point | Details |
|---|---|
| Prepare ahead | Secure access, gather documents, and clarify your biggest concerns before inspection day. |
| Join the walkthrough | Attend your inspection, ask questions, and take photos and notes to fully understand the report. |
| Focus your negotiations | Prioritize safety, major systems, and financing-relevant repairs after reviewing your inspection report. |
| Don’t sweat cosmetics | Most cosmetic flaws aren’t deal-breakers—target critical fixes that impact home value or safety. |
What a home inspection covers and why it matters
With the importance of the inspection established, let’s clarify what’s actually checked and why that matters for your preparation.
A home inspection is a visual, non-invasive examination of a property’s accessible systems and components. A licensed inspector evaluates the home’s condition at a specific point in time and delivers a written report documenting findings. That report becomes one of the most powerful documents in your transaction. Understanding what inspectors examine, and what they don’t, helps you prepare efficiently and set realistic expectations.
Inspectors typically review the following primary systems:
- Structural components: Foundation, framing, floors, walls, ceilings, and roof structure
- Roofing: Shingles, flashing, gutters, downspouts, and visible penetrations
- Electrical: Service panel, wiring, outlets, GFCI protection, and visible fixtures
- Plumbing: Supply lines, drain lines, water heater, fixtures, and visible pipe conditions
- HVAC: Heating and cooling equipment, ductwork, filters, and thermostat operation
- Insulation and ventilation: Attic insulation levels, vapor barriers, and exhaust systems
- Interiors: Doors, windows, stairs, railings, and visible interior surfaces
- Exterior: Grading, drainage, siding, trim, and attached structures
Understanding the common issues inspectors find in Mid-South homes helps you focus your attention during the walkthrough rather than feeling overwhelmed by the process.
What inspectors typically do not cover is equally important to know. Inspections are visual only. Inspectors won’t tear into walls, move furniture, or test systems that are shut off. The table below shows a clear breakdown:
| Typically inspected | Typically not included |
|---|---|
| Visible roof surface and gutters | Hidden pipes inside walls |
| Accessible electrical panel | Low-voltage wiring (cable, data) |
| HVAC operation and filters | Chimney interior (requires specialist) |
| Foundation visible from exterior/crawl space | Underground oil tanks |
| Plumbing fixtures and visible lines | Septic system function |
| Attic insulation and ventilation | Swimming pool equipment |
| Exterior grading and drainage | Pest/termite inspection (separate service) |
Knowing this distinction helps you decide whether to order additional specialty inspections, such as a mold test or a dedicated structural assessment, alongside your standard inspection.
As the Redfin home inspection checklist advises, buyers should review the seller’s disclosures and understand what parts of the home the inspector will cover, then plan to attend and follow along while taking notes and asking questions. That active role changes everything.
“The inspection is not just a report you receive. It’s a live education about the home you’re about to own. Buyers who treat it that way make better decisions at the negotiating table.”
One important mindset shift: learn to distinguish cosmetic versus functional issues before you arrive. A scuffed baseboard is not the same as a failing sump pump. Keeping that distinction sharp will save you from wasting negotiation capital on the wrong items. For a fuller picture of what to expect, the step-by-step inspection overview on our site walks through the entire process in plain language.
Pre-inspection checklist: How to set up for success
Now that you understand what gets inspected, let’s make sure your home and your mindset are ready for the big day.

Preparation is where most buyers lose ground without realizing it. If the inspector can’t access the attic hatch, the electrical panel, or the crawl space, those areas get flagged as “unable to inspect,” which creates ambiguity in the report and can complicate negotiations. Removing access barriers before the inspection day is one of the most impactful things you can do.
Here is a practical checklist to work through before your inspection date:
For buyers coordinating with the seller or listing agent:
- Confirm all utilities (gas, electric, water) will be active on inspection day
- Request that the attic hatch, crawl space entry, and electrical panel be cleared and accessible
- Ensure all interior doors, including closets and basement access, are unlocked
- Verify that the HVAC system is set to normal operating mode, not off
- Ask whether any areas of the home are under active renovation or have known access limitations
For buyers preparing themselves:
- Review the seller’s disclosure statement before the inspection, not after
- Print or save a copy of your purchase contract to reference contingency deadlines
- Write down your top five concerns about the property in advance
- Arrange to arrive 10 to 15 minutes before the inspector begins
What to bring on inspection day:
| Item | Purpose |
|---|---|
| Smartphone with camera | Document findings with photos |
| Notebook and pen | Track questions and observations |
| Copy of seller’s disclosures | Cross-reference inspector findings |
| Purchase contract | Know your contingency timeline |
| Flashlight | Useful in dim crawl spaces or attics |
| List of pre-written questions | Stay focused and don’t forget key concerns |
Following the smooth inspection preparation steps we recommend can prevent the most common day-of delays. Basic pre-inspection cleaning tips also apply here: a cluttered utility room or stacked boxes in front of the panel can slow the inspector down and lead to incomplete findings.
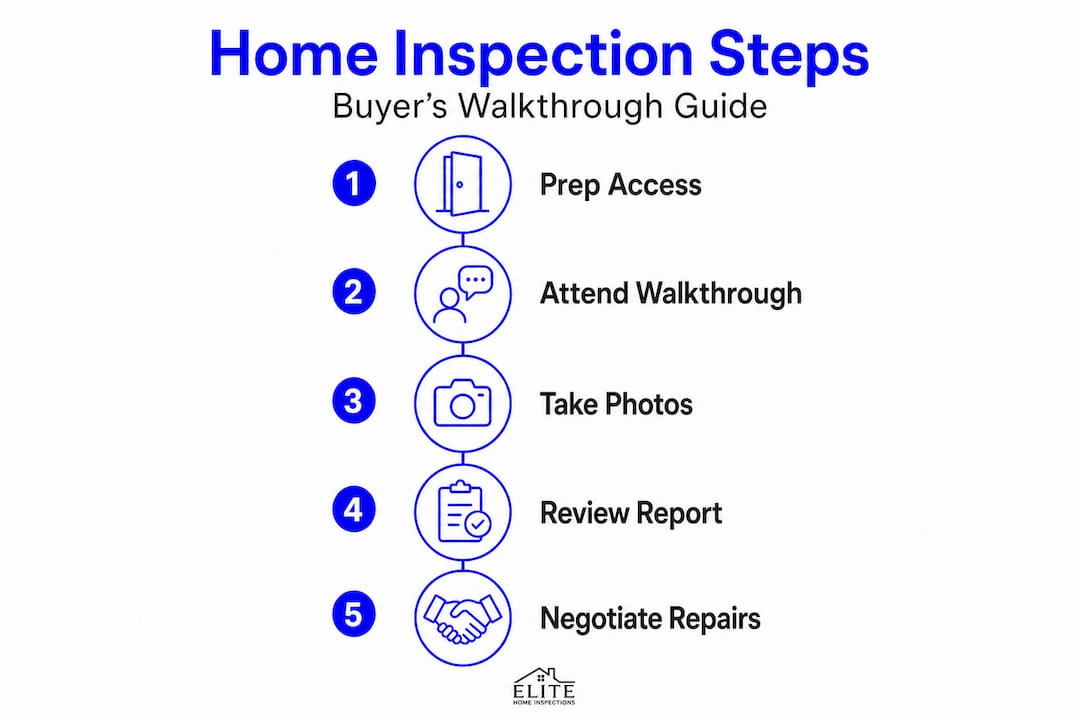
As NerdWallet’s home inspection dos and don’ts outlines, the practical sequence is to coordinate access, be present for the walkthrough, take photos and notes, then triage the report into safety issues versus minor maintenance so your negotiation stays focused and efficient.
Pro Tip: If the seller has pets, confirm they will be secured or removed from the home during the inspection. An anxious dog blocking a crawl space entry or an unsecured cat in the attic creates real delays and can prevent the inspector from completing a thorough review.
Also review inspection safety tips before you arrive, especially if the home has known hazards such as older electrical wiring, suspected mold, or a history of flooding. Knowing what to watch for keeps you safe and situationally aware during the walkthrough.
How to get the most from your inspection day
With everything in order, here’s how to be proactive during the actual inspection for maximum insight.
Attending your inspection is not optional if you want to make the most of it. Buyers who skip the walkthrough and simply wait for the written report miss the inspector’s live commentary, the ability to ask follow-up questions in real time, and the visual context that makes findings meaningful. A note in a report that says “evidence of moisture at base of wall” means something very different when you’ve seen the staining, smelled the space, and heard the inspector explain the likely source.
Here is a numbered sequence for maximizing your inspection day:
- Before the inspector arrives: Walk the exterior perimeter yourself. Note any visible cracks, drainage issues, or damaged siding so you can ask about them directly.
- At the start: Introduce yourself, confirm the inspection scope, and mention your top concerns so the inspector can give them additional attention.
- During the walkthrough: Follow the inspector from room to room. Don’t wander off to measure rooms or take unrelated photos. Stay close enough to hear every observation.
- When findings arise: Ask “What does this mean for me as the buyer?” and “Is this a safety issue, a maintenance item, or something that needs immediate repair?”
- In the attic and crawl space: These areas reveal the most about a home’s true condition. If the inspector enters, ask to see photos or follow if it’s safe to do so.
- At the HVAC system: Ask the inspector to run both heating and cooling cycles and to estimate the remaining service life of the equipment. Aging HVAC units are among the most expensive systems to replace.
- At the electrical panel: Ask whether the panel has adequate capacity for the home and whether any wiring types or configurations raise concerns.
- After the walkthrough: Ask the inspector to summarize the top three findings before you leave. This verbal summary helps you prioritize before the written report arrives.
Pro Tip: Take photos of every finding the inspector points out, even if it seems minor. Your written report will include photos, but having your own visual record tied to your own notes gives you a second reference point when you’re reviewing the report hours later.
Knowing how to spot duct system problems before the inspector calls them out can help you ask sharper questions during the HVAC portion of the walkthrough. Leaking or disconnected ducts are a common finding in older Mid-South homes and can significantly affect energy efficiency and indoor air quality.
Reviewing your final walk-through tips is also worthwhile at this stage. The inspection walkthrough and the final pre-closing walkthrough serve different purposes, and knowing the difference keeps you from conflating the two.
The Redfin home inspection checklist reinforces this point: buyers who plan to attend and follow along while taking notes and asking questions are consistently better positioned to make informed decisions after the report is delivered.
After the inspection: Reviewing your report and negotiating repairs
Once the inspection is complete, it’s time to turn insight into action with your report results.
Most inspection reports arrive within 24 to 48 hours. The document can run 30 to 60 pages with photos, descriptions, and condition ratings. The goal is not to read every line with equal weight. The goal is to triage.
Divide your findings into two categories: items that affect safety, major systems, or structural integrity, and items that are cosmetic or minor maintenance. Your negotiation energy belongs almost entirely in the first category.
| Major issues (prioritize in negotiation) | Minor/cosmetic items (often buyer’s responsibility) |
|---|---|
| Foundation cracks or movement | Scuffed paint or worn flooring |
| Roof at or past service life | Dated fixtures or hardware |
| Electrical panel deficiencies | Minor caulking gaps at tubs |
| Active water intrusion or mold evidence | Small drywall nail pops |
| HVAC system failure or end of service life | Loose cabinet hinges |
| Plumbing leaks or failed water heater | Worn weatherstripping |
| Structural framing damage | Cosmetic staining on ceilings (if dry) |
Once you’ve triaged, consider these negotiation strategies:
- Request a repair credit: Ask the seller to reduce the purchase price or provide closing cost credits rather than completing repairs themselves. This gives you control over the quality of the work.
- Request targeted repairs: For safety-critical items like electrical hazards or active leaks, requesting the seller complete repairs before closing is reasonable and often expected.
- Use the report to revisit price: If major deferred maintenance surfaces that wasn’t disclosed, a price reduction based on estimated repair costs is a legitimate negotiation position.
- Let minor items go: Pushing back on cosmetic issues weakens your position on the items that actually matter. Sellers know the difference, and so do their agents.
As Trueblood Realtor’s guidance on repair obligations makes clear, sellers are not automatically obligated to repair every listed item. Focus on major safety, function, and financing-relevant issues, and use credits, price reductions, or targeted repairs based on your purchase agreement and local rules.
The Yahoo guide on home repair requests reinforces this: cosmetic-only flaws are rarely deal-breakers, and prioritizing issues that affect safety, water intrusion, or major systems over purely aesthetic items is the disciplined approach that protects your investment.
For a full breakdown of what comes next after the report, the post-inspection next steps guide on our site walks through the decision points in detail. You can also leverage repairs for value as part of a broader negotiation strategy when the property has deferred maintenance across multiple systems.
In our experience: What most homebuyers get wrong and how to avoid it
Stepping back, here’s what years of supporting buyers in the Mid-South have taught us.
Most buyers walk into an inspection emotionally attached to the home. That attachment is understandable, but it creates a predictable pattern: they fixate on visible, cosmetic problems because those are easy to see and feel urgent, while the inspector is quietly documenting a 15-year-old HVAC system, a crawl space with active moisture intrusion, and an electrical panel that needs updating. The cosmetic items feel personal. The systems issues feel abstract. That’s the trap.
We’ve seen buyers spend their entire negotiation capital pushing for fresh paint and new carpet while letting a $12,000 HVAC replacement pass without comment. That is a costly mistake, and it happens more often than most buyers would like to admit.
The buyers who come out ahead are the ones who treat the inspection as a business transaction, not an emotional event. They show up prepared, they follow the inspector closely, and they ask specific, system-focused questions. They read the detailed inspection walkthrough before they arrive so they understand what each phase of the inspection is looking for.
There’s also a discipline issue in how buyers approach the report. Reading a 50-page inspection report without a triage framework leads to either panic or paralysis. You either think the house is falling apart because there are 40 line items, or you gloss over the report because it feels overwhelming. Neither response serves you.
The practical answer is to sort findings by consequence, not by volume. Ten minor maintenance items are less significant than one active roof leak. One foundation crack that’s been monitored and is stable is less urgent than a water heater that’s 18 years old and showing corrosion. Train yourself to think in terms of cost, safety, and urgency, and your negotiation will be sharper and more effective.
Finally, don’t skip specialty inspections when the standard inspection raises questions. If the inspector notes staining consistent with moisture in the crawl space, order a mold test. If the foundation shows movement, bring in a structural engineer. The cost of those additional evaluations is minimal compared to the cost of buying a problem you didn’t fully understand.
Partner with local experts for a confident inspection experience
Armed with these preparation tips, here’s how you can get even more hands-on help for your home purchase.
At Upchurch Inspection, we work with buyers across Tennessee, Arkansas, Mississippi, and Southeast Missouri who want more than a basic walkthrough. Our inspectors hold certifications that exceed state standards, and our reports are designed to be clear, detailed, and actionable so you can negotiate with confidence. Whether you’re learning home inspection basics for the first time or want to understand the structural issues homebuyers face in older Mid-South properties, we have the resources and the regional expertise to guide you. Review our step-by-step inspection details or contact us directly to schedule your inspection before your contingency deadline arrives.
Frequently asked questions
Should I attend the home inspection?
Yes, buyers should attend to follow along, ask questions, and take notes, because the live inspection walkthrough provides context that a written report alone cannot replace.
What issues should I focus on after the inspection?
Concentrate on major safety, structural, or system problems rather than cosmetic flaws, since cosmetic-only issues rarely justify significant negotiation leverage.
Can I ask the seller to fix everything in the inspection report?
No. Sellers are not automatically obligated to repair every listed item and are typically responsible only for significant repairs tied to safety, major systems, or specific contract terms.
How do I prepare documents or questions before the inspection?
Review the seller’s disclosures, keep your purchase contract accessible for contingency reference, and list your top concerns in advance so the inspector can give those areas focused attention, as the Redfin checklist recommends.