
TL;DR:
- Conducting a thorough home inspection is vital, as it uncovers hidden issues that could be costly later.
- Buyers should promptly schedule inspections within their contingency periods and attend in person to better understand findings.
- Interpreting the report involves prioritizing safety hazards and major defects over cosmetic concerns to inform negotiations effectively.
Buying a home without a thorough inspection is one of the costliest mistakes you can make. The home inspection process for buyers is your one real opportunity to understand exactly what you’re purchasing before you commit. Hidden foundation cracks, outdated electrical panels, failing HVAC systems — these problems don’t announce themselves during a showing. We put this guide together to walk you through every phase of the process, from booking the right inspector to using your report effectively at the negotiating table.
Key takeaways
| Point | Details |
|---|---|
| Schedule promptly after offer acceptance | Book your inspector within days of acceptance to meet your contingency deadline. |
| Attend the inspection in person | Showing up, especially for the final walkthrough, helps you absorb findings beyond what the report alone conveys. |
| Inspection is not pass or fail | Inspectors document conditions; your job is to prioritize safety and major system concerns, not cosmetic issues. |
| Use findings as negotiation leverage | Focus repair requests on significant defects backed by contractor estimates to maximize your position. |
| The report has value after closing, too | Once contingencies expire, your inspection report becomes a practical guide for maintenance and budgeting. |
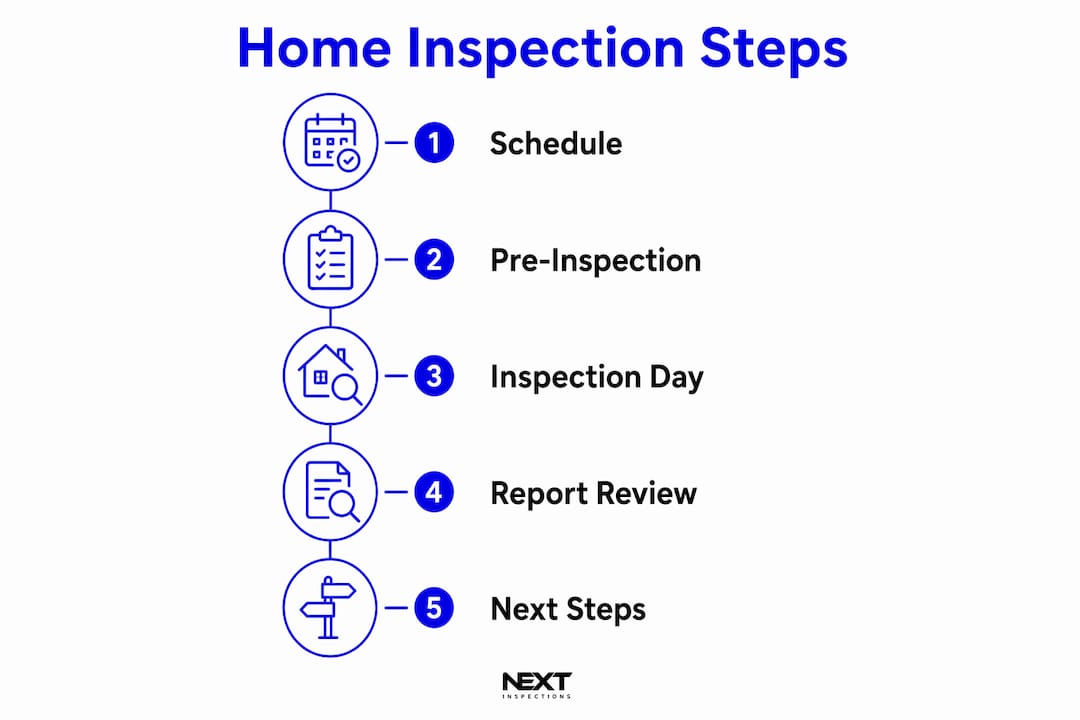
The home inspection process for buyers starts before inspection day
Most buyers think the process begins when the inspector arrives. It doesn’t. What you do in the days leading up to inspection day shapes the quality of information you walk away with.
Timing matters immediately. Inspections typically happen within 7 to 10 days after offer acceptance, and the report usually follows within 24 to 48 hours. Your contract’s inspection contingency window is a hard deadline. Missing it can cost you your negotiating rights and, in some cases, your earnest money deposit.
Choosing the right inspector is where buyers often cut corners and pay for it later. Look for credentials from recognized professional organizations like ASHI (American Society of Home Inspectors) or InterNACHI (International Association of Certified Home Inspectors). Qualifications matter. An inspector who exceeds state licensing minimums will notice things an underprepared one won’t.
Before the inspection, review any seller disclosures carefully. Note anything flagged as a known issue. Cross-referencing disclosures against the inspector’s findings later will tell you a great deal about what the seller may have minimized.
Consider whether specialized inspections are warranted based on the property’s age, location, or prior disclosures:
- Radon testing (especially in the Mid-South and Midwest)
- Mold or air quality assessment
- Sewer scope for older homes
- Termite or pest inspection
- Chimney inspection for wood-burning fireplaces
You can arrange these alongside your general inspection or schedule them separately once the general report flags concerns.
Pro Tip: Review Upchurch Inspection’s guide on how to prepare so you arrive on inspection day organized, with all relevant documents in hand and a list of specific concerns ready to raise.
What actually happens during the inspection
Picture this: You arrive at the property, and your inspector begins a methodical visual assessment that covers nearly every accessible surface and system in the home. Inspections typically run 2 to 4 hours on-site, though larger homes or properties with complex systems can take longer.
Here is what a standard inspection covers, in the order most professionals work through it:
- Roof and exterior. The inspector checks shingles, flashing, gutters, grading, drainage, and the condition of siding and trim.
- Foundation and structure. Visible signs of settlement, cracking, moisture intrusion, and framing issues are documented.
- Attic. Insulation, ventilation, and any evidence of water intrusion or pest activity are assessed here.
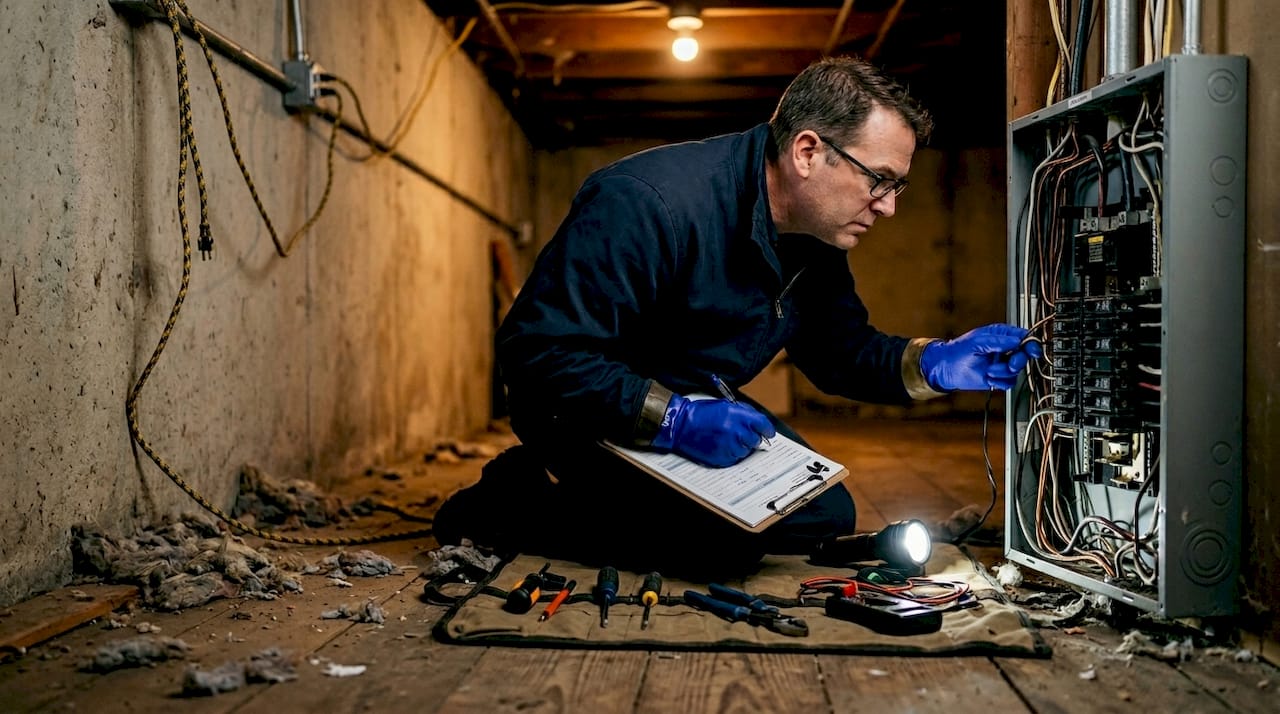
- Electrical systems. Panel condition, wiring types, grounding, GFCI protection, and visible code concerns are reviewed.
- Plumbing. Water pressure, visible supply and drain lines, water heater condition, and any signs of leaks are checked.
- HVAC systems. Heating and cooling equipment is operated and evaluated for age, condition, and functionality.
- Interior spaces. Ceilings, walls, floors, windows, and doors are visually assessed for damage, moisture staining, and operational issues.
Home inspection is a visual, non-invasive process. Inspectors don’t move furniture, cut into walls, or run water for extended periods. They work with what’s accessible and visible, which is why items labeled “inaccessible” in your report deserve follow-up attention.
Your role during the inspection is to observe and ask questions. Don’t hover over the inspector, but do stay engaged. Bring a notepad. Take photos of anything the inspector points out in real time.
Pro Tip: Read through Upchurch Inspection’s article on questions to ask so you’re prepared to have a productive conversation with your inspector rather than standing silently and hoping the report explains everything.
Reading and interpreting the inspection report
The report arrives within 24 to 48 hours after the inspection, often as a PDF with photos, observations, and severity ratings. Most buyers read it in one of two extremes. They either dismiss findings as minor or panic over a five-page list that looks catastrophic. Neither response serves you well.
Here is how to break findings down into useful categories:
- Safety hazards. These need immediate attention regardless of the sale outcome. Examples include double-tapped breakers, missing GFCI outlets near water, or carbon monoxide risks.
- Major defects. Significant system failures or structural concerns. Think failing roof, foundation movement, or a furnace past its service life.
- Maintenance items. Deferred maintenance that is expected in older homes. Caulking, minor grading issues, worn weatherstripping.
- Cosmetic issues. Scratched floors, dated fixtures, minor staining. These rarely warrant negotiation.
| Finding category | Examples | Negotiation priority |
|---|---|---|
| Safety hazard | Wiring defects, missing GFCI, gas leaks | High |
| Major defect | Roof failure, foundation cracks, HVAC failure | High |
| Maintenance needed | Gutter repair, caulking, minor grading | Medium |
| Cosmetic issue | Paint, aged fixtures, surface scratches | Low |
Common issues found in general inspections include roof and exterior defects, electrical safety concerns, plumbing leaks, HVAC problems, and health hazards like radon or mold. These are not automatic deal-breakers. They are data points.
Pay close attention to items labeled “inaccessible” in the report. Proactively requesting access to blocked areas before your contingency expires protects your leverage. Once that window closes, you’ve lost your ability to renegotiate based on what’s hiding behind a locked crawlspace door.
Pro Tip: Schedule a live report walkthrough with your inspector after you’ve had time to read the report. This Q&A session helps you separate the critical from the cosmetic far more effectively than reading alone.
Next steps after the inspection
Receiving the report is not the end. It’s the decision point. You have several paths forward, and the right one depends on what the inspection uncovered.
- Accept the property as-is. If findings are manageable and priced into the deal, this is a reasonable choice for competitive markets.
- Request specific repairs. You can ask the seller to fix defined items before closing. Be targeted. A list of 30 requests signals inexperience and typically produces worse outcomes than 3 focused, well-documented ones.
- Negotiate a price reduction or credit. Rather than asking sellers to manage repairs, you can request a price adjustment or closing cost credit to handle the work yourself post-closing. This often works better because you control the quality and timing of repairs.
- Walk away. Inspection contingencies protect buyers and allow contract termination without penalty when serious issues surface. Sellers are not legally required to make repairs, so walking away is a legitimate option.
For any finding that needs a price tag attached, get contractor estimates. Specialist follow-up inspections from electricians, roofers, or foundation experts provide both detailed repair scope and quote estimates that give your negotiation real credibility.
Contingency deadlines are typically 7 to 14 days from contract acceptance. Missing them can forfeit your right to renegotiate or exit with your earnest money. Work with your agent and act with urgency.
Pro Tip: Keep your repair requests focused on safety hazards and major defects. Focused negotiation backed by professional reports produces better results than long lists of minor grievances.
Common buyer mistakes and how to avoid them
Even buyers who understand the basics still make avoidable errors. Here’s where things go wrong most often and how to protect yourself.
- Treating inspection as pass/fail. Inspectors document defects and hazards, but they don’t declare homes uninhabitable. Every home has findings. Your job is to understand severity, not expect a perfect score.
- Skipping the inspection walkthrough. Attending at least the last 30 to 60 minutes of the inspection gives you direct access to your inspector for questions and real-time explanations. Reading a report without that context leaves critical gaps.
- Turning maintenance items into deal-breakers. Minor deferred maintenance is normal in any home, especially one over 15 years old. Escalating cosmetic concerns in negotiations damages your credibility and your relationship with the seller.
- Waiting too long to book. Quality inspectors get booked out quickly. Contact an inspector the same day your offer is accepted.
- Skipping specialized inspections when warranted. If your general inspector notes potential mold, sewage odors, or an aging septic system, follow up. Saving $300 on a sewer scope to later discover a collapsed line is not a trade worth making.
- Forgetting the report’s long-term value. The inspection report is most powerful during the contingency window, but after closing, it becomes your maintenance and budgeting roadmap. Keep it.
Pro Tip: Check out Upchurch Inspection’s breakdown of essential inspection tips for a concise list of what separates buyers who get full value from their inspection from those who leave the table underinformed.
My perspective on navigating the inspection without losing your nerve
I’ve seen buyers walk away from solid homes because a 40-page report scared them, and I’ve seen buyers close on properties with serious structural problems because they didn’t want to seem difficult. Both outcomes are preventable.
The single most valuable thing you can do is attend as much of the inspection as possible. The report is useful, but watching an inspector pause at a panel, shine a flashlight into an attic corner, or press on a soft floor gives you context that no PDF can fully replicate. That context changes how you read every finding that follows.
When you receive the report, read it once through without reacting. Then read it a second time with the severity categories in mind. Most findings cluster in the maintenance and cosmetic range. The handful that qualify as safety hazards or major defects deserve your full attention and your agent’s guidance.
I also think buyers are too quick to either over-negotiate or not negotiate at all. The smart approach is specific and documented. Request credits or repairs for items with real cost and real risk. Then let the minor things go. Sellers respond far better to a buyer who understands what they’re asking for and why.
One more thing: deadlines are not suggestions. I’ve watched buyers lose leverage simply because they sat on the report for five days and then scrambled to respond before the contingency expired. Build your timeline the moment you receive the report. Know your deadline. Act before it, not at it.
— Holly
Get the inspection your investment deserves
When you’re ready to schedule your inspection, the quality of the professional you hire directly affects the quality of the decision you’ll make. At Upchurch Inspection, we conduct thorough full residential home inspections that go far beyond surface-level walkthroughs. Our inspectors exceed state licensing standards and deliver detailed reports covering every major system, including structural components, plumbing, electrical, and HVAC, so you have the documentation needed to negotiate with confidence.
If the general inspection surfaces concerns that warrant deeper investigation, we also offer guidance on specialized inspection options to help you get precise scope and cost clarity before making any final decisions. And if you want to understand the full protective value inspections provide in real estate transactions, our resource on the role of inspections in buyer and seller protection is worth reading before you close.
FAQ
What does the home inspection process cover for buyers?
A home inspection is a visual assessment of a property’s accessible systems and components, including the roof, structure, electrical, plumbing, HVAC, and interior spaces. Inspectors document findings with photos and severity notes but do not declare homes as passing or failing.
How long does a home inspection take?
Most inspections take 2 to 4 hours on-site, depending on the home’s size and complexity. Larger or older properties with more systems to evaluate may run longer.
What are the most common home inspection issues?
Common findings include roof defects, electrical wiring issues, plumbing leaks, HVAC problems, drainage issues, and potential health hazards such as mold or radon. Most of these are negotiable or repairable rather than automatic deal-breakers.
What should buyers do after receiving the inspection report?
Review findings by severity, focusing on safety hazards and major defects first. Then decide whether to request repairs, negotiate a price reduction or credit, accept the property as-is, or exercise the inspection contingency to exit the contract.
How much does a home inspection cost for buyers?
Home inspection costs vary by region, property size, and inspector qualifications, but most residential inspections fall between $300 and $500. Specialized inspections, such as radon testing or sewer scoping, incur additional fees and are often worth the investment for older or complex properties.